A note on measurements: this guide is written for US sewists, so it uses US units first: inches, yards
and US paper sizes (Letter, 36 × 48 in). Metric equivalents are in brackets where they matter. If you're not used to US
measurements, convert them before you cut: 1 in = 2.54 cm, 1 yd = 91.4 cm.
To make bias tape, cut strips of fabric at 45 degrees to the grain, join them into one long strip with diagonal seams, then press the long edges in to the center. Cut the strips twice the finished width for single fold tape and four times the finished width for double fold. A bias tape maker speeds up the folding, but an iron and a pin do the same job.
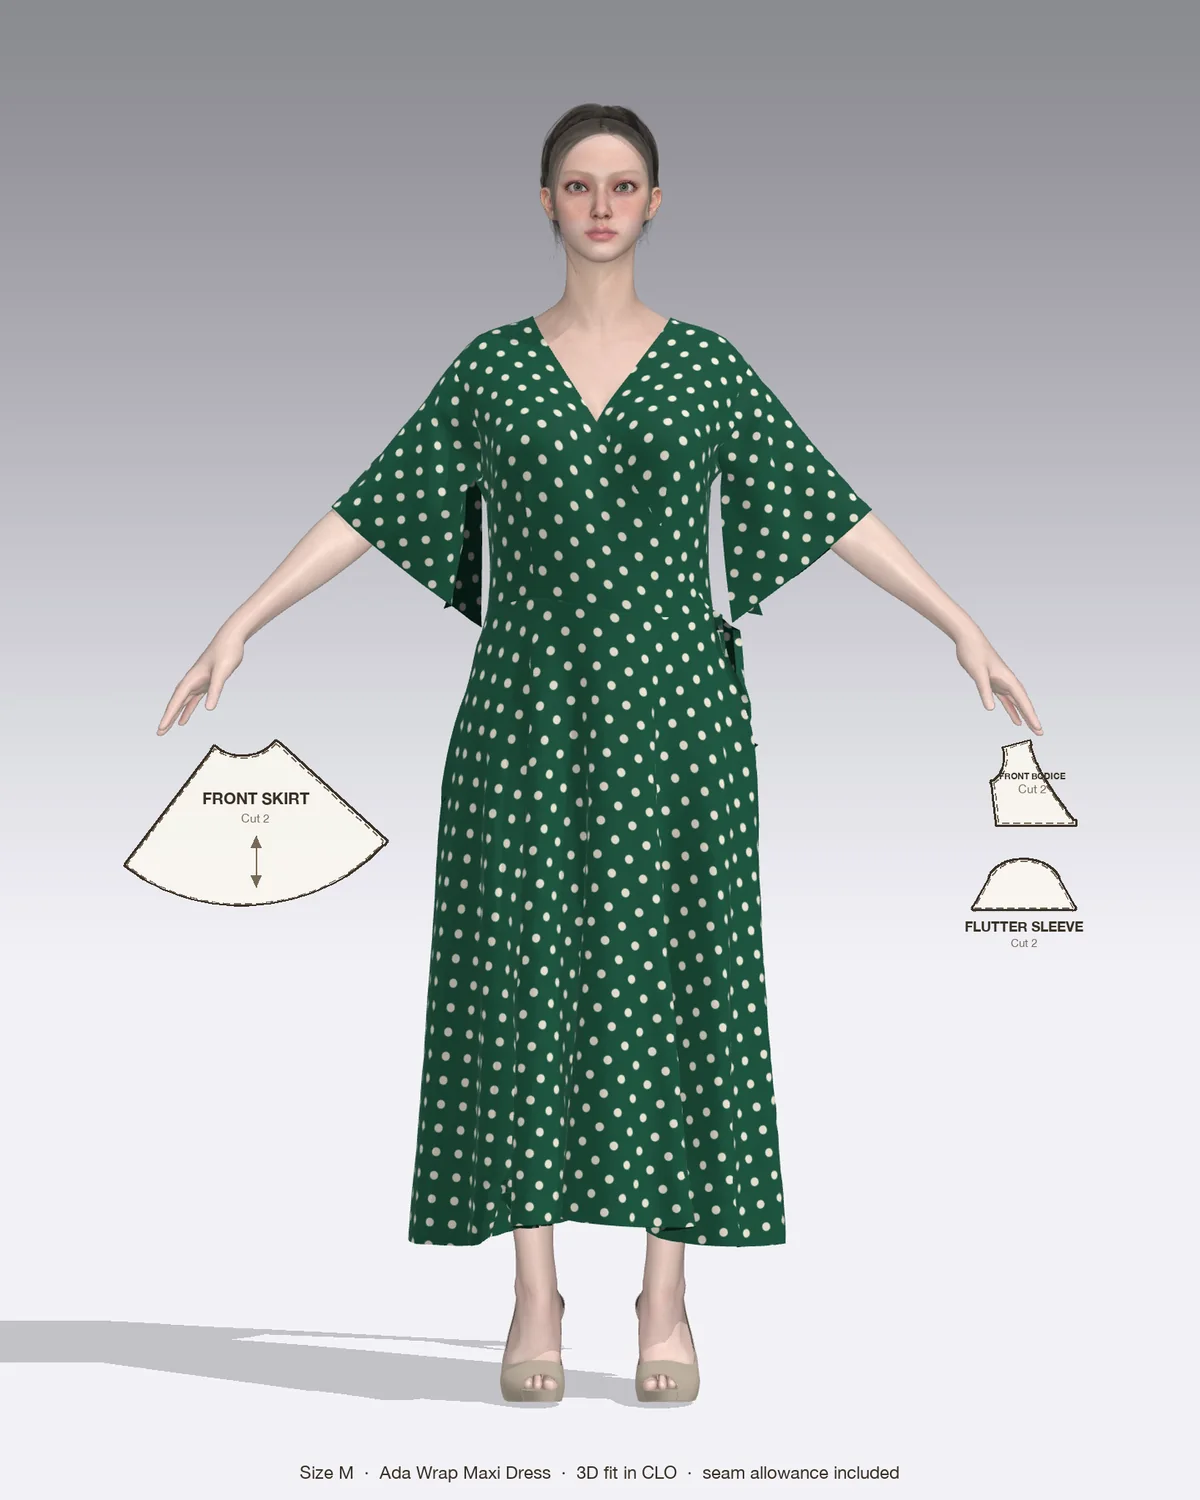
Draped in CLO 3D: the Ada with its pattern pieces, drawn to scale.
Homemade tape matches your fabric exactly and comes in any width. Below are two ways to cut it, how to fold it and how much fabric to buy.
What you need
Fabric. Light to medium wovens work best: quilting cotton, poplin, lawn, linen. Viscose and crepe slide around, so starch them first.
A rotary cutter, mat and long ruler with a 45-degree line, plus chalk or a fabric marker.
An iron with steam, and spray starch for slippery fabric.
A bias tape maker (optional). Clover’s makers come in 1/4 in (6 mm), 1/2 in (12 mm), 3/4 in (18 mm), 1 in (25 mm) and 2 in (50 mm). The size is the finished single fold width, so feed it a strip twice that wide: a 1/2 in (12 mm) maker takes a 1 in (2.5 cm) strip.
Strip widths at a glance
Finished width
Single fold: cut
Double fold: cut
1/4 in (6 mm)
1/2 in (1.3 cm)
1 in (2.5 cm)
1/2 in (1.3 cm)
1 in (2.5 cm)
2 in (5 cm)
1 in (2.5 cm)
2 in (5 cm)
4 in (10 cm)
Double fold tape is single fold tape folded in half again, which is why its strip is twice as wide. The guide to bias tape explains when to use each.
How much fabric to make bias tape
Measure every edge the tape will finish, add about 4 in (10 cm) per edge, and total it. Then size a square:
Side of square = square root of (length needed x cut strip width)
For example, 3 yd (108 in) of tape from 2 in strips: 108 x 2 = 216, and the square root of 216 is about 14.7, so cut a 15 in (38 cm) square. Round up by an inch or two, because the seams and the triangular ends take a little length.
Working the other way, a square gives roughly side x side, divided by the strip width:
Square
1 in strips
1 1/2 in strips
2 in strips
12 in (30 cm)
4 yd (144 in)
2 2/3 yd (96 in)
2 yd (72 in)
18 in (46 cm)
9 yd (324 in)
6 yd (216 in)
4 1/2 yd (162 in)
These are before seam loss, so treat them as a little generous.
Method 1: cut and join separate bias strips
Prepare the fabric. Prewash it, press it flat and trim the edges straight with the grain. Starch slippery fabric and let it dry.
Find the true bias. Fold a cut edge down to meet the selvage, or line up the ruler’s 45-degree line with the selvage, and cut along that line. The guide to fabric grain shows why the angle matters.
Cut the strips parallel to the bias edge at your chosen width. Keep the ruler still; a wobble here becomes a wobbly tape. The ends will already be on the straight grain.
Join the strips. Lay one strip right side up. Place the next strip on top, right side down, at a right angle, so the two ends overlap in a small square and the points stick out about 1/4 in (6 mm) on each side. Sew from corner to corner across the overlap, with a 1/4 in (6 mm) seam and a stitch length of 2 mm. Don’t backstitch.
Check, trim and press. Open the join: the strips should make one straight line. If they form an angle, unpick and swap the seam direction. Then trim the allowance to 1/4 in (6 mm), press it open and snip off the little triangles that stick out past the strip edges.
Repeat until the strip is long enough.
Method 2: continuous bias from one square
Continuous bias turns a square into one long strip with only two seams. It saves time for anything over about 3 yd (2.7 m).
Cut a square to the size from the formula above, with selvages removed.
Cut it in half diagonally to make two triangles. Label them A and B.
Sew the triangles together. Place them right sides together along two straight-grain edges so the bias edges form an X when opened. Sew with a 1/4 in (6 mm) seam and press it open. You now have a parallelogram.
Mark the strips. Lay it wrong side up with the seam vertical. Mark a 1/4 in (6 mm) seam line along the top and bottom straight edges. Then rule lines parallel to the long bias edges, spaced at your strip width, all the way across. Cross out any narrow leftover at the end.
Number the lines. Along the top edge, number the lines 0, 1, 2, 3. Along the bottom edge, number them 1, 2, 3, 4.
Make the tube. Bring the top and bottom edges right sides together, matching top 1 to bottom 1, top 2 to bottom 2 and so on, so the first strip width hangs off at one end. Pin where the lines cross. The offset tube is what makes the strip continuous.
Sew the tube along the 1/4 in (6 mm) seam line with a shorter stitch, about 1.8 to 2 mm. Press the seam open over the narrow end of the ironing board.
Cut in a spiral. Start at the overhanging end and cut along the marked line round and round the tube. Scissors work better than a rotary cutter here.
How to fold bias tape
With a bias tape maker
Trim the strip end to a point and feed it into the wide end of the maker, wrong side up. Push it through with a pin until it comes out folded, and pin that end to the ironing board.
Pull the maker slowly along the strip and press the tape right behind it. Use steam on cotton and linen (high heat), and a dry iron on medium for viscose, rayon and polyester.
Keep the join seams pressed open so they pass through without jamming.
Without a maker
Press the strip in half lengthwise, wrong sides together, to make a center crease. Open it.
Fold one long edge in to meet the crease and press. Repeat with the other edge. Work in 6 to 8 in (15 to 20 cm) sections.
For a shortcut guide, push a long pin into the ironing board cover, under and back out about the width of your folded tape, and pull the strip through under it as you press.
Making double fold tape
Fold the single fold tape in half again and press. Offset the fold by about 1/16 in (2 mm), so one side is slightly wider. When you bind, the wider side goes underneath, which makes it easy to catch both layers in one line of stitching.
Press the tape into a gentle arc with steam before sewing it to a curve. The guide to bias binding sewing covers sewing it on.
Common mistakes and how to fix them
Problem
Likely cause
Fix
Tape ripples on a neckline
Strips cut off the true bias
Recut at exactly 45 degrees to the selvage
Joins form an angle
Strips sewn in the wrong direction
Pin and flip open to check before sewing; unpick and turn the top strip
Continuous strip has a step at each turn
Lines mismatched when the tube was pinned
Match top line 1 to bottom line 1 so the first strip hangs off
Tape jams in the maker
Strip too wide for the maker, or join pressed to one side
Cut exactly twice the maker size; press joins open
Tape won’t hold a crease
Viscose, rayon or crepe
Spray starch, let it dry, then press again
Where to use homemade bias tape in Patterns by Nini patterns
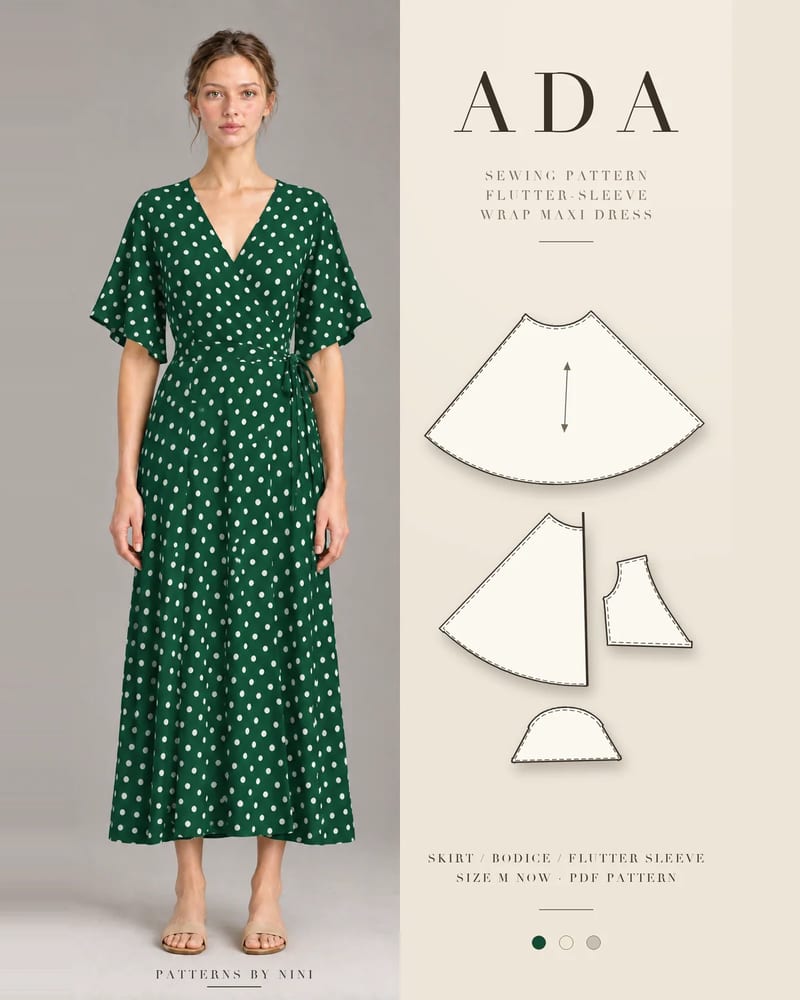
The Ada wrap maxi dress finishes its V neckline with a bias facing, and its notions call for 2.8 m (3 yd) of bias binding or self-fabric bias strips. Ada is made in viscose, rayon challis, crepe de chine or cotton lawn, so starch the fabric before cutting. Use a 15 in (38 cm) square for 3 yd of 2 in strips, or a 12 in (30 cm) square for 1 in strips. Because the tape is turned to the inside as a facing, use single fold and follow the understitching steps in the guide to sewing a facing.
The Teal puff-sleeve wrap midi dress uses the same bias facing on its neckline and wrap edges, with 3 yd of 1 in bias strip. For bound edges, the Temi tiered dress and the Remi mini dress bind their necklines with bias, and both list self-fabric bias strips as an option.
Frequently asked questions
How do you make bias tape without a bias tape maker?
Fold the strip in half lengthwise and press a crease, open it, then fold each long edge in to meet that crease and press again. A pin pushed into the ironing board cover in two places, with the strip threaded under it, works as a homemade guide. Hold the folds ahead of the iron with your fingertips and press in short sections.
How much fabric do you need to make bias tape?
Multiply the length you need by the cut strip width, then take the square root to get the side of the square. For 3 yd (108 in) of tape from 2 in strips, 108 x 2 = 216, and the square root is about 14.7, so cut a 15 in square. Round up an inch or two to allow for the seams and wastage.
Can you make bias tape from straight-grain strips?
Yes, for straight edges only. Strips cut across the grain are cheaper on fabric and fine for binding a straight hem, a pocket top or a quilt with square corners. They won't bend around a neckline or armhole without rippling, though, because they have almost no stretch. For any curve, cut the strips at a true 45 degrees.
What fabric is best for homemade bias tape?
Light to medium cotton such as quilting cotton, poplin or lawn is the easiest to cut, fold and press, and it holds a crisp crease. Self-fabric tape cut from the garment fabric matches perfectly but can be harder to handle in viscose, rayon or crepe. For those, starch the fabric first and choose a slightly wider strip.
How to sew a facing step by step: interface, attach, grade, clip and understitch a neckline or armhole facing so it lies flat and never rolls to the outside.
How to finish seams without a serger: zigzag, overcast, pinked, turned and stitched, French, flat-felled, bound and hand overcast, with settings for each.
How to sew bell bottom pants step by step: pick a flare pattern or add flare to one you own, then fit the knee, sew the legs and hem the wide flare neatly.
Help us understand what inspires you
May we use Pinterest cookies to measure visits and purchases and improve our advertising? You can shop either way and change your choice in Cookie settings. Privacy policy
 Patterns