Patterns
How to sew bell bottom pants: from a pattern or a pattern hack
How to sew bell bottom pants step by step: pick a flare pattern or add flare to one you own, then fit the knee, sew the legs and hem the wide flare neatly.

A note on measurements: this guide is written for US sewists, so it uses US units first: inches, yards and US paper sizes (Letter, 36 × 48 in). Metric equivalents are in brackets where they matter. If you're not used to US measurements, convert them before you cut: 1 in = 2.54 cm, 1 yd = 91.4 cm.
To finish seams without a serger, use your regular sewing machine’s zigzag or overcast stitch along each raw edge, or switch to a seam that hides its own edges, such as a French, flat-felled or bound seam. For firm cottons that barely fray, pinking shears are enough. This guide shows how to finish seams without a serger using eight methods, with the settings for each, and which one to pick for your fabric and for each seam in a dress.
Woven fabric frays from every cut edge. Left raw, the seam allowance sheds threads in the wash until, on loose weaves like linen and rayon, it can pull away from the stitching. A seam finish stops that and makes the inside of the garment look tidy.
Pick a finish with three questions:
| Fabric | Good finishes |
|---|---|
| Sheer and light (voile, lawn, chiffon) | French seam, self-bound |
| Light to medium (cotton, chambray, viscose) | Zigzag, turned and stitched, French seam |
| Medium to heavy (linen, denim, twill) | Zigzag apart, flat-felled, bound |
| Firm, low-fray cotton | Pinked, stitched and pinked |
These four work on any seam and need only a basic machine. Sew the seam first, then finish it. Test the settings on a scrap of your fabric before you start on the garment.
The quickest finish without a serger.
If the edge tunnels (rolls into a ridge under the stitches), shorten the width, sew slightly in from the edge, and trim afterward.
Many machines have an overcast stitch that wraps thread around the edge like a serger, often with an overcast foot that has a guide to run the edge against. Trim the allowance to about 1/4 in (6 mm) first, keep the raw edge against the foot’s guide, and stitch. It gives a neater edge than plain zigzag and suits fray-prone wovens. If your machine doesn’t have it, use zigzag.
The stitching stops the fraying from creeping inward and the pinked edge slows it at the edge. Use it on firm fabrics that fray little. Pinking on its own is a short-term finish on anything looser.
The best finish for a straight-stitch-only machine, and very neat on light to medium wovens.
It needs at least a 1/2 in (1.2 cm) seam allowance and gets bulky where several seams cross, so skip it on thick fabric.
An enclosed seam hides the raw edges inside itself, so there is nothing left to finish. These take longer but look as good inside as out.
Stitch wrong sides together, trim, then fold right sides together and stitch again to trap the edges. With a 5/8 in (1.5 cm) allowance, sew 3/8 in (1 cm), trim to 1/8 in (3 mm), and sew 1/4 in (6 mm) from the fold. It suits light fabrics and straight seams. The full method, with measurements for other allowances, is in the guide to French seams.
One allowance is trimmed, the other wrapped over it and topstitched flat, giving two rows of stitching on the outside like jeans. It suits medium and heavy wovens and pants seams. See the flat-felled seam guide for the steps.
A quick enclosed finish for sheer fabric:
Binding wraps each raw edge in a strip of bias, so it suits unlined jackets and heavy or fraying fabric where the inside shows. Use lightweight single fold bias tape or 1 in (2.5 cm) bias strips cut from lining or a light cotton.
For a fully bound finish with double fold tape, and for curves and corners, see bias binding sewing.
With no machine at all, overcast by hand. Press the seam open, then work diagonal stitches over the raw edge, about 1/4 in (6 mm) apart and 1/8 in (3 mm) deep, using a single strand of matching thread. Keep the stitches closer on fabric that frays a lot, and keep the tension loose so the edge doesn’t pucker.
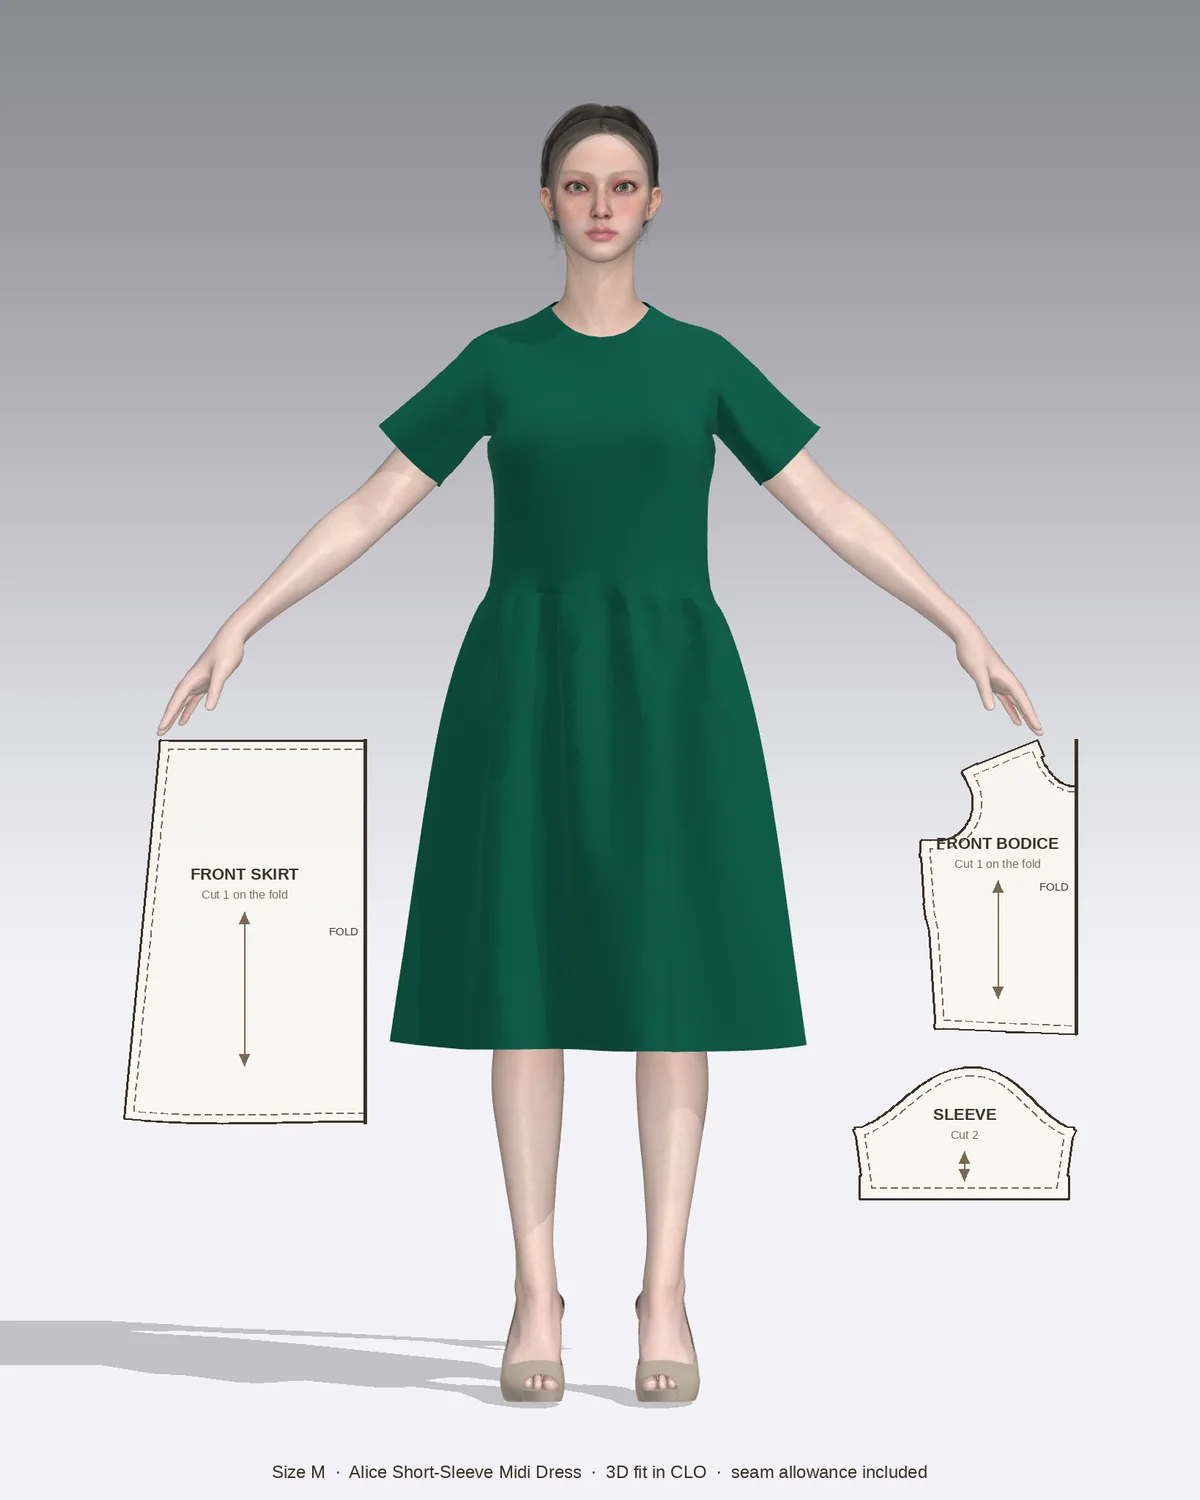
The Alice short-sleeve midi dress is made in cotton, linen, viscose or chambray, all of which fray, so every seam needs a finish. Here is one way to plan it without a serger:
Other patterns in the range plan for this too. The Bear teddy jacket is unlined with bound inside seams, so its notions list twill tape or bias binding to wrap the edges. The Femi wide-leg pants suit French seams on the long leg seams.
| Problem | Likely cause | Fix |
|---|---|---|
| Edge rolls into a ridge under the zigzag | Stitch too wide for a light fabric | Narrow the width, sew slightly in from the edge, then trim |
| Seam shows through on the right side as a ridge | Finish too bulky, or allowances finished together on an open seam | Finish allowances separately and press well; use a flatter finish on heavy fabric |
| Pinked edge still fraying after washing | Fabric too loose for pinking | Add a stitched line, or switch to zigzag or binding |
| Stitching caught the garment, not just the allowance | Allowance not held clear while sewing | Fold the garment away from the needle and work from the allowance side |
| French seam threads poking out | First pass trimmed too wide | Trim to 1/8 in (3 mm) and snip loose threads before folding |
How to sew bell bottom pants step by step: pick a flare pattern or add flare to one you own, then fit the knee, sew the legs and hem the wide flare neatly.
How to sew a strap on a dress step by step: make spaghetti or wide straps, set them into a lined bodice, fit the length and reattach a strap that came loose.
How to sew pockets into pants step by step: slanted front pockets, side seam pockets you can add to any pattern, and back patch pockets, with measurements.
May we use Pinterest cookies to measure visits and purchases and improve our advertising? You can shop either way and change your choice in Cookie settings. Privacy policy