A note on measurements: this guide is written for US sewists, so it uses US units first: inches, yards
and US paper sizes (Letter, 36 × 48 in). Metric equivalents are in brackets where they matter. If you're not used to US
measurements, convert them before you cut: 1 in = 2.54 cm, 1 yd = 91.4 cm.
To sew a buttonhole, interface the area, mark the length (the button’s diameter plus its thickness), then stitch two narrow rows of dense zigzag with a bar tack at each end, using your machine’s buttonhole setting or by hand. Cut it open between the rows with pins guarding the ends, and only then mark and sew the button. A test buttonhole on scraps of the same layers comes first, every time.
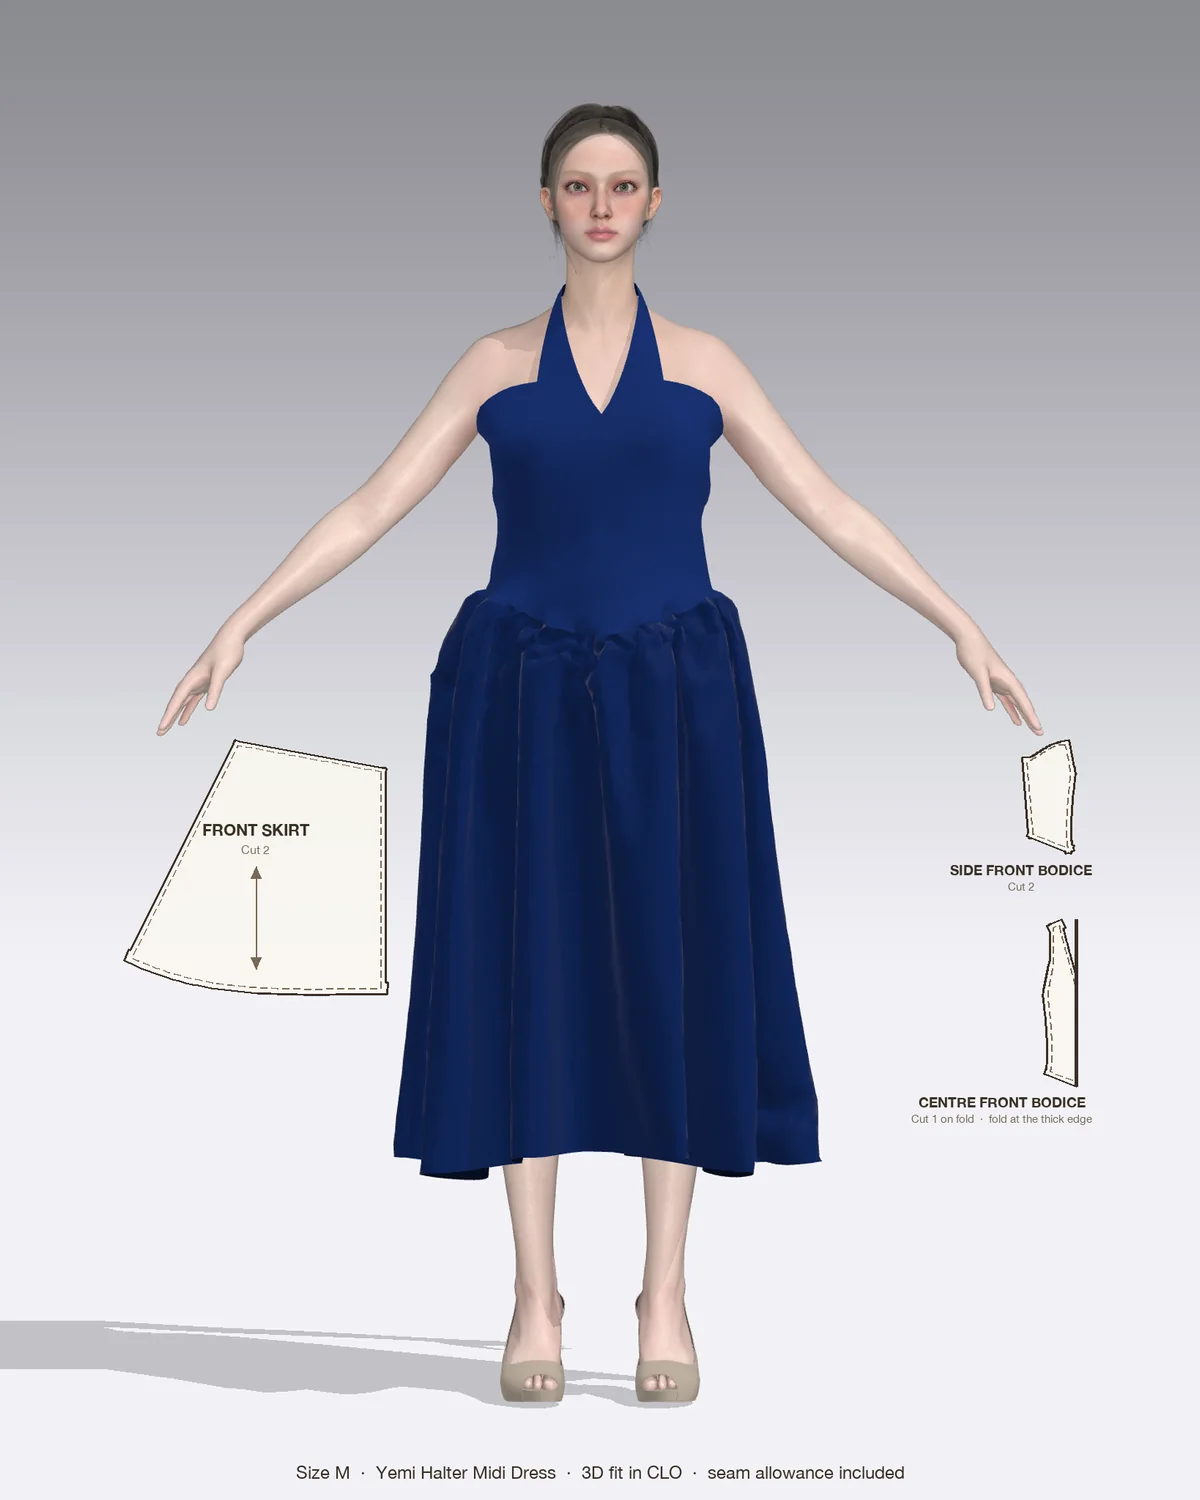
Draped in CLO 3D: the Yemi with its pattern pieces, drawn to scale.
This guide covers how to sew a buttonhole of every common kind: one-step and four-step machine buttonholes, buttonholes on a machine with only zigzag, corded buttonholes and hand-worked ones, plus how to size, place and open them cleanly.
What you need
Interfacing under every buttonhole. Most patterns interface the band, cuff or waistband already. Where they don’t, fuse a small square of lightweight fusible interfacing to the wrong side under each mark.
A buttonhole foot. Most modern machines come with a long sliding foot that holds the button (one-step) or a shorter foot with markings (four-step).
All-purpose polyester thread matched to the fabric, and a fresh needle in the size you used for the garment.
A buttonhole chisel, a seam ripper or small sharp scissors, plus pins.
Seam sealant (optional) and a marking pen or chalk.
The buttons, bought before you start. Size the buttonholes to them, not to the size printed on the pattern.
Size and mark the buttonhole
Measure the button. The buttonhole length is the diameter plus the thickness. A flat 1/2 in (12 mm) button that is 1/8 in (3 mm) thick needs a buttonhole about 5/8 in (15 mm) long.
For domed or ball buttons, wrap a strip of paper or ribbon around the widest part, pin it, and halve that measurement. Add 1/8 in (3 mm).
Choose the direction. Horizontal buttonholes handle strain, so they go on waistbands, fitted bodices, coats and single fastenings. Vertical ones go on shirt plackets and narrow bands.
Position it. A horizontal buttonhole starts about 1/8 in (3 mm) past center front (or center back) toward the edge, so the button can sit on the center line when the garment is closed. A vertical one sits right on the center line.
Mark the ends. Draw the center line of the buttonhole and a short line across each end. If you changed the button size a lot, check the button still clears the garment edge by at least half its diameter.
Space a row of buttonholes
Mark the top and bottom buttonholes first, measure the distance between them and divide it by the number of gaps. On a blouse or dress front, place one buttonhole at the fullest part of the bust so the front doesn’t gape, and space the rest from there.
How to sew a buttonhole on a sewing machine
Always sew a test first, on a scrap of the garment fabric with the same interfacing and number of layers. Cut it open and push the actual button through. Adjust the length until the button passes through easily without the hole looking loose.
One-step buttonhole
Put the button in the slot at the back of the buttonhole foot and close it snugly. The foot now sets the length.
Snap the foot on, select the buttonhole stitch and pull the buttonhole lever down so it sits behind the stop on the foot.
Lower the needle on the end mark nearest you, at the start point shown in your manual (usually the end closest to you), and lower the foot.
Hold the thread tails lightly and press the pedal. The machine sews the first side, the bar tack, the second side and the last bar tack, then stops.
Pull the threads to the wrong side, knot them and trim.
Four-step buttonhole
Older and simpler machines split the buttonhole into four dial positions.
Set step 1 and sew the first side to the far end mark.
Turn to step 2 and sew 4 to 6 stitches for the bar tack.
Turn to step 3 and sew the second side back to your starting point.
Turn to step 4 for the second bar tack, then pull the threads through and knot them.
Count the stitches on the first side and match them on the second, so both sides are the same length.
No buttonhole setting
Use zigzag. Set the width to about 1.5 mm and the length to 0.3 to 0.5 mm (almost a satin stitch).
Sew the first side to the far end mark and stop with the needle up.
Set the length to 0 and the width to 3 to 4 mm, and sew 4 to 6 stitches in place as a bar tack.
Return to 1.5 mm and the short length, stop with the needle down on the outer edge, lift the foot and turn the fabric 180 degrees.
Sew the second side back to the start, then make a second bar tack as in step 2.
Corded buttonholes
A cord inside the stitches makes the buttonhole stronger and less likely to stretch, which helps on knits and loose weaves. Loop heavy topstitching thread or buttonhole twist around the hook on the back of the foot, run both ends under the foot to the front and sew the buttonhole over it. Then pull the loop gently until it sits inside the bar tack, thread the tails onto a hand needle, take them to the wrong side and knot them.
Cut the buttonhole open
Put a pin across each end, just inside the bar tacks, so the blade can’t run through them.
Place a buttonhole chisel in the center and press straight down on a cutting board, or start in the center with a seam ripper and cut toward each pin.
Trim any fluffy threads, then dab seam sealant along the cut edges and let it dry before buttoning.
Close the garment, line up center front, and push a pin through the end of each buttonhole (the outer end of a horizontal one, the top of a vertical one) to mark the buttons. Sew the buttons with a thread shank as shown in the guide on how to sew a button.
How to sew a buttonhole by hand
Hand-worked buttonholes suit fabrics your machine struggles with, heirloom garments, and tailored coats.
Mark the buttonhole on interfaced fabric and sew a rectangle of small machine or running stitches about 1/16 in (1.5 mm) either side of the line.
Cut along the line, inside the rectangle.
Thread a needle with about 25 in (64 cm) of buttonhole twist, pearl cotton or doubled polyester thread, and run it over beeswax so it doesn’t tangle.
Anchor the thread on the wrong side, then work buttonhole stitches over the edge: bring the needle up just outside the rectangle, loop the thread from the eye under the needle point and pull so a small knot sits on the cut edge. Keep the stitches the same depth and close together.
At the end where the button shank will rest, fan the stitches around the corner. At the other end, make a bar tack of 2 to 3 stitches no wider than the buttonhole.
Work back along the second side, finish with a bar tack, and weave the thread through the stitches on the back.
Move the buttonhole off the seam, or add a strip of fabric to level the foot
The bar tack is cut through
No pins at the ends
Pin the ends before cutting; seal and restitch the tack
The two sides are different lengths
Four-step sides not counted
Count stitches on the first side and match them
Buttonholes in Patterns by Nini designs
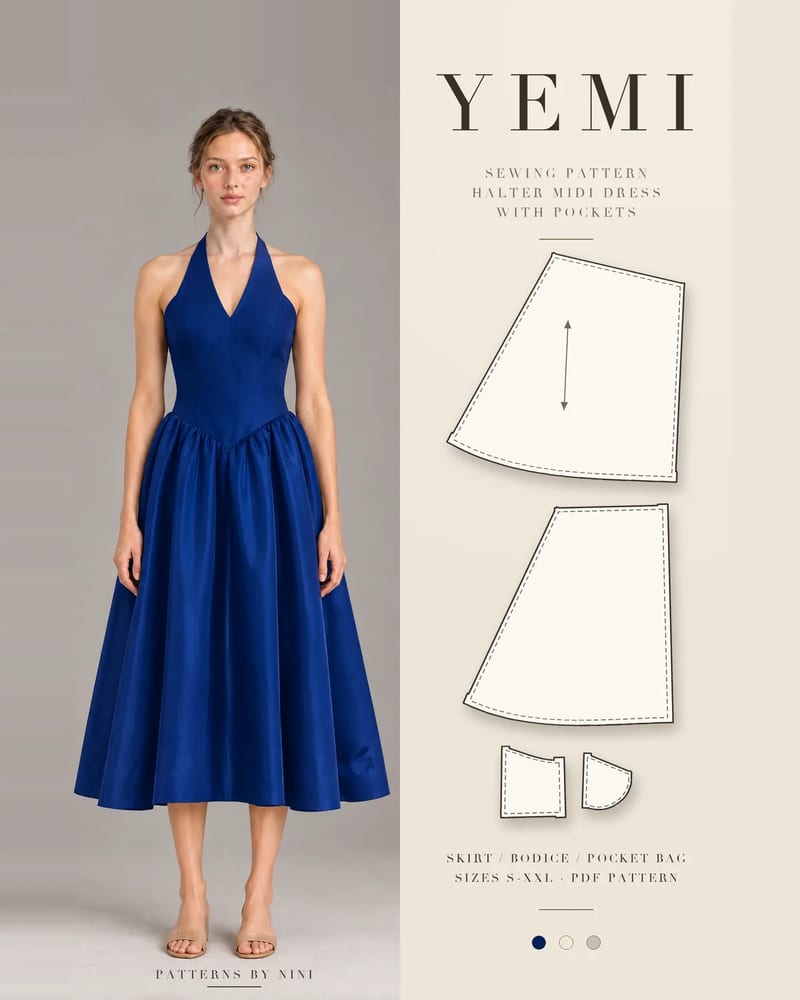
The Yemi halter midi dress has a separate neck band that fastens with one button at the center back. If you make a buttonhole there, sew it horizontally so it takes the pull of the halter, test it on two layers of the band fabric, and keep it at least half the button’s diameter from the band end.
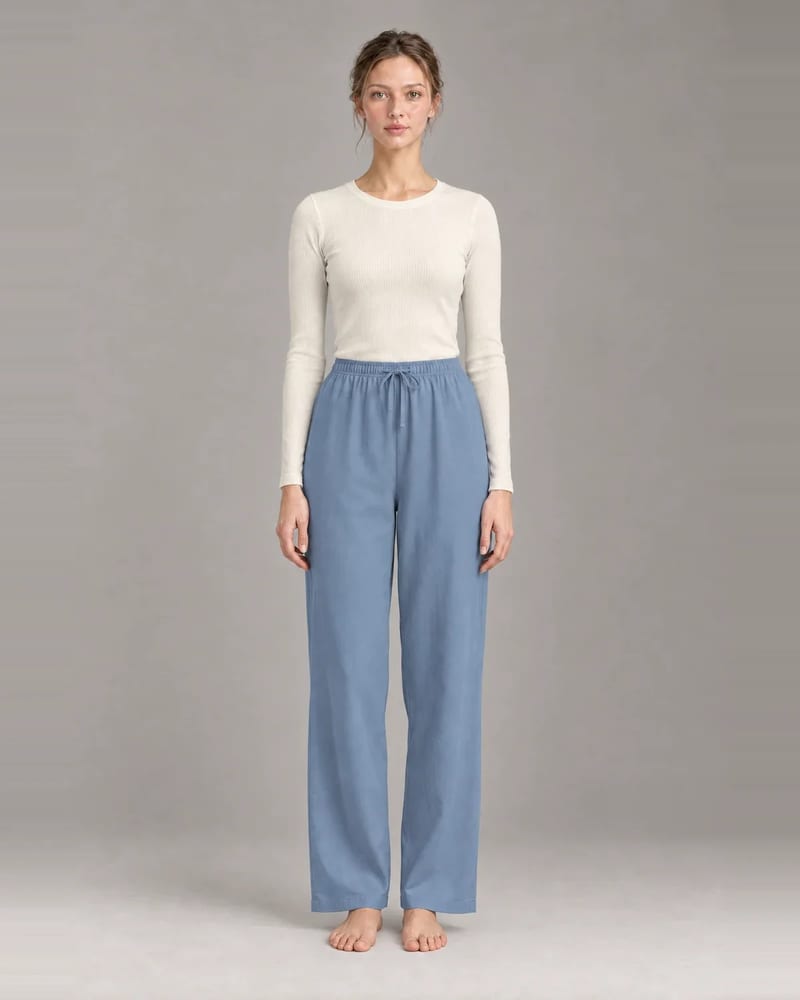
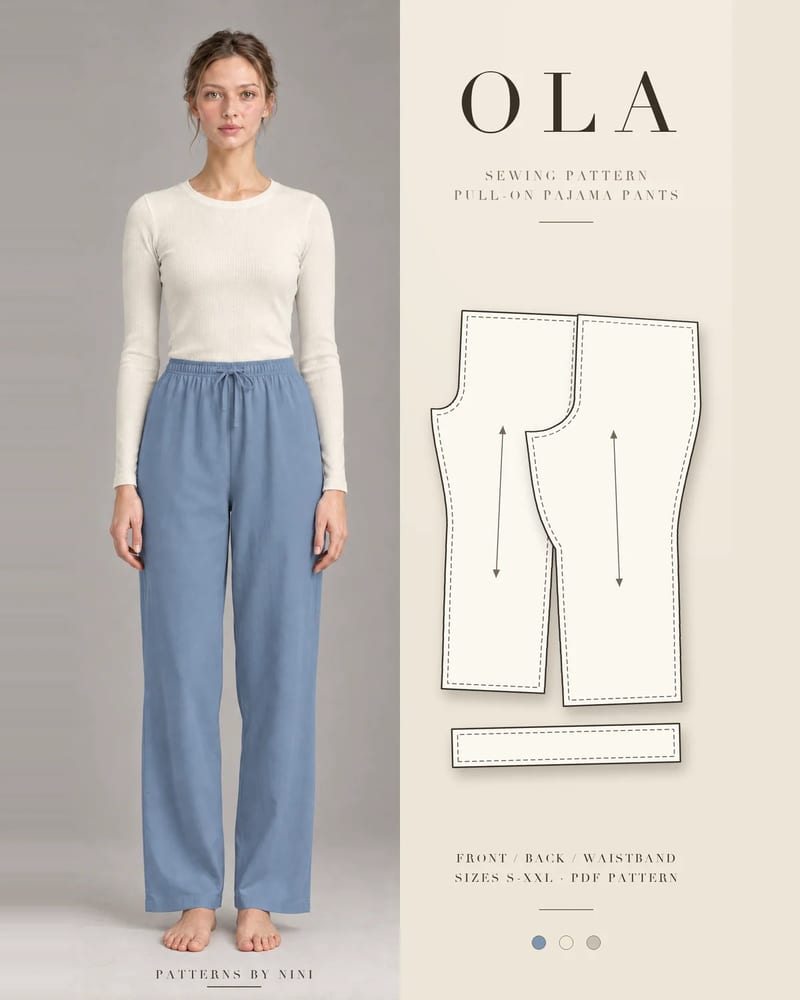
The Ola pajama pants use two front buttonholes as exits for the drawstring. Make them where the instructions place them, on interfaced fabric, and size them to the drawstring’s width plus a little ease rather than to a button. The Dara wide-leg overalls offer two buttons at the left side as an option instead of an invisible zipper; if you choose the buttons, test your buttonholes through the same layers as the side opening before sewing on the garment.
Frequently asked questions
How long should a buttonhole be?
Make it the button's diameter plus its thickness. A flat 1/2 in (12 mm) button needs a buttonhole of about 5/8 in (15 mm). For domed, ball or very thick buttons, wrap a strip of paper around the widest part, take half that measurement and add 1/8 in (3 mm). Always test on a scrap and slide the real button through before sewing the garment.
Do you sew the buttonhole or the button first?
Sew the buttonholes first, then the buttons. Once the buttonholes are cut, close the garment, line up the edges and push a pin through each buttonhole into the layer below to mark the button. Doing it the other way round makes it very hard to get the holes and buttons to line up exactly, and the opening can twist or gape.
Can I sew a buttonhole without a buttonhole foot?
Yes. Any machine with zigzag can make one. Mark the length, sew a narrow, very short zigzag down one side, a wide zigzag of a few stitches across the end as a bar tack, the second side, then a second bar tack. A buttonhole foot or a built-in buttonhole simply makes both sides match more easily.
Should buttonholes be horizontal or vertical?
Horizontal buttonholes take strain best, so use them on fitted garments, waistbands, coats and single buttons that hold a band closed. Vertical buttonholes suit shirt plackets and narrow front bands, where there is no room for a horizontal one and the button pulls along the band. Follow your pattern's markings unless you have changed the button size.
How do I stop a buttonhole from fraying after cutting?
Sew it with a dense stitch on interfaced fabric, cut it open with a sharp chisel or small scissors without nicking the stitches, then run a thin line of seam sealant such as Fray Check along the cut edges. Let it dry fully before buttoning. On loosely woven fabric, a corded buttonhole holds up better.
How to finish seams without a serger: zigzag, overcast, pinked, turned and stitched, French, flat-felled, bound and hand overcast, with settings for each.
How to sew bell bottom pants step by step: pick a flare pattern or add flare to one you own, then fit the knee, sew the legs and hem the wide flare neatly.
Help us understand what inspires you
May we use Pinterest cookies to measure visits and purchases and improve our advertising? You can shop either way and change your choice in Cookie settings. Privacy policy
 Patterns