A note on measurements: this guide is written for US sewists, so it uses US units first: inches, yards
and US paper sizes (Letter, 36 × 48 in). Metric equivalents are in brackets where they matter. If you're not used to US
measurements, convert them before you cut: 1 in = 2.54 cm, 1 yd = 91.4 cm.
Most garments need only eight hand sewing stitches: the running stitch, basting stitch, backstitch, prick stitch, slip stitch, blind hem stitch, catch stitch and whipstitch. The first four join and hold fabric; the last four finish edges, hems and openings so the stitches barely show. Even if you sew almost everything on a machine, these are the stitches that close a lining, hem a pair of wide-leg pants invisibly and tack a facing so it stays inside.
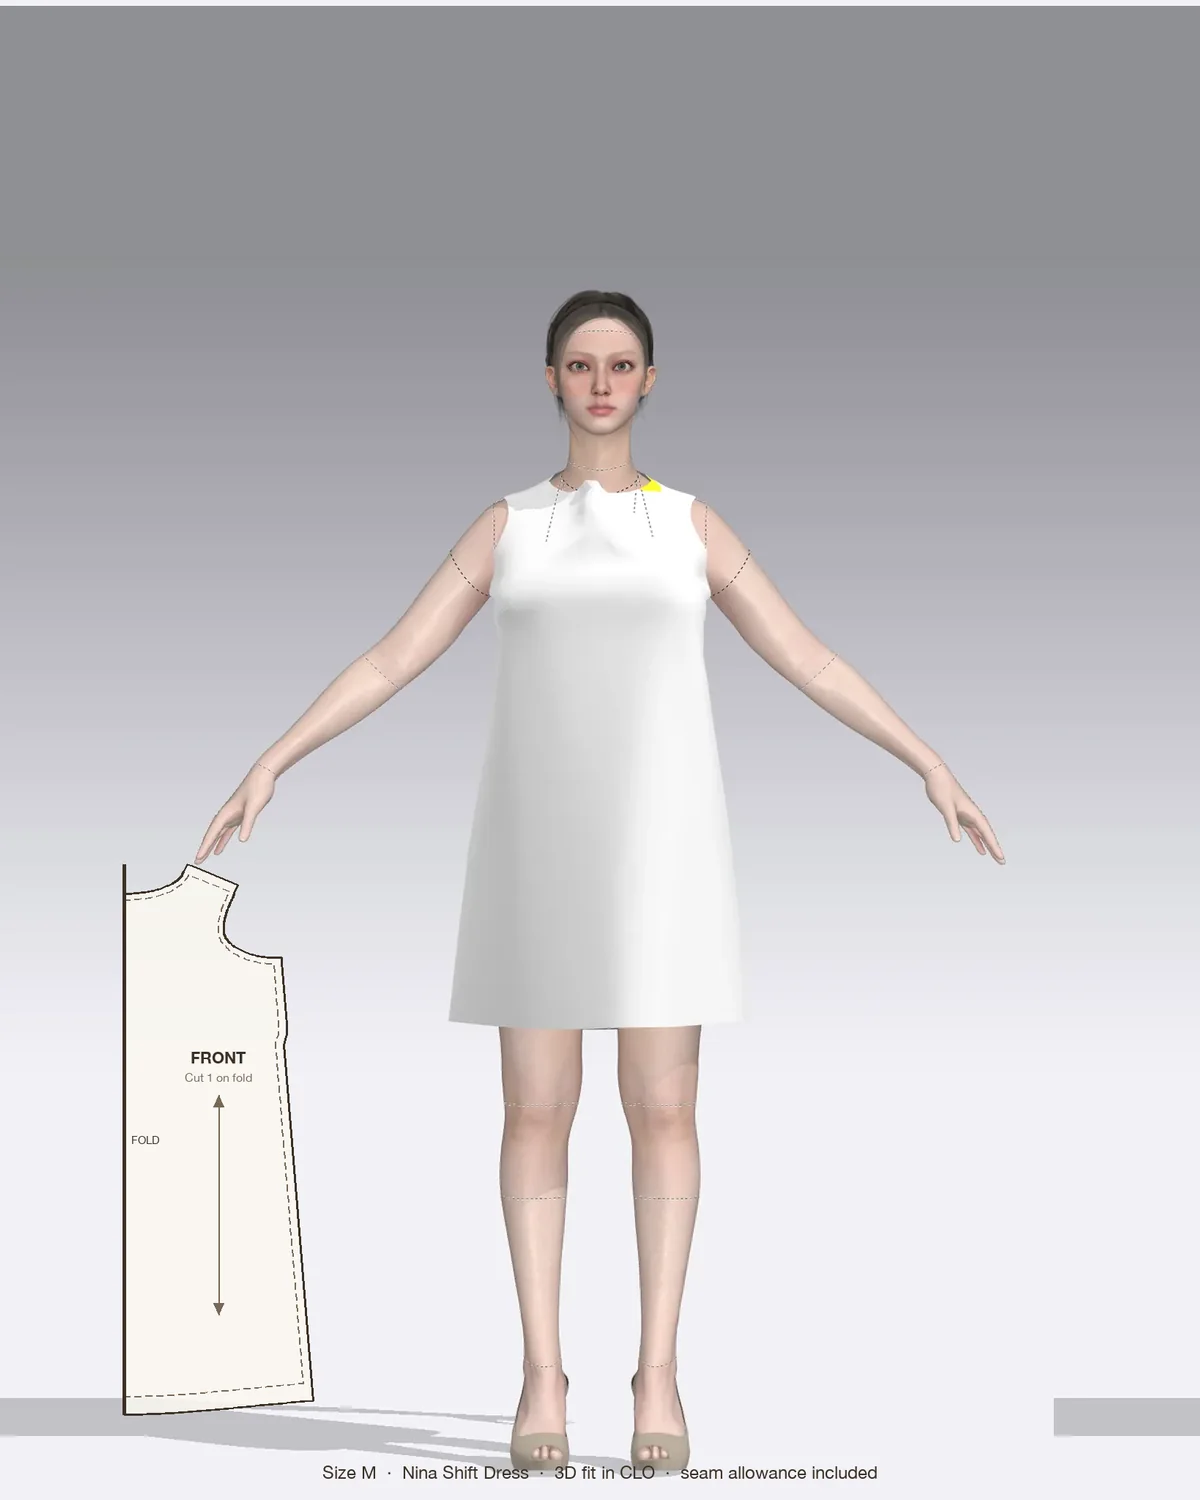
Draped in CLO 3D: the Nina with its pattern pieces, drawn to scale.
Before you start: needle, thread and tension
Good hand stitching is mostly setup. Get these right and the stitches come out even.
Needle: for garment sewing, use sharps in sizes 8 to 10. For hand needles, a higher number means a finer, shorter needle (the opposite of machine needles). Use milliners (straw) needles for long basting stitches, and betweens, which are short, for tiny, controlled stitches. Pick the finest needle whose eye you can thread.
Thread: all-purpose polyester or cotton thread in a color matching the fabric, or one shade darker. Cut a length no longer than your arm, about 18 to 24 in (45 to 60 cm). Longer threads tangle and wear thin as they pass through the fabric.
Wax or press the thread: run it over beeswax, then press it between paper with a warm iron. It tangles less and grips the fabric better, which helps for buttons and hooks.
Single or double strand: single for hems and finishing, double for buttons (see how to sew a button), snaps and strong repairs.
Tension: pull each stitch snug, not tight. Stitches pulled too tight pucker the fabric and show on the right side.
If you are right-handed, most stitches below are worked from right to left; the catch stitch is the exception and goes left to right. Left-handed sewists can reverse all directions.
Stitches for joining and holding fabric
Running stitch
The simplest stitch, used for gathering, mending and easing.
Knot the thread or lock it with two tiny stitches.
Weave the needle in and out of the fabric, taking stitches about 1/8 to 1/4 in (3 to 6 mm) long with gaps of the same size.
On thin fabric, load three or four stitches onto the needle before pulling through. On thick fabric, stab one stitch at a time.
Finish with a backstitch.
Basting stitch
A long, temporary running stitch that holds layers in place before machine sewing, or lets you check fit.
Use a contrasting color so it is easy to find and remove.
Take stitches about 1/2 in (1.3 cm) long with 1/2 in (1.3 cm) gaps, or alternate one long and one short stitch (uneven basting) on straight seams.
Don’t knot the end tightly; you will pull it out later.
Backstitch
The strongest hand stitch, and the one to use for hand-sewn seams and repairs.
Bring the needle up one stitch length ahead of where you want the seam to start.
Insert it back at the start, then bring it up one stitch length ahead of where the thread last came out.
Keep going back into the end of the previous stitch, with each stitch 1/16 to 1/8 in (1.5 to 3 mm) long. The top looks like machine stitching; the underside stitches are twice as long and overlap.
Prick stitch
A backstitch where you go back only one or two threads instead of a full stitch length. On the right side you see tiny dots spaced 1/8 to 1/4 in (3 to 6 mm) apart. It is used for hand-picked zippers and to understitch or anchor layers neatly where machine stitching would be too visible.
Stitches for hems and finishing edges
Slip stitch (ladder stitch)
The most invisible stitch for joining two folded edges, such as a lining gap, a turning opening on a tie sash or a mitered hem corner.
Hide the knot inside one fold.
Run the needle inside that fold for about 1/4 in (6 mm), bring it out, then cross straight over to the opposite fold.
Slide the needle inside the second fold for 1/4 in (6 mm), come out, and cross straight back. The crossing threads look like the rungs of a ladder.
Every 1 to 2 in (2.5 to 5 cm), pull the thread gently to close the gap. The stitches disappear into the folds.
For hemming, a slip stitch is worked the same way but takes only one or two threads of the garment opposite the fold each time, with stitches about 1/4 in (6 mm) apart. The guide on how to hem a dress shows which hem depth and stitch suit each skirt shape.
Blind hem stitch
Hides the thread between the hem allowance and the garment, so nothing shows on either side.
Fold the hem up and press. Roll the top edge of the hem allowance back toward you by about 1/4 in (6 mm).
Take a tiny stitch in the garment, catching one or two threads only.
Move 1/4 to 1/2 in (6 mm to 1.3 cm) to the left and take a small stitch in the hem allowance.
Repeat, keeping the thread relaxed. When you let the hem edge fall back, the stitches are hidden underneath it.
Catch stitch (herringbone stitch)
A crossed zigzag stitch that stretches, so it is the best hem for knits, bias-cut skirts and fluid fabrics that move. It also holds facings and interfacing edges flat.
Work from left to right with the needle pointing left.
Take a small stitch in the hem allowance, about 1/4 in (6 mm) below its edge.
Move about 1/4 in (6 mm) to the right and take a tiny stitch in the garment just above the hem edge, catching one or two threads.
Move another 1/4 in (6 mm) to the right and stitch the hem allowance again. The threads cross each other in an X pattern.
For a blind catch stitch, roll the hem edge back as for the blind hem stitch and work the catch stitch underneath it.
Whipstitch and fell stitch
A whipstitch loops over an edge with small slanted stitches, about 1/8 in (3 mm) apart. Use it to join two finished edges, attach a patch or tame a fraying raw edge. A fell stitch (hemming stitch) is a small, close slanted stitch that holds a folded edge flat to the fabric beneath. It is firmer than a slip stitch and is the stitch for sewing linings to seam allowances and finishing bias binding by hand.
Facings: Tobi’s front and back bibs are faced. A few backstitches through the seam allowances at the shoulder seams keep the facings from rolling out. Stitch through the seam allowances only, never the outside of the garment. The facing guide shows where to tack.
Hem: in cotton twill, denim or linen, a blind hem stitch or blind catch stitch gives a hem with no visible line on the outside, which suits a full gathered skirt.
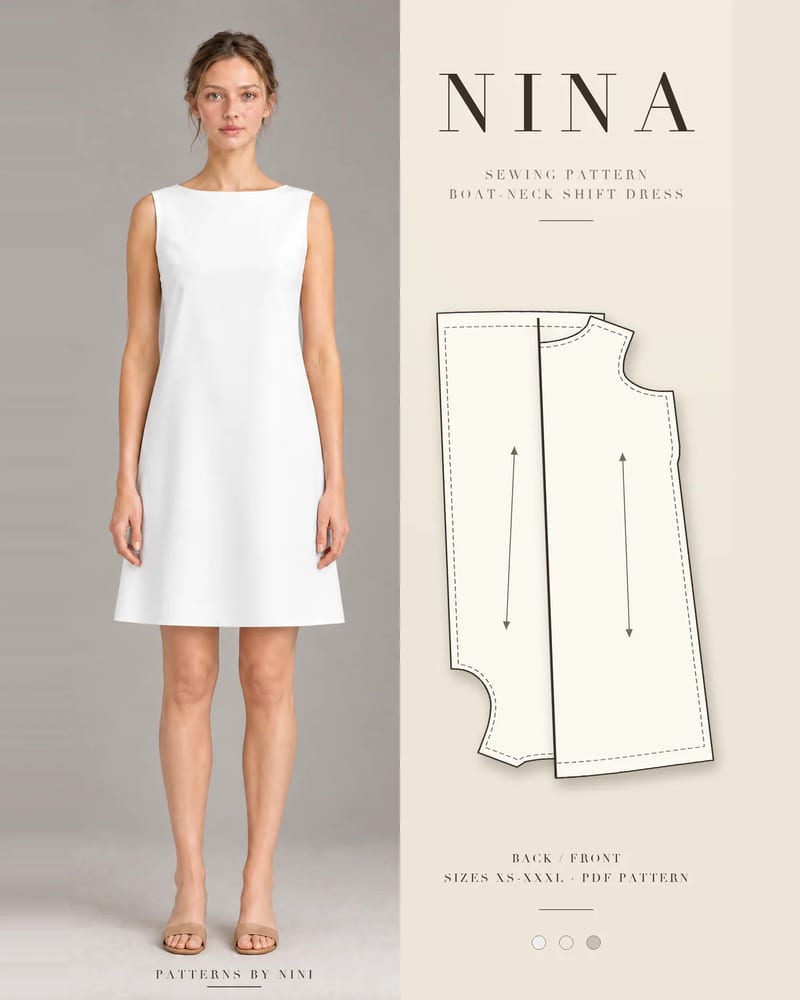
The Nina shift dress has a faced neckline and a center-back invisible zipper, so you can also slip stitch the facing ends to the zipper tape, clear of the teeth. The invisible zipper guide covers the zipper itself.
Common mistakes and how to fix them
Problem
Likely cause
Fix
Thread twists and knots
Thread too long, or twisting as you sew
Cut it arm’s length, wax it, and let the needle dangle to untwist every few stitches
Hem stitches show on the right side
Too much fabric caught in the garment side
Pick up only one or two threads; use a fine sharp needle
Fabric puckers along the hem
Stitches pulled too tight
Keep the thread relaxed; on fluid fabric, use a catch stitch
Hem pops when you sit or walk
No stretch in the stitch
Use a catch stitch; lock the thread with a backstitch every 4 to 6 in (10 to 15 cm) so one break doesn’t undo the whole hem
Knot pulls through the fabric
Knot too small for a loose weave
Start with two tiny backstitches instead of a knot
Slip-stitched gap looks lumpy
Folds not pressed, or crossings at an angle
Press the folds first and cross straight over each time
Hems: blind hem stitch for wovens, catch stitch for knits and fluid fabrics (step by step for pants in how to sew a hem in pants)
Edges and linings: whipstitch, fell stitch
Setup: sharps 8 to 10, thread no longer than your arm, snug but not tight
If you’re new to garment construction, the guide to seams and seam allowances explains how the pieces these stitches finish are put together.
Frequently asked questions
What is the strongest hand sewing stitch?
The backstitch is the strongest everyday hand stitch. Each stitch doubles back over the one before it, so the thread forms a continuous line like machine stitching, with no gaps for the seam to pull open. Use it for hand-sewn seams, repairs on stress points such as crotch and underarm seams, and for securing the start and end of other stitches.
Which hand stitch is invisible?
The slip stitch, also called the ladder stitch, is the most invisible hand stitch. The thread travels inside the folds of the fabric and only crosses briefly between them, so almost nothing shows when you pull it snug. Use it to close turning gaps and linings. For hems, the blind hem stitch and blind catch stitch hide the thread just as well.
Should you hand sew with a single or double thread?
Use a single strand for most garment sewing, including hems, slip stitching and basting, because it is finer, less visible and tangles less. Use a double strand when strength matters more than looks, such as sewing on buttons, hooks and snaps, or mending a seam that takes strain. Either way, cut the thread no longer than your arm.
How do you start and finish hand stitching without a knot?
To start, take a small stitch on the wrong side or inside a seam allowance, leaving a short tail, then work two tiny backstitches on top of it to lock the thread. To finish, take two or three small backstitches in the same spot, run the needle between the fabric layers for about 1 in (2.5 cm), bring it out and trim the thread close.
How to sew an invisible zipper: press the coils, stitch each side with an invisible zipper foot, match cross seams, then close the seam below it neatly.
How to do a full bust adjustment: measure to see if you need one, slash and spread the front pattern piece, redraw the bust dart and true the side seam and hem.
Help us understand what inspires you
May we use Pinterest cookies to measure visits and purchases and improve our advertising? You can shop either way and change your choice in Cookie settings. Privacy policy
 Patterns