A note on measurements: this guide is written for US sewists, so it uses US units first: inches, yards
and US paper sizes (Letter, 36 × 48 in). Metric equivalents are in brackets where they matter. If you're not used to US
measurements, convert them before you cut: 1 in = 2.54 cm, 1 yd = 91.4 cm.
To sew a zipper, you baste the opening closed, press the seam open, set the zipper face down over it and stitch each side with a zipper foot, then pick out the basting. This guide shows how to sew a zipper three ways, plus how to choose the right type and length, so you can put one in a skirt, a dress or a jacket front.
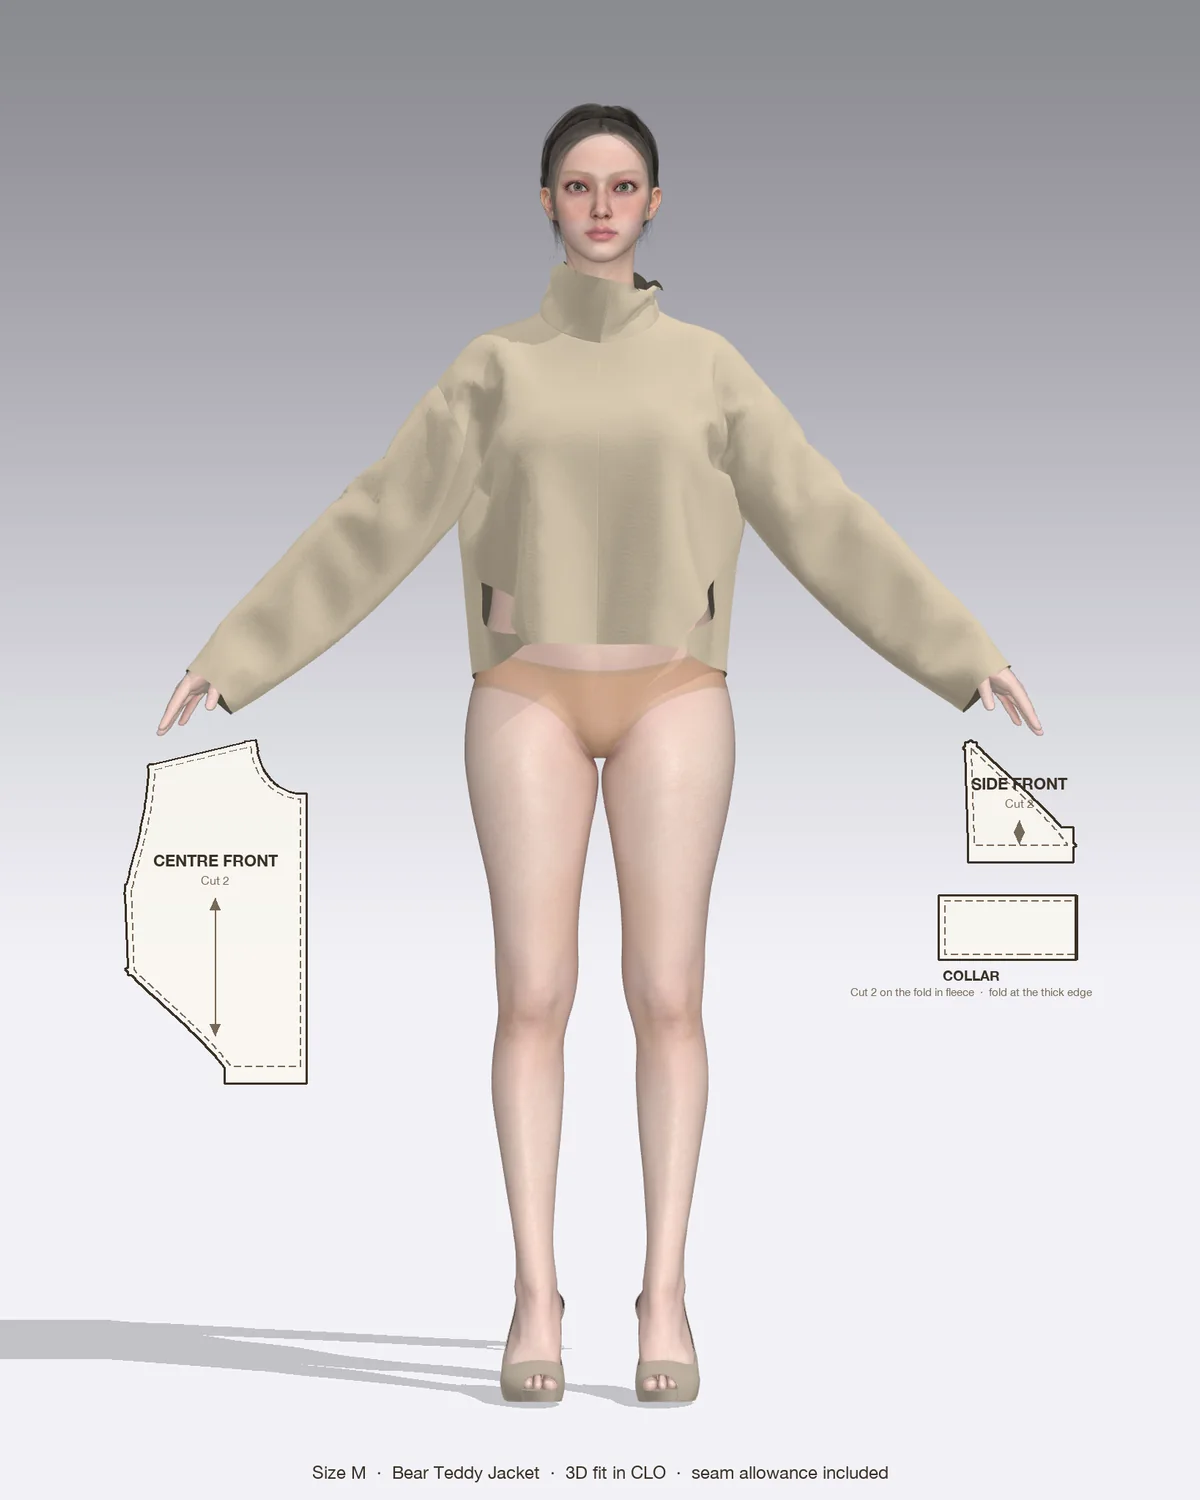
Draped in CLO 3D: the Bear with its pattern pieces, drawn to scale.
Choose the right zipper
Check three things before you buy.
Type. A closed-end zipper has stops at both ends and suits skirts, dresses and pants. A separating zipper comes fully apart at the bottom, with a pin and a box, and is the only kind that works on a jacket front. An invisible zipper has its coil on the back and is sewn with a different foot and method (see how to sew an invisible zipper).
Size. The number on the slider is the approximate width of the closed teeth in millimeters. A #3 is light and fine for dresses and skirts; a #5 is the usual jacket weight.
Teeth. Nylon coil is flexible and easy to sew across. Molded plastic teeth are chunkier and look sporty. Metal teeth are strong but heavy, and you can’t sew across them.
Length. For a closed-end zipper, buy one the length of the opening or a little longer: NMSU Extension’s guide sizes the opening as the zipper length plus 5/8 in (1.5 cm) of seam allowance at the top. A long zipper can be shortened from the bottom with a bar tack, but a separating zipper can’t, so buy that one in the exact length you need.
What you need
A zipper foot. It is narrow, so the needle can sew right beside the teeth.
Matching thread, or topstitching thread for an exposed zipper you want to show off.
Pins, clips or 1/4 in (6 mm) double-sided basting tape.
A strip of lightweight fusible interfacing, about 3/4 in (2 cm) wide, for each side of the opening in thin or loose fabrics.
The centered (or slot) zipper is the easiest one to learn. The seam sits in the middle of the teeth, with a line of stitching an equal distance away on each side.
Finish the raw edges of both seam allowances with a zigzag or serger while they are flat.
Mark the bottom of the opening on both pieces. Pin the seam right sides together.
Baste the opening closed. Set a long stitch of about 5 mm and sew the opening from the top edge to the mark.
Sew the rest of the seam. Change to a normal stitch of about 2.5 mm, backstitch at the mark and sew down to the hem.
Press the seam open, including the basted part.
Place the zipper face down on the wrong side, with the teeth centered over the basted seam. Put the top stop just below the top seamline (5/8 in, or 1.5 cm, down if a waistband or facing goes on top) so the slider never gets caught in that seam.
Pin or tape the zipper tape to the seam allowances only.
Mark the stitching lines on the right side with chalk or tape, about 1/4 in (6 mm) from the seam on each side.
Stitch from the right side. With the zipper foot, start at the seam at the bottom, sew across the bottom to the line, pivot and sew up the first side to the top. Go back to the bottom and repeat on the other side, so both sides are sewn in the same direction.
Unpick the basting and press, using a pressing cloth if the teeth are nylon.
Moving the slider out of the way
The slider makes the stitching bulge when the foot reaches it. Stop about 2 in (5 cm) from the top with the needle down, lift the foot, ease the slider down behind the foot, then lower the foot and carry on.
How to sew a lapped zipper
A lapped zipper hides the teeth under a single fold of fabric, with one line of stitching showing. It is the classic finish for a skirt side seam or the center back of a dress. You prepare the seam exactly as for a centered zipper (steps 1 to 5 above).
Fold back the right-hand seam allowance so you are working on that allowance alone. Lay the closed zipper face down on it, with the teeth along the seamline and the top stop in the same place as before.
Baste the tape to that allowance with the needle set to the left, sewing along the teeth.
Turn the zipper face up. A narrow fold of fabric forms beside the teeth. Move the needle to the right and stitch close to that fold, from the bottom up.
Lay the garment flat, right side up, with the zipper underneath. The other side of the seam now covers the teeth.
Mark a stitching line on the right side, about 3/8 to 1/2 in (1 to 1.3 cm) from the seam, so the stitching just clears the teeth underneath.
Stitch from the bottom of the seam: sew across the bottom, pivot and sew up the line to the top.
Unpick the basting, pull the thread ends to the inside, tie them off and press.
On a side seam, the lap usually faces toward the back so it’s hidden when seen from the front.
How to sew an exposed separating zipper
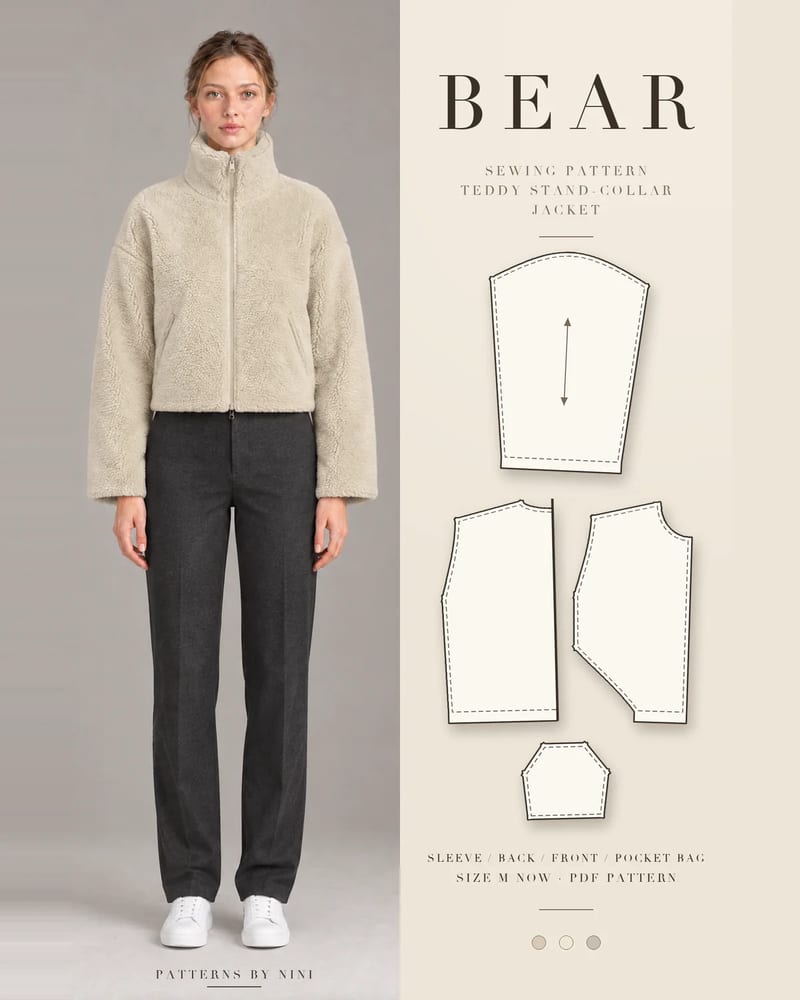
An exposed separating zipper shows the teeth and some of the tape on purpose, as a design feature. It is the method for jacket fronts, and the one the Bear teddy jacket uses: an exposed separating zip runs from the hem to the top of its stand collar, with a 22 in (55 cm) #5 zip on the notions list. For the steps around it, from pockets to collar, see how to sew a jacket.
Check the length. Lay the zipper along the finished front edge. The bottom box must line up with the finished hem, and the top stop should sit just below the top edge. If the zipper is too long, choose a shorter one rather than cutting the bottom.
Stabilize the front edges with interfacing strips if the fabric stretches.
Finish the front edges the way your pattern says, by pressing them under along the seamline or by facing them.
Separate the zipper. Pin or tape one half to one front, right side up, under the pressed edge. Decide how much tape to show, often about 1/8 to 1/4 in (3 to 6 mm), and keep it even all the way down.
Mark the hem and any cross seams (such as a pocket or collar seam) on the zipper tape.
Zip it up with the other half in place, and pin the second front so the marks line up exactly on both sides. Then separate it again.
Topstitch each side close to the folded edge with the zipper foot, sewing both sides in the same direction, from hem to neck.
Add a second row about 1/4 in (6 mm) away if your pattern calls for it.
Fold the top ends of the tape away at an angle inside the collar or facing so they don’t scratch.
On thick or furry fabrics such as sherpa, use a walking foot or the zipper foot with a longer stitch of about 3 mm. The Bear pattern recommends a walking foot.
Which method each Patterns by Nini pattern uses
Bear: exposed separating zip down the front.
Nina, Amara, Tola and most of the dresses: an invisible zipper at the center back. The Nina shift dress, for example, uses a 22 in (55 cm) invisible zipper.
Tolu pleated pants: an 8 in (20 cm) invisible zipper at the center back, under a flat waistband.
Tayo, Sade, Ife and Tobi: an invisible zipper in the left side seam.
If you prefer a lapped or centered zipper, either works in a center back or side seam that a pattern gives an invisible zipper, as long as the seam allowance is at least 5/8 in (1.5 cm).
Common mistakes and how to fix them
Problem
Likely cause
Fix
Stitching wobbles around the slider
Foot rides over the slider
Stop with the needle down, slide the zipper past the foot, then carry on
Fabric ripples beside the zipper
Opening stretched while sewing
Fuse interfacing strips to the seam allowances first
One side puckers or twists
Sides sewn in opposite directions
Sew both sides from the bottom up, or both from the top down
Teeth show on a lapped zipper
Lap stitching too close to the seam
Restitch about 3/8 in (1 cm) from the seam
Jacket hem or cross seams don’t match
Second side not matched to the first
Mark the hem and seams on the tape, zip it up and pin before sewing
Slider gets stuck at the top
Top stop sewn into the waistband or facing seam
Set the top stop just below the seamline
If a zipper goes in badly, unpick it with a seam ripper and press the tape flat before trying again. Basting by hand with a running stitch (see hand sewing stitches) is slower but gives the most control on slippery fabrics.
Frequently asked questions
Do you sew the seam before or after the zipper?
It depends on the method. For a centered or lapped zipper, sew the seam below the opening first, then machine-baste the opening closed and set the zipper over it. An invisible zipper goes into an open seam, and the seam below is closed afterward. An exposed separating zipper goes between two finished front edges, so there is no seam below it.
Can I sew a zipper without a zipper foot?
You can, but it is harder. A regular presser foot rides on the zipper teeth, so the stitching wanders. If your machine lets you move the needle position, set it far left or far right and keep the edge of the foot just beside the teeth. Sew slowly and move the slider out of the way instead of sewing around it.
What stitch length should I use to sew a zipper?
Use a normal straight stitch of about 2.5 mm (10 stitches per inch) for the permanent stitching and a long basting stitch of about 5 mm (5 stitches per inch) to close the opening temporarily. On thick fabrics such as denim or sherpa, lengthen the topstitching to about 3 mm so it doesn't sink into the pile.
How long should my zipper be?
For a closed-end zipper in a skirt or dress, buy one the length of the opening or a little longer and shorten it if needed. A separating zipper for a jacket must match the front edge exactly, because it can't be shortened from the bottom. Measure the front from hem to the top of the collar or neckline and buy that length, or follow your pattern's notions list.
How to hem jacket sleeves step by step: set the length, turn and stitch an unlined hem, reattach a lining with ease, and deal with vents and cuff buttons.
How to sew a collar that sits crisp: interface the upper collar, trim the under collar, turn sharp points and attach it with a stand, facing or binding.
How to sew a jacket from a pattern: choose fabric, interface the fronts, work in the right order, add pockets and a zipper, then line it or bind the seams.
Help us understand what inspires you
May we use Pinterest cookies to measure visits and purchases and improve our advertising? You can shop either way and change your choice in Cookie settings. Privacy policy
 Patterns