 Patterns
Seam ripper for sewing: how to use one without ripping fabric
How to use a seam ripper for sewing: what the point, blade and red ball do, three ways to unpick, serger and zipper stitches, and when to replace it.
A note on measurements: this guide is written for US sewists, so it uses US units first: inches, yards and US paper sizes (Letter, 36 × 48 in). Metric equivalents are in brackets where they matter. If you're not used to US measurements, convert them before you cut: 1 in = 2.54 cm, 1 yd = 91.4 cm.
Seams in sewing are the lines of stitching that hold two or more pieces of fabric together. Every garment is built from them: the shoulders, the sides, the crotch of a pair of pants, the line where a skirt meets a bodice. If you are asking what are seams in sewing because a pattern keeps saying “sew the seam right sides together at 5/8 in”, this guide explains the parts of a seam, how to sew a basic one, the main types and how to finish the raw edges so they don’t fray.
Three terms come up in almost every set of sewing instructions:
You will also see right side (the side of the fabric that shows on the outside of the garment) and wrong side (the inside). “Right sides together” means the two outer faces touch, so the seam allowances end up on the inside.
Accuracy matters more than it seems. If you sew 1/8 in (3 mm) too wide on each side seam of a garment with four seams around the body, you lose 1 in (2.5 cm) of width. If you change the seam allowance on one piece, change the matching piece too.
The plain seam is the default seam in dressmaking, and almost every other seam type starts from it. Set your machine to a straight stitch, about 2.5 mm long for medium-weight wovens, 2.0 to 2.2 mm for fine fabrics and 3.0 mm for heavier ones.
Curves such as necklines, armholes and the crotch seam need two extra steps after sewing. Trim the allowance to about 1/4 in (6 mm), then clip into it (on inward curves) or cut small notches out of it (on outward curves) every 1/2 in (1.2 cm), stopping just short of the stitching. This lets the curve lie flat when it is turned or pressed.
Beginner guides usually list four basic seam types. The difference between them is mainly what happens to the raw edges.
| Seam | How it is made | Best for |
|---|---|---|
| Plain seam | Sewn right sides together, edges finished separately | Almost everything; the default |
| French seam | Sewn twice, wrong sides then right sides together, so the raw edge is hidden inside | Sheer and lightweight fabric, blouses, lingerie |
| Flat felled seam | One allowance trimmed, the other folded over it and topstitched flat | Jeans, shirts, work wear, unlined jackets |
| Bound seam | Each raw edge wrapped in binding such as bias tape | Unlined jackets, thick or fraying fabric |
There are many more, including lapped seams (one piece laid over another, common on leather and fleece), welt seams and the Hong Kong finish, which is a bound seam made with lightweight bias strips. For home dressmaking, though, the four above cover nearly every situation.
If you want to try the enclosed options, there are full guides to the French seam and the flat felled seam, with measurements for each.
A plain seam leaves raw edges inside the garment. On woven fabric they need a finish, especially on anything you will wash often. Finish and press each seam before another seam crosses it, because you can’t reach the end of a seam once it is sewn into another.
Knit fabrics such as jersey don’t fray, so their edges can be left raw, but the seam needs to stretch: use a narrow zigzag or a stretch stitch, or a serger.
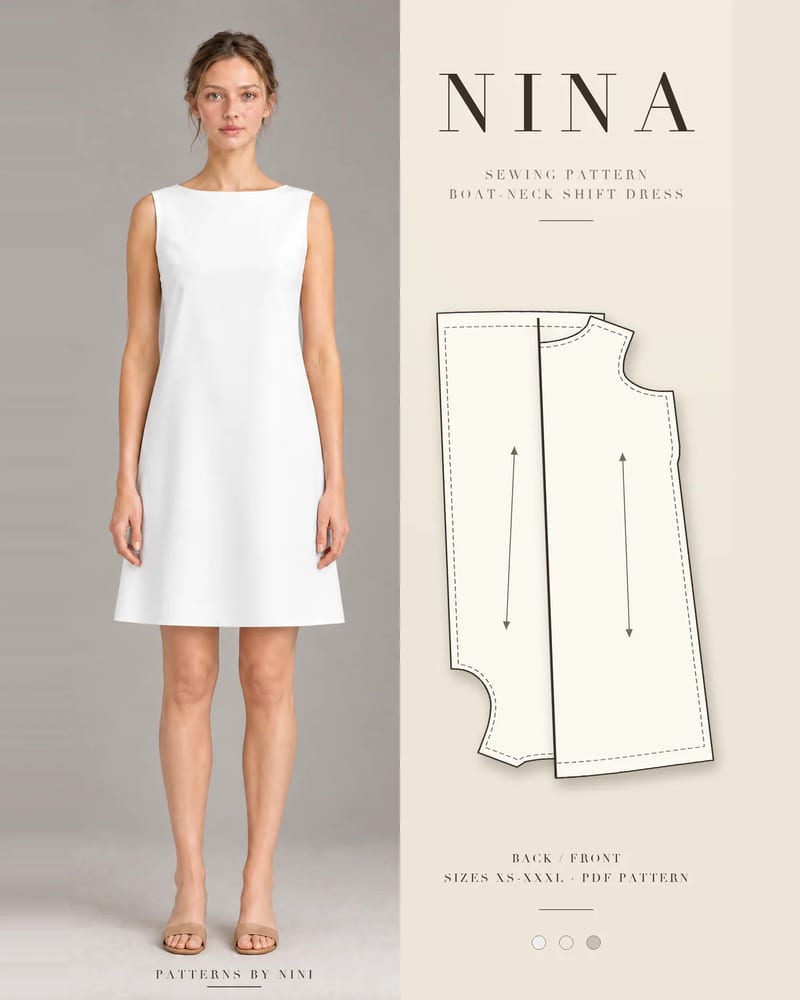
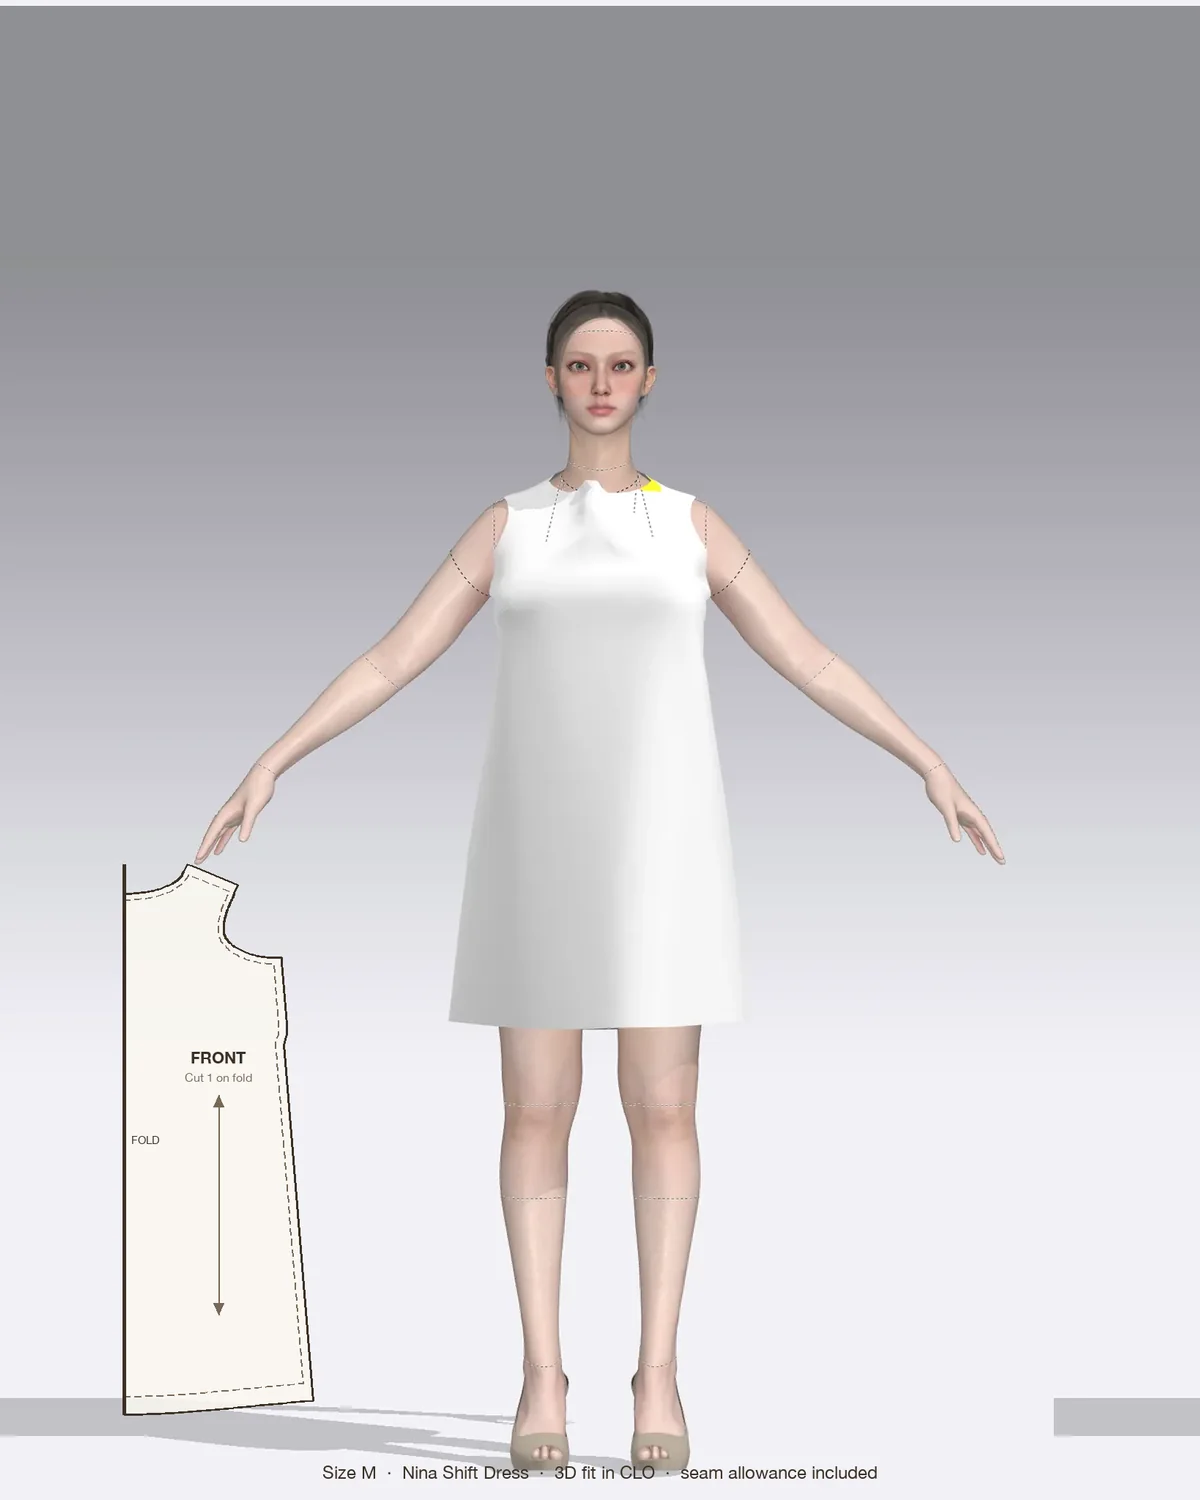
The Nina shift dress is a good first project for practicing seams, because it uses a few kinds in one garment. Its shoulder and side seams are plain seams. The neckline and armholes are curved seams that need clipping and understitching. Its center back takes an invisible zipper, which needs the seam allowances finished and left open and flat rather than enclosed, so finish those edges with a zigzag or serger before you insert it. The bust darts are stitched shapes rather than seams, but they are sewn and pressed the same way.
Nina suggests medium-weight linen, linen-viscose or cotton. On these, a zigzag or serged finish is the easiest way to neaten the plain seams.
| Problem | Likely cause | Fix |
|---|---|---|
| Seam is wavy or stretched | Fabric pulled through the machine, or sewn off-grain or on the bias | Let the feed dogs move the fabric; stay-stitch bias edges first; press, don’t iron back and forth |
| Puckered seam | Stitch too long or tension too tight on fine fabric | Shorten the stitch to 2.0 mm, rebalance tension, use a fine 70/10 needle |
| Garment fits tighter or looser than expected | Seam sewn at the wrong allowance | Check the pattern’s seam allowance and mark the guide on the throat plate |
| Seam pops open at the ends | No backstitch, or threads trimmed too close | Backstitch 3 or 4 stitches at each end |
| Raw edges fraying inside | No seam finish | Zigzag, serge, pink or enclose the seam |
| Curved seam won’t lie flat | Allowance not trimmed or clipped | Trim to 1/4 in (6 mm) and clip or notch every 1/2 in (1.2 cm) |
| Skipped stitches | Wrong or dull needle | Fit a new needle sized for the fabric |
How to use a seam ripper for sewing: what the point, blade and red ball do, three ways to unpick, serger and zipper stitches, and when to replace it.
How to choose sewing patterns for beginners: the shapes, closures, fabrics and sizing that make a first garment easy, plus what to skip until project three.
How to do a full bust adjustment: measure to see if you need one, slash and spread the front pattern piece, redraw the bust dart and true the side seam and hem.
May we use Pinterest cookies to measure visits and purchases and improve our advertising? You can shop either way and change your choice in Cookie settings. Privacy policy