A note on measurements: this guide is written for US sewists, so it uses US units first: inches, yards
and US paper sizes (Letter, 36 × 48 in). Metric equivalents are in brackets where they matter. If you're not used to US
measurements, convert them before you cut: 1 in = 2.54 cm, 1 yd = 91.4 cm.
A sewing projector displays a PDF pattern at full size directly onto your fabric or cutting mat, so you can cut out pieces without printing, trimming or taping a single page. Any ordinary home projector can do the job once it is mounted above a flat table and calibrated with free software. This guide covers what to look for in a projector, how to mount and calibrate it, which pattern files work best and the mistakes that make projected pieces come out the wrong size.
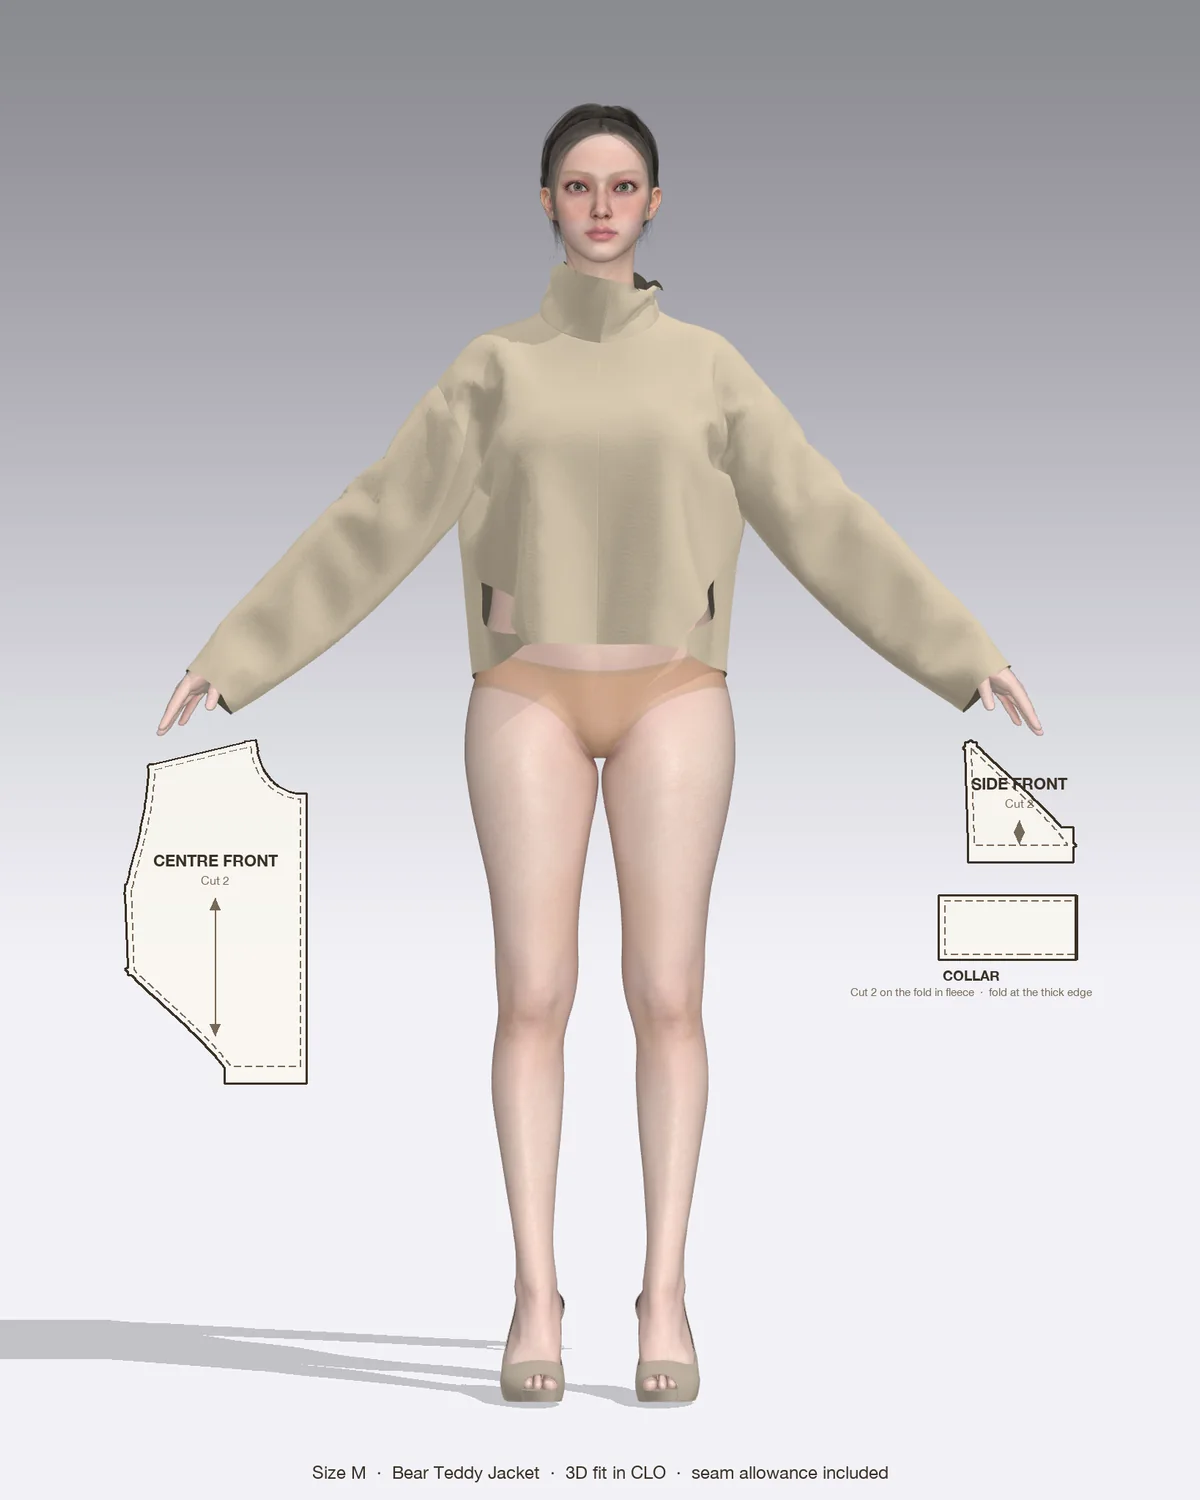
Draped in CLO 3D: the Bear with its pattern pieces, drawn to scale.
What a sewing projector does (and doesn’t do)
The projector is connected to a laptop or tablet that opens the pattern PDF in calibration software. The software stretches and scales the image until one inch on screen is exactly one inch on the table. You then lay your fabric down, line it up with the projected pieces and cut along the lines, or trace them onto paper first.
It saves the cost of printing and the time spent assembling pages, which is most noticeable on long pieces like pant legs or full-length skirts. It also makes blending sizes easy, because you can switch on just the size lines you need.
It is not instant. Calibration takes time the first time, often an afternoon, and needs repeating whenever the projector or table moves. It is also harder to see the whole layout at once if your projected area is smaller than your fabric, and pieces cut on the fold need an extra step (covered below).
Choosing a projector for sewing
You don’t need an expensive projector. Many sewists use mini projectors in the $50–150 range. What matters more than price:
Native resolution of at least 720p. 1080p gives crisper lines. Ignore the “supports 4K” claim on cheap models: that is the signal it accepts, not what it displays.
Throw ratio. This is the mounting distance divided by the width of the image. A lower number means a wider image from closer up. Many manufacturers don’t publish it, so check reviews or a projector calculator before buying.
Keystone or lens shift. This corrects the image when the projector isn’t perfectly square to the table. The software can also correct distortion, but a projector you can physically aim straight gives a sharper result.
Brightness you can trust. Lumen figures on budget projectors are often exaggerated. If you can’t darken the room, buy from a brand that quotes ANSI lumens.
A connection that suits your room. An HDMI cable long enough to reach the table, or a casting device so the laptop can sit anywhere.
Working out the image size
Use this to check a projector before you buy it:
Image width = mounting distance ÷ throw ratio
For example, a projector with a 1.5 ratio mounted 54 in (137 cm) above the table gives an image about 36 in (91 cm) wide. That matches a standard 24 × 36 in (61 × 91 cm) cutting mat. If your ceiling is low or you can’t mount to it, a short-throw or ultra-short-throw projector gives the same width from a stand beside the table.
How to set up and calibrate a sewing projector
Mount it
Choose a permanent spot if you can. Every time the setup moves, you recalibrate.
Mount the projector over the center of the table: on a ceiling mount, a wall bracket, a boom stand with a counterweight, or a tall tripod.
Point it straight down so the image is as close to a rectangle as possible before any software correction.
Run the projector on mains power. Swapping batteries can nudge it out of position.
Level the table
Check the cutting surface with a spirit level or a level app on your phone. An uneven or sagging table is one of the most common reasons calibration fails, because the image scales differently across the dip.
Calibrate with the software
Pattern Projector (patternprojector.com) is a free, open-source web app that runs in the browser, and it is the tool most sewists start with. The process:
Lay a cutting mat with a printed grid, ideally with lines every inch, flat on the table.
Open the calibration page full screen on the projector and enter the exact width and height of the mat’s grid.
Drag each corner of the projected grid until it sits on the matching corner of your mat’s grid.
Check the grid lines in the middle and along each edge, not just the corners. If they drift, adjust and check again.
Save the calibration and open your pattern PDF.
Check the scale
Measure the pattern’s test square with a ruler, then measure it again at the other end of the table. Both should be exact. This is the same check you’d do on a printed page, as explained in how to print PDF sewing patterns: a 1/16 in error on a 2 in square scales up to more than an inch around a 40 in hip.
Which pattern files work on a projector
Projector file. Made for this purpose: one long page, no tiling overlaps, often with size layers and a grid layer to confirm scale. Use it when a pattern includes one.
Copy shop file. The 36 × 48 in or A0 large-format file projects well. If it is layered, you can hide the sizes you aren’t cutting. Pieces wider than your projected area have to be moved across in sections.
Print-at-home file. Letter and A4 pages overlap at the margins, so they don’t project cleanly. A free tool such as PDFStitcher can join them into a single sheet first.
Patterns by Nini PDFs come with copy shop files in both 36 × 48 in and A0 alongside the print-at-home files, so the copy shop file is the one to open in your projector software.
Cutting out with a projector
Press the fabric and lay it flat, with the selvage parallel to an edge of the mat. Keep each grainline arrow parallel to the selvage, as covered in fabric grain in sewing.
Switch on only the size lines you need and, if the software allows, invert the colors so the lines show as bright on a dark background. They are much easier to see on patterned fabric.
Weight the fabric down so it can’t shift while you work.
Cut directly with a rotary cutter, or mark the lines with chalk and cut with scissors. Your hand and cutter cast a shadow over the line, so keep your body out of the beam where you can.
Mark notches and dots as you go.
Pieces cut on the fold
Projecting onto folded fabric doesn’t work well, because the image lands on a double layer you can’t see through. Either cut one half, flip the image in the software and cut the mirrored half from open fabric, or trace the half-piece onto paper and cut it on the fold the usual way.
Thick or textured fabric
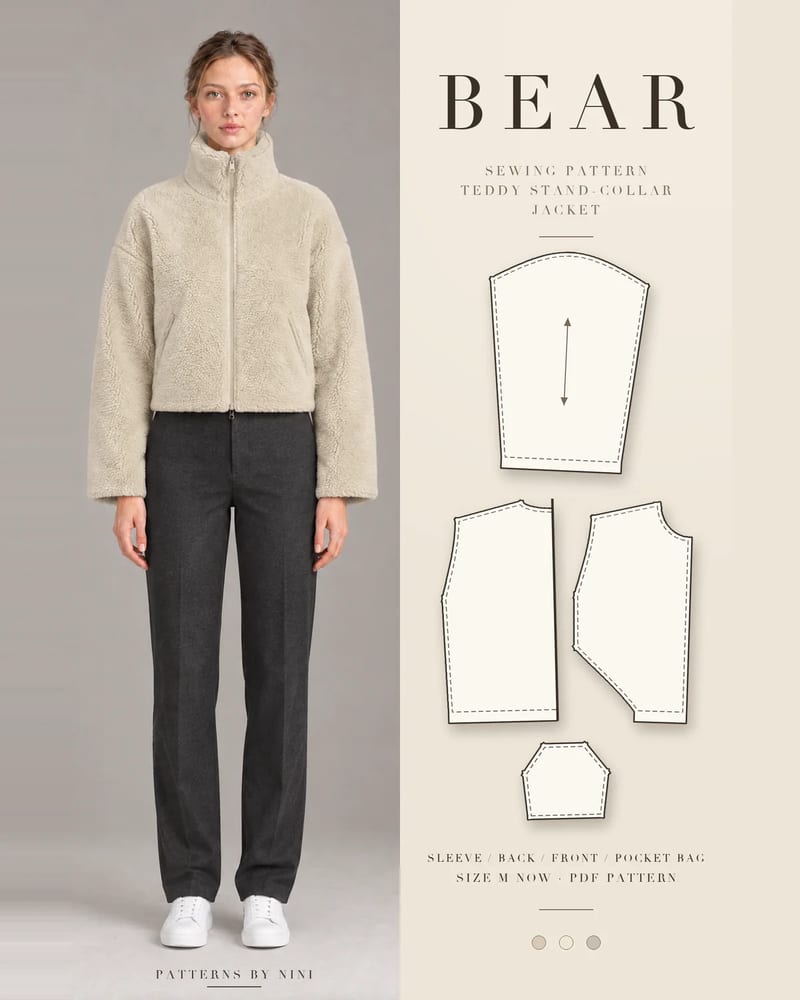
Lines are hard to see on pile fabrics. For the Bear teddy jacket, which is sewn in sherpa or teddy fleece, trace its six pieces onto paper under the projector, then pin or weight the paper pieces to the fleece and cut. The paper copies are reusable too; see pattern paper for sewing for what to trace onto. Long, flat pieces such as the legs of the Tayo flare pants are where projecting saves the most taping.
Common mistakes and troubleshooting
Pieces come out small or large. The mat size entered doesn’t match the grid, or the projector has moved. Recalibrate and recheck the test square in two places.
Pieces are right in the middle but wrong at the edges. The table isn’t level, or the projector is angled. Level the table and aim the projector straighter rather than relying on heavy digital correction.
Lines are too faint. Darken the room, invert the colors and thicken the line weight if your software or file offers it.
The projected area is too small. The throw ratio is too high for your mounting height. Raise the projector, project onto the floor, or move pieces across the table in sections.
Fabric creeps while cutting. Use more weights and smooth the fabric from the center out before you start.
Blurry lines. Refocus after every height change, and remember that a low native resolution can’t be fixed in software.
Frequently asked questions
Can you use any projector for sewing patterns?
Almost any projector that connects to a laptop or tablet will work, as long as it has keystone or lens adjustment, a native resolution of at least 720p and a throw ratio that gives a wide enough image from the height you can mount it. Cheap mini projectors are common. Check the native resolution, not the 'supported' one, because the native figure decides how sharp the lines look.
How high does a projector need to be for sewing?
It depends on the throw ratio. Divide the mounting distance by the throw ratio to get the image width: at 54 in (137 cm) above the table, a 1.5 ratio projector gives an image about 36 in (91 cm) wide, the width of a standard cutting mat. Short-throw projectors give the same width from much closer, which suits low ceilings.
Do I need a special projector file to project a sewing pattern?
No, but it helps. A projector file is one long page with no overlaps and layers for each size. A copy shop file (36 × 48 in or A0) projects well too, and you can hide sizes if it is layered. A tiled Letter or A4 file has overlapping page margins, so convert it first with a free tool such as PDFStitcher.
Why are my projected pattern pieces the wrong size?
Usually the calibration is off or the setup has moved. Check that the table is level, that the mat size you entered in the software matches your mat exactly, and that nothing has knocked the projector since you calibrated. Measure the pattern's test square with a ruler in more than one spot on the table, then recalibrate if any measurement is off.
Print a PDF sewing pattern at a copy shop (36 × 48 in or A0) or at home on Letter or A4, set the scale to 100% and check the test square before cutting.
How to hem jacket sleeves step by step: set the length, turn and stitch an unlined hem, reattach a lining with ease, and deal with vents and cuff buttons.
How to sew a collar that sits crisp: interface the upper collar, trim the under collar, turn sharp points and attach it with a stand, facing or binding.
Help us understand what inspires you
May we use Pinterest cookies to measure visits and purchases and improve our advertising? You can shop either way and change your choice in Cookie settings. Privacy policy
 Patterns