A note on measurements: this guide is written for US sewists, so it uses US units first: inches, yards
and US paper sizes (Letter, 36 × 48 in). Metric equivalents are in brackets where they matter. If you're not used to US
measurements, convert them before you cut: 1 in = 2.54 cm, 1 yd = 91.4 cm.
The best pattern paper for sewing depends on the job. For tracing a size off a printed or copy-shop pattern, use something thin and see-through, such as artist’s tracing paper, medical exam table paper or Swedish tracing paper. For altering and storing a pattern you’ll use again, move up to kraft paper, dotted pattern paper or heavy oak tag.
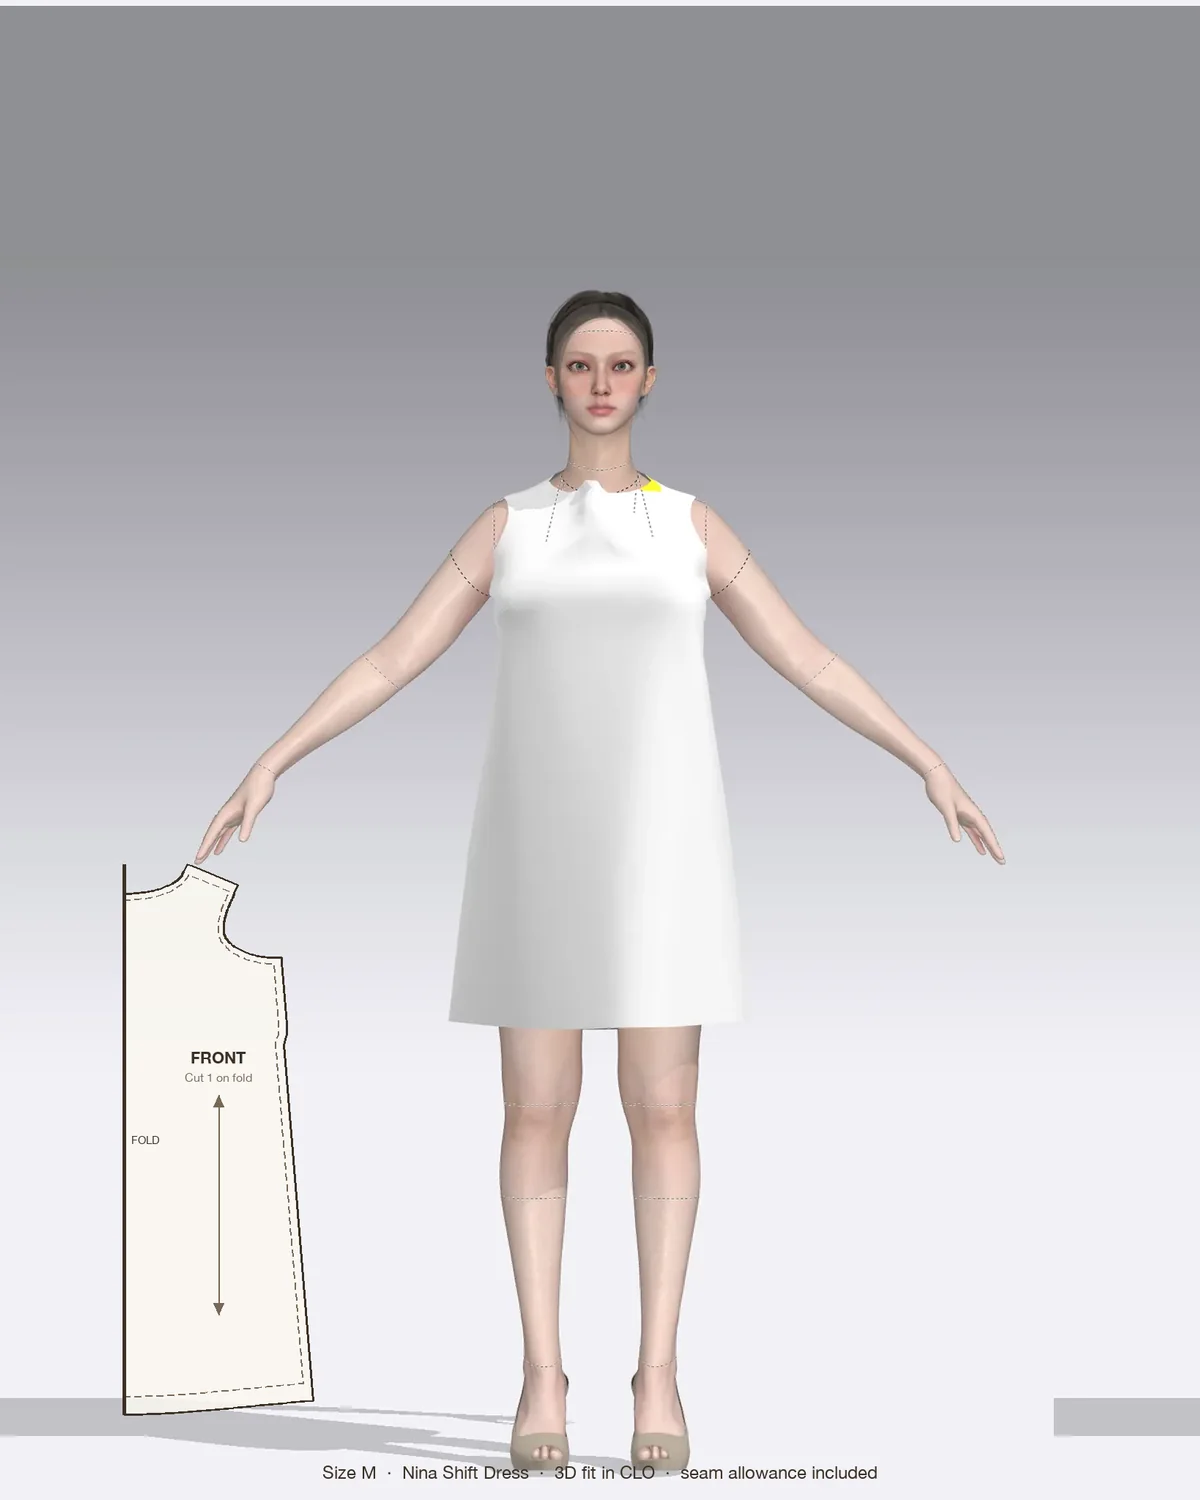
Draped in CLO 3D: the Nina with its pattern pieces, drawn to scale.
Below is what each type is good at, which width to buy, and a step-by-step method for tracing a multi-size pattern so the copy is accurate.
Why trace a pattern at all
Most PDF and envelope patterns come with every size nested on one sheet. Cutting out your size destroys the others. Tracing keeps the original intact, which matters when:
You’re between sizes and want to blend from one size at the bust to another at the hip.
You plan to adjust the fit, for example moving darts or lengthening the rise, and want a clean copy to slash and spread.
You bought the copy-shop file. A 36 × 48 in sheet is worth keeping whole so you can trace a new size later without paying to print again.
Several people sew from the same pattern, or you expect your measurements to change.
If you print at home, use one size and never change it, cutting the taped printout is fine. The guide to printing PDF sewing patterns covers scaling and the test square.
Types of pattern paper compared
Pattern paper falls into three loose weights. Lighter papers are easier to see through; heavier ones last longer.
Lightweight: for tracing
Artist’s or architect’s tracing paper. Very transparent, inexpensive and sold on rolls from about 12 in to 36 in wide (Bienfang, Bee Paper and Alvin are common US brands). Prints and markings show through clearly. It can tear if you pin it heavily, so use pattern weights.
Medical exam table paper. A long-standing budget favorite: cheap, semi-transparent and sold on long rolls. It wrinkles and tears more easily than tracing paper, can’t be pressed and doesn’t survive much repinning, so it suits one-off copies.
Swedish tracing paper. A non-woven that behaves like a light interfacing. It’s translucent enough to trace through, doesn’t tear easily, can be pinned, pressed on low heat and even machine-stitched into a quick test garment. It costs noticeably more than paper.
Dressmaker’s tissue. The thin paper commercial patterns are printed on, sold blank. Folds small but rips easily. Gift-wrap tissue is too weak.
Medium weight: for adjustments
Kraft or butcher paper. Wide, cheap rolls that take pins, tape and erasing. White kraft is slightly translucent; brown usually isn’t, so you’ll need a window or light box to trace onto it.
Dotted or alphabet pattern paper. Semi-transparent paper printed with a dot (sometimes a letter and number) every 1 in (2.5 cm). The grid makes it easy to draw right angles, keep a grainline straight and check that both halves of a piece match.
Freezer paper. One side is plastic-coated and sticks temporarily to fabric with a warm, dry iron. Handy for small pieces on slippery fabric, not for long-term storage.
Heavyweight: for patterns you keep
Oak tag (manila pattern paper). Stiff like light card, opaque, and resists rotary cutter nicks. It’s the usual choice for blocks and master patterns. Trace onto lighter paper first, then transfer.
Clear plastic or Mylar sheets. Fully transparent and wipeable, good for small templates and blocks you trace around often. Slippery on fabric and expensive in large sizes.
Paper
See-through
Pin and press
Cost
Best for
Artist’s tracing paper
High
Pins with care, no press
Low
Tracing sizes
Exam table paper
Medium
Fragile, no press
Very low
One-off copies
Swedish tracing paper
Medium
Yes, low heat; sewable
High
Tracing and test fits
Kraft or butcher paper
Low to medium
Yes
Low
Drafting, alterations
Dotted pattern paper
Medium
Yes
Medium
Alterations, drafting
Oak tag
None
Pins, no press needed
High
Blocks, master copies
Which width to buy
Buy the widest roll you have room for; every join is a place for a piece to shift.
24 in (61 cm) fits most bodice, sleeve, facing and short skirt pieces.
36 in (91 cm) is the practical choice for full-length pant legs, jumpsuit legs and wide skirt panels.
Narrower rolls (many exam paper rolls are under 24 in wide) need strips taped edge to edge. Overlap them by about 1/2 in (1.3 cm) and tape the full length on both sides before you trace.
How to trace a multi-size pattern
You’ll need paper, pattern weights or cans, a ruler, a flexible curve or French curve, a sharp pencil (a soft or colored pencil is less likely to tear thin paper), clear tape and a highlighter.
Press the original. Iron printed sheets or tissue flat on a dry, low setting so the lines aren’t distorted by creases.
Highlight your size. Trace over your size line in highlighter on the original. If you’re blending, mark the bust, waist and hip sizes and sketch the transition between them.
Lay the paper over the pattern and weight both layers so neither moves. Work on a hard, smooth surface; a cutting mat or bare table is ideal.
Trace straight lines with a ruler. Grainlines, center fronts, fold lines and hems should be drawn, not sketched.
Trace curves in short strokes, or use a curve ruler for necklines, armholes and the crotch curve. Slide the curve along rather than drawing one long sweep.
Copy every marking. Notches, dots, dart legs and the dart point, pleat lines, button positions, the grainline arrow and any “place on fold” line. Missing a notch is the most common reason a traced piece won’t match its neighbor.
Label each piece with the pattern name, piece name and number, size, how many to cut and whether to cut on the fold, plus the date.
Check before cutting. Lay the traced piece back on the original and confirm the outline matches. Then walk adjoining seams against each other with a ruler: side seam against side seam, shoulder against shoulder. They should be the same length between notches.
Cut on the line, and store pieces flat in a large envelope or roll them loosely; tight rolls make thin paper curl.
If your pattern doesn’t include seam allowances, add them now with a ruler or a double pencil taped together at the right spacing, and write the allowance on the piece.
Common mistakes and how to avoid them
Pattern shifting while you trace. Weight both layers in several places and trace one area at a time. Tape the corners if the paper is slippery.
Tracing the wrong size line. Nested sizes often cross near notches and curves. Highlighting first stops you drifting onto a neighboring line.
Using brown kraft without a light source. You’ll miss faint lines. Tape the original to a sunny window, use a light box, or switch to a more transparent paper.
Ink bleeding through. Felt-tip markers can mark the original or your fabric. Use pencil on the paper and test any pen on a scrap first.
Forgetting the grainline. A piece cut off-grain twists in wear. Extend the grainline arrow the full length of the piece so it’s easy to measure from the selvage.
Pressing paper that can’t take it. Exam paper and plastics scorch or melt. Only Swedish tracing paper and plain tissue tolerate a low, dry iron.
Using pattern paper with Patterns by Nini patterns
Every Patterns by Nini pattern ships with copy-shop files at 36 × 48 in (US) and A0, print-at-home files in US Letter and A4 with a page map and test squares, and a size chart with finished measurements in inches and centimeters. That makes tracing worth it: keep the copy-shop sheet whole and trace off the size you need.
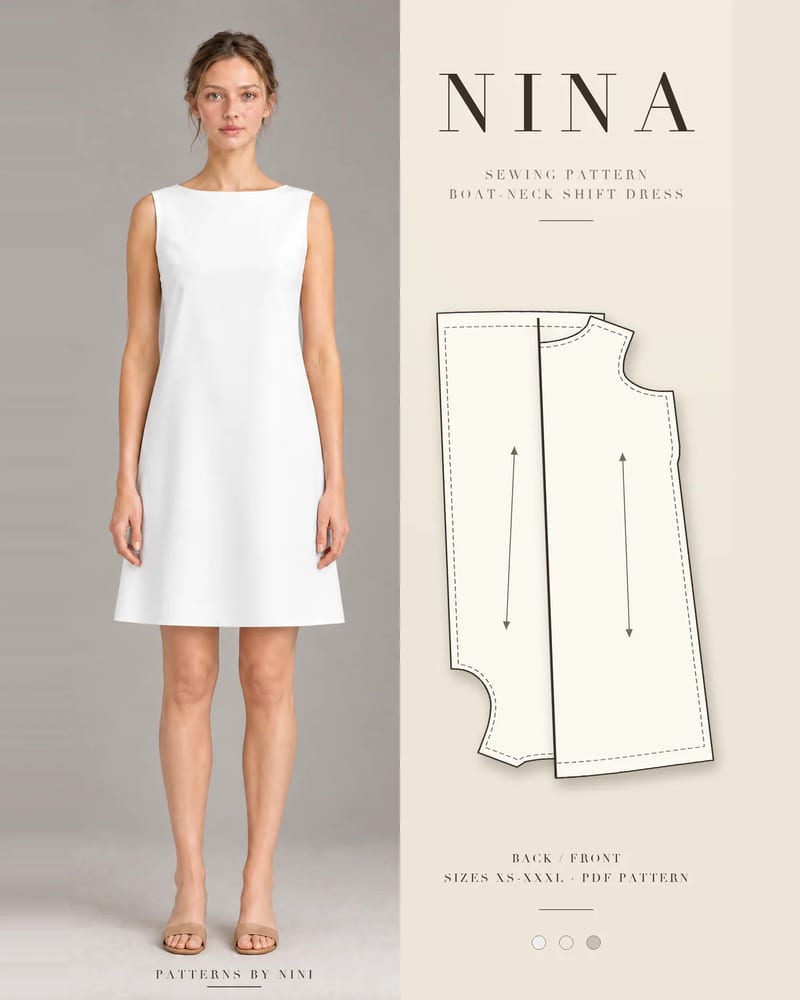
The Yinka palazzo pants are floor length, with legs that widen from the hip to a very full hem, so the leg pieces are long and wide. They are where a 36 in roll pays off. The Nina shift dress comes in sizes XS–L, so tracing lets you keep every size intact. Its facings also call for interfacing, which you can cut from the same traced facing pieces.
Frequently asked questions
What can I use instead of pattern paper?
Medical exam table paper, artist's tracing paper rolls, white kraft paper, freezer paper and unprinted newsprint ends all work. Exam paper and tracing paper are see-through enough to trace from. Kraft and newsprint are cheap and wide but usually need a window or light box behind them. Avoid gift-wrap tissue, which tears as soon as you pin it.
Can you sew Swedish tracing paper?
Yes. Swedish tracing paper is a non-woven that handles more like interfacing than paper, so you can pin it, press it on a low dry setting and machine-stitch it into a quick test garment to check fit before cutting fabric. It won't stretch or drape like your real fabric, so treat it as a rough fit check, not a final muslin.
Should I trace a PDF sewing pattern or cut it out?
If you only need one size and the pattern prints at home, cutting the taped printout is fine. Trace it when you're blending between sizes, want to keep every size for later, or bought the copy-shop file, because large sheets are easier to store intact and you can trace again after a fitting change without reprinting.
What width of pattern paper do I need?
A 24 in (61 cm) roll covers most bodice, sleeve and skirt pieces. Full-length pant legs, jumpsuit legs and wide skirt panels are easier on a 36 in (91 cm) roll, which saves taping strips together. Medical exam paper is usually narrower, so expect to join it for big pieces.
How to do a full bust adjustment: measure to see if you need one, slash and spread the front pattern piece, redraw the bust dart and true the side seam and hem.
How to grade between sizes in sewing: find your size at bust, waist and hip, mark each point, blend a smooth cutting line and true the seams before you cut.
Help us understand what inspires you
May we use Pinterest cookies to measure visits and purchases and improve our advertising? You can shop either way and change your choice in Cookie settings. Privacy policy
 Patterns