A note on measurements: this guide is written for US sewists, so it uses US units first: inches, yards
and US paper sizes (Letter, 36 × 48 in). Metric equivalents are in brackets where they matter. If you're not used to US
measurements, convert them before you cut: 1 in = 2.54 cm, 1 yd = 91.4 cm.
A full bust adjustment (FBA) adds room over the bust to the front pattern piece only, without making the shoulders, neckline and back bigger too. You cut the front piece along three lines that meet at the bust point, spread them apart by half the extra width you need, and redraw a deeper bust dart. This guide shows how to work out whether you need a full bust adjustment, how much to add, and how to do one on a darted bodice or a shift dress, step by step.
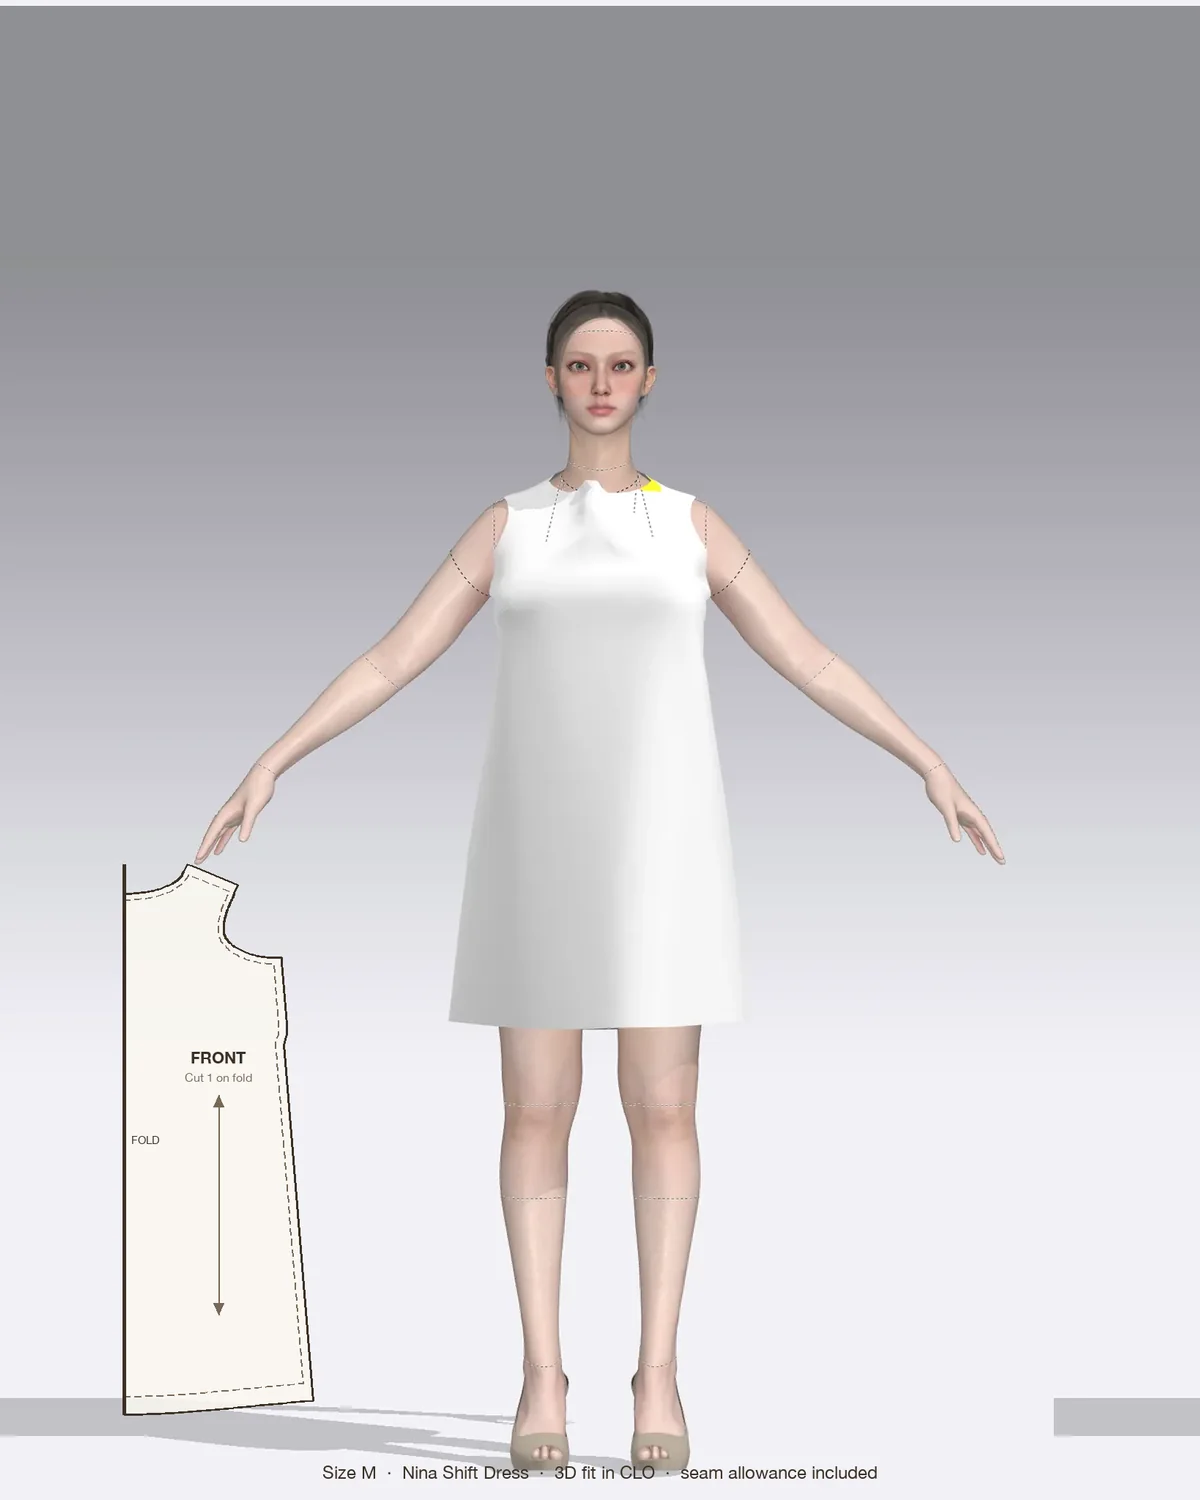
Draped in CLO 3D: the Nina with its pattern pieces, drawn to scale.
Why a full bust adjustment beats cutting a bigger size
Most sewing patterns are drafted for one cup size, and many companies use a B cup: a 2 in (5 cm) difference between the high bust and the full bust. If your difference is bigger and you simply cut the size that matches your full bust, the dress fits at the bust but the shoulders, neckline and armholes are too big, because those areas are sized to match the larger frame.
An FBA lets you cut the size that fits your frame and add bust room only where you need it. The extra fabric goes into width across the front and length down the front, which stops the hem riding up at center front.
How to tell if you need an FBA
Signs on a garment you have already sewn or a muslin:
Pulling or drag lines across the front that point at the bust
The front hem higher than the back hem
Bust darts that end above or below the fullest point
A good fit at the shoulders but a tight bust, or a good fit at the bust with gaping shoulders and armholes
To check before you cut, take two measurements wearing the bra you’ll wear with the garment. The guide to taking body measurements for sewing shows where to put the tape.
High bust: around your back, under your arms and above your bust, with the tape level.
Full bust: around the fullest part of your bust, again level all the way round.
Subtract high bust from full bust. Roughly 1 in (2.5 cm) is an A cup, 2 in (5 cm) a B, 3 in (7.5 cm) a C and 4 in (10 cm) a D. This sewing cup size often isn’t the same as your bra size.
If the pattern says which cup it is drafted for, compare that with yours. If it doesn’t, assume a B cup. A difference of 3 in or more usually means an FBA is worth doing.
Work out how much to add
Choose your size from your high bust. For a B-cup pattern, add 2 in (5 cm) to your high bust and pick the size with that bust measurement. Use your waist and hip for the lower body, and grade between sizes if they fall in different sizes.
Find the difference. Subtract the pattern’s body bust measurement for that size from your full bust. For example, a 38 in (96.5 cm) full bust in a size drafted for 36 in (91.5 cm) needs 2 in (5 cm) more.
Halve it. The front pattern piece is half the front, cut on the fold or as a mirrored pair, so each half gets half the total. In the example, you spread the pattern 1 in (2.5 cm).
How to do a full bust adjustment, step by step
Trace the front piece onto pattern paper and keep the original; you’ll also need extra paper, tape and a ruler.
Mark the bust point
Hold the traced front piece against your body, with the shoulder seam line on your shoulder and center front at your center front, and mark where your bust apex falls.
Check the dart. The bust dart should point at the apex and stop about 1 in (2.5 cm) short of it on a smaller cup, or 2 in (5 cm) on a fuller one. If it’s too high or too low, move it now.
Draw the slash lines
Line 1: from the bust apex straight down to the waist or hem, parallel to the grainline.
Line 2: from the apex up to the armhole, ending about a third of the way up from the underarm. Mark the seam line where it crosses.
Line 3: from the side seam through the middle of the bust dart to the apex.
Line 4: a horizontal line across the center front section, about halfway between the apex and the waist or hem, from center front to Line 1.
Cut and spread
Cut Line 1 up to the apex, then along Line 2 to the armhole seam line. Snip from the edge to the seam line so the armhole holds by a paper hinge.
Cut Line 3 from the side seam to just short of the apex, leaving another hinge.
Place the piece on fresh paper and swing the side section out until the two edges of Line 1 are parallel and the gap equals your spread amount, for example 1 in (2.5 cm). Tape it down. The bust dart opens wider as you do.
Cut Line 4 and slide the lower center front piece down until its lower edge lines up with the side piece. Tape it. This adds the length the front needs to reach over the bust.
Redraw the dart and true the edges
Mark the new dart point on the dart’s center line, the same distance from the apex as before.
Draw the new dart legs from the original leg positions at the side seam to the new point.
Fold the dart closed, pressing the lower leg up to meet the upper leg as you will sew it, and redraw the side seam straight across the fold. Cut along it, then unfold. This gives the dart its correct shape at the seam.
Smooth the armhole, the waist or hem and the center front with gentle curves where the pieces step.
Compare the front and back side seams. Below the dart they should be the same length. If the front is longer, take it out by making the dart a little deeper.
On a fitted bodice with a waist seam, you can keep the extra waist width as a waist dart, or take it out at the side seam, tapering back to the original line at the waist.
FBA on the Nina shift dress
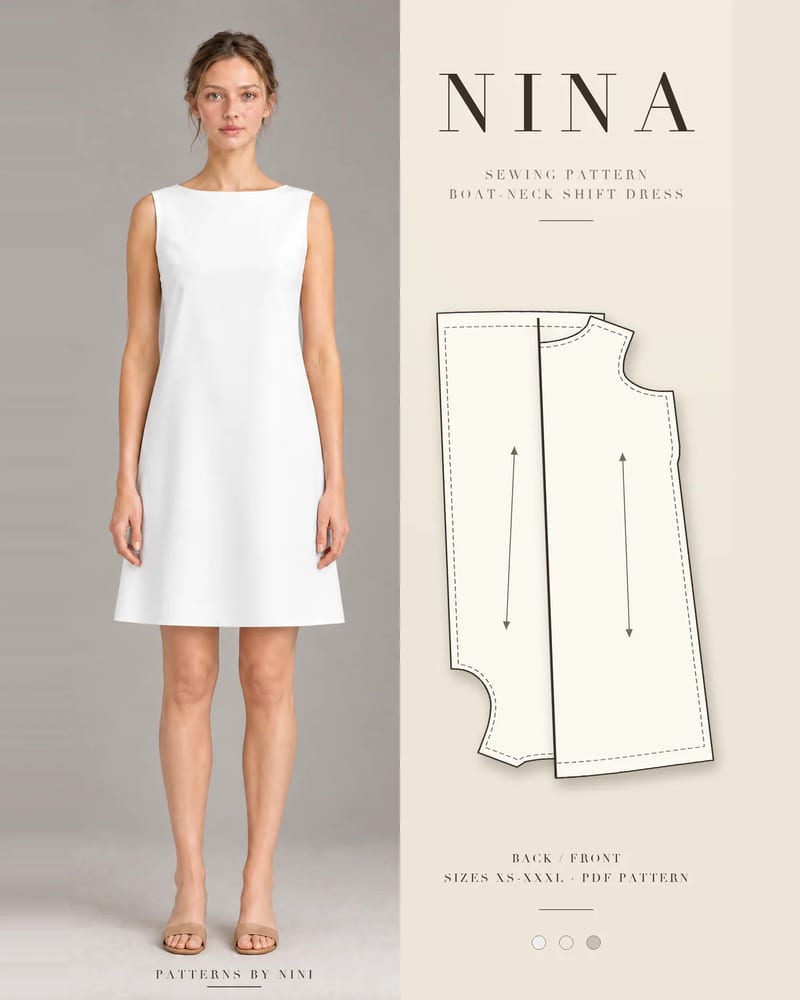
The Nina boat-neck shift dress is a good first FBA project. It has a bust dart on the front, no waist seam and an A-line skirt, so the slash lines run straight to the knee-length hem and there’s only one dart to redraw.
Line 1 runs to the hem. The spread adds width all the way down. Keep it as a little more A-line flare, or take it back out at the side seam from the hip down so the hem keeps its original width.
Level the hem. Line 4 crosses the center front below the bust; drop the lower piece so the hem lines up with the side section.
Redraw the facing. Nina has all-in-one neck and armhole facings, and the FBA changes the armhole shape. Trace the new front facing from your altered front piece so it fits the armhole exactly.
The back doesn’t change, and neither does the center back invisible zipper.
Nina comes in sizes XS–L. Compare your measurements with the bust measurement on the size chart before deciding how much, if anything, to add. The same FBA method works on the darted bodices of Amara and Tola. Patterns with princess seams, such as Zuri, need a different FBA that adds the room into the side front panel instead of a dart.
Common mistakes and how to fix them
Problem
Likely cause
Fix
Neckline or armholes gape after the FBA
Size chosen from full bust, not high bust
Recut the size for your high bust and repeat the FBA
Front hem still rides up
Line 4 skipped, so no length added at center front
Cut Line 4 and lower the center front by the dart increase
Side seams don’t match
Dart drawn without folding the side seam closed
Fold the dart shut and redraw the side seam
Pointy or cone-shaped bust
Dart point ends too close to the apex
Stop the dart 1 to 2 in (2.5 to 5 cm) from the apex
Huge, stiff dart
Large adjustment in one dart
Split the dart into two smaller darts, or move some into a waist dart
Facing doesn’t fit the armhole
Old facing piece reused
Trace a new facing from the altered front
Test it before you cut
Sew a quick muslin of the front and back in cheap cotton of a similar weight to your fabric, with long basting stitches. Try it on with the right bra and check that the dart points at your apex, the side seams hang straight and the hem is level. Then sew the darts in your real fabric.
Frequently asked questions
How do I know if I need a full bust adjustment?
Measure your high bust (under the arms, above the bust) and your full bust. Many patterns are drafted for a B cup, a 2 in (5 cm) difference. If your difference is 3 in (7.5 cm) or more, choose your size from your high bust plus 2 in and do an FBA. Pulling across the bust, a front hem that rides up and drag lines pointing at the bust are other signs.
How much should I add in a full bust adjustment?
Subtract the pattern's bust measurement for the size you cut from your full bust measurement. That total is shared between the left and right front, and you only alter half the front, so spread each pattern piece by half the difference. For example, a 38 in full bust in a 36 in size needs 2 in in total, spread 1 in on the half front.
Do I need to change the back pattern piece for an FBA?
No. A full bust adjustment adds width and length only to the front, where the bust is. The back stays as it is. The side seams still have to match, so after spreading you fold the new, deeper bust dart closed and true the front side seam until it is the same length as the back side seam, or take any extra out of the dart.
Can I do a full bust adjustment on a dress without a waist seam?
Yes. On a shift or A-line dress the slash lines run down to the hem instead of a waist seam. The vertical spread adds width all the way down, which you can keep as extra flare or take back out at the lower side seam. Cut across the center front below the bust and lower it so the hem stays level.
What is the difference between bra cup size and sewing cup size?
Sewing cup size comes from the difference between your full bust and high bust measurements: about 1 in (2.5 cm) per cup, so 2 in is a B and 4 in is a D. It often doesn't match your bra size, which is based on the band measured under the bust. Use the tape measure numbers, not the bra label, when deciding on an FBA.
How to grade between sizes in sewing: find your size at bust, waist and hip, mark each point, blend a smooth cutting line and true the seams before you cut.
How to choose sewing patterns for beginners: the shapes, closures, fabrics and sizing that make a first garment easy, plus what to skip until project three.
Help us understand what inspires you
May we use Pinterest cookies to measure visits and purchases and improve our advertising? You can shop either way and change your choice in Cookie settings. Privacy policy
 Patterns