A note on measurements: this guide is written for US sewists, so it uses US units first: inches, yards
and US paper sizes (Letter, 36 × 48 in). Metric equivalents are in brackets where they matter. If you're not used to US
measurements, convert them before you cut: 1 in = 2.54 cm, 1 yd = 91.4 cm.
To take body measurements for sewing, wear close-fitting underwear, tie a piece of elastic around your natural waist, and wrap a flexible tape measure around each point snugly and level with the floor, recording every number in inches and centimeters. The key ones are full bust, high bust, waist and full hip, plus lengths such as back waist length and seated rise for pants and jumpsuits. Below: how to take body measurements for sewing one by one, common mistakes, and how to pick the right size.
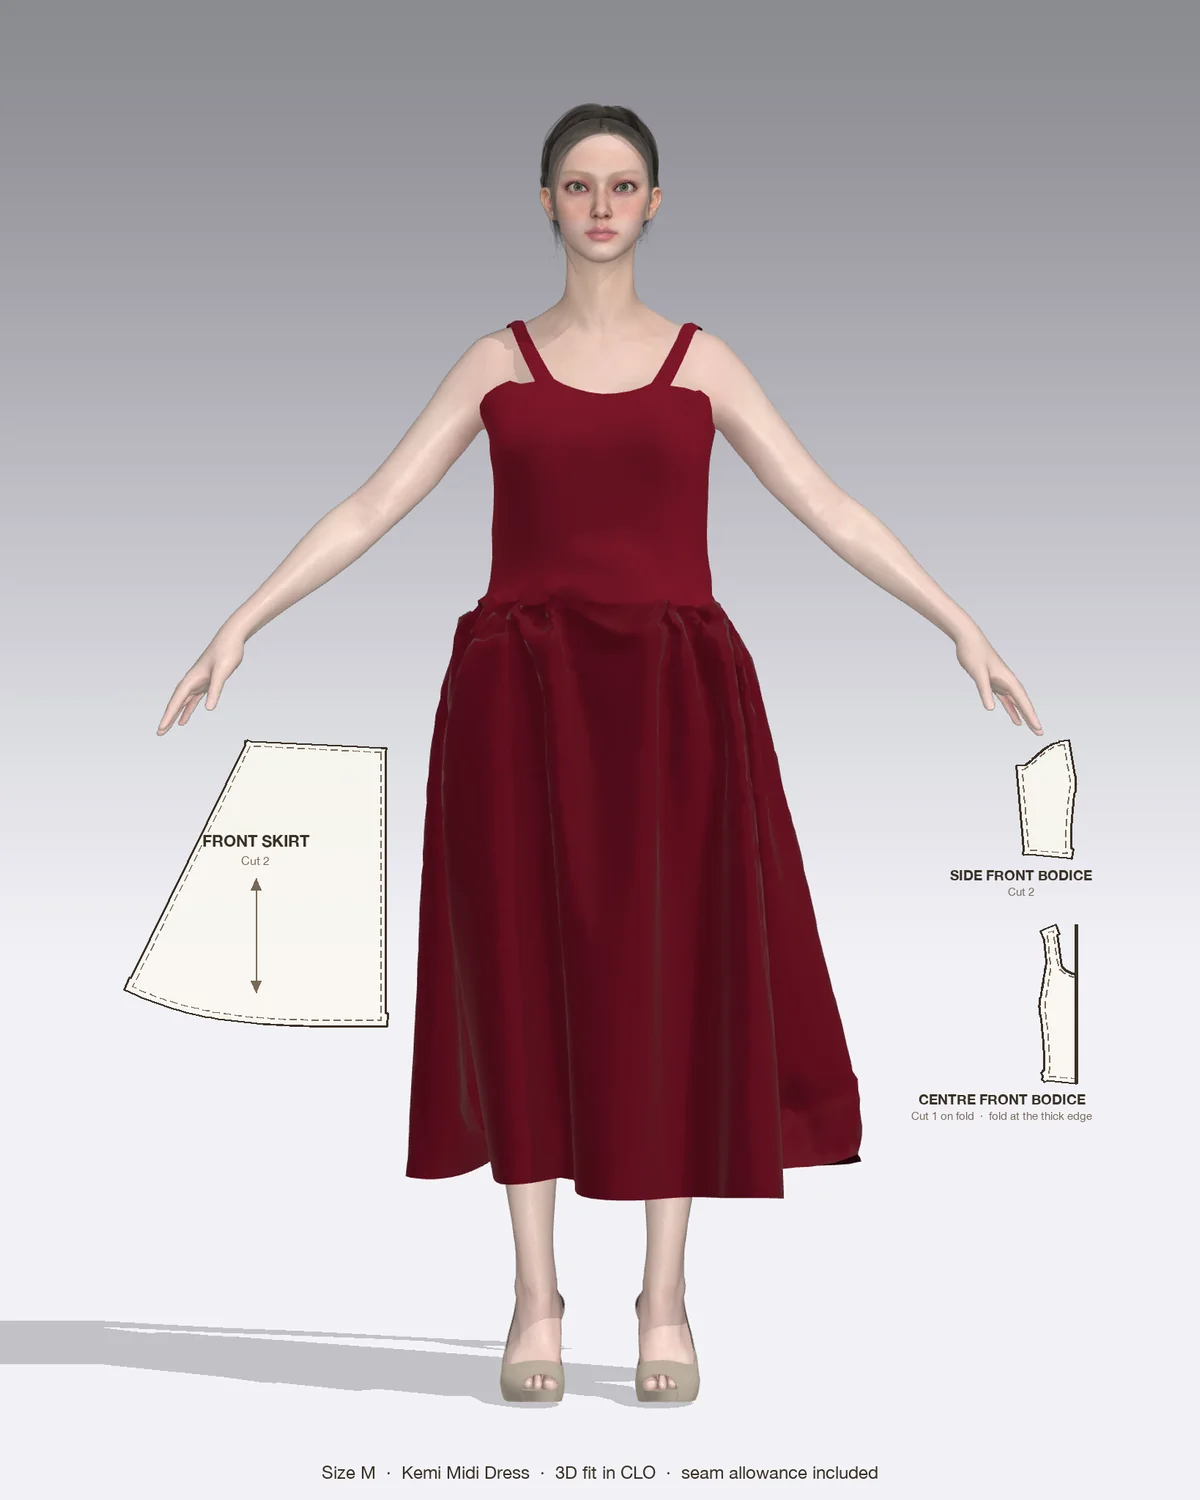
Draped in CLO 3D: the Kemi with its pattern pieces, drawn to scale.
Before you start: tools and setup
Gather:
A flexible tape measure that reads in inches and centimeters. Old tapes stretch, so check yours against a ruler.
A length of narrow elastic or ribbon, about 1/4 in (6 mm) wide, long enough to tie around your waist.
A full-length mirror, and a helper for the back and crotch measurements if you can.
A notebook or the measurement record at the end of this guide.
Then set up the same way every time:
Dress in underwear or a thin leotard, and the bra you’ll wear with the finished garment.
Tie the elastic around your waist and bend side to side a few times. It settles at your natural waist, the narrowest part of your torso, which is often higher than where your jeans sit.
Stand naturally, feet about hip-width apart, weight even, shoulders relaxed. Don’t stand straighter than usual or suck in.
Keep the tape level and snug: you should be able to slide one finger under it without it lifting off your body.
The core circumference measurements
These four decide your size on almost every pattern. Take each one twice; if the readings differ by more than 1/4 in (6 mm), take a third and use the middle number.
Full bust
Wrap the tape around the fullest part of the bust, usually across the bust points.
Check in the mirror that it stays level across your back, where it tends to ride up.
Breathe out normally and read the tape where it meets the zero end.
High bust
Raise the tape so it sits high under the arms, above the bust in front and across the shoulder blades at the back.
Keep it snug and as level as your body allows; it naturally rises slightly in front.
The difference between full bust and high bust tells you the cup size a pattern is drafted for. Cashmerette notes that many patterns don’t state their cup size but tend to default to a B cup, which corresponds to a full bust about 2 in (5 cm) larger than the high bust; 3 in (7.6 cm) is a C cup and 4 in (10.2 cm) a D cup in sewing terms. If your difference is larger than the pattern’s, choose your size from the high bust measurement and add room at the bust with a full bust adjustment.
Waist
Measure around the natural waist, directly over the elastic.
Don’t pull the tape in; measure the way you’d want a waistband to sit.
Full hip
Find the fullest part of your hips and seat. Stand side-on to the mirror; it is often lower than you expect, usually about 7 to 9 in (18 to 23 cm) below the waist.
Measure around it with the tape level, then measure down from the waist elastic to the tape and note that distance too. Pants patterns are shaped for a hip at a set depth, so the distance helps you spot a fitting issue before you cut.
Length and width measurements
Back waist length: from the prominent bone at the base of the back of your neck straight down the spine to the waist elastic.
Front waist length: from the point where the shoulder meets the neck, over the bust point, down to the waist elastic.
Shoulder width: across the back, from the tip of one shoulder bone to the other.
Bust point to bust point: straight across, between the apexes. Note also the distance from the shoulder-neck point down to the apex. You’ll use both when checking where bust darts should point.
Arm length: from the shoulder tip, over a slightly bent elbow, to the wrist bone.
Upper arm: around the fullest part of the arm, between shoulder and elbow, with the arm relaxed.
Height: barefoot, against a wall.
Measurements for pants and jumpsuits
Anything with a crotch seam needs a few extra numbers, and they’re the ones most often skipped.
Seated rise (crotch depth)
Sit upright on a hard, flat chair, thighs parallel to the floor.
At your side, measure from the waist elastic down over the curve of the hip to the chair seat, holding a ruler flat on the seat to read the point accurately.
New Mexico State University’s pants-fitting guide adds roughly 1/2 to 1 in (1.3 to 2.5 cm) of ease to this number, depending on hip size, when comparing it with a pattern.
Crotch length
Standing, pass the tape between your legs from the waist elastic at center front to the elastic at center back.
Hold the tape where it sits under the crotch and read the front and back portions separately; the back is usually longer.
Inseam, outseam and thigh
Outseam: down the side from the waist elastic to the floor, barefoot, or to where you want the hem.
Inseam: from the crotch to the floor along the inside of the leg.
Thigh: around the fullest part of the upper leg, just below the crotch.
Torso girth for jumpsuits
A jumpsuit hangs from the shoulders to the crotch in one piece, so a bodice that’s too short pulls the crotch up uncomfortably. For a one-piece garment, measure the full torso loop: from the top of one shoulder, down the front, between the legs and back up the back to the same shoulder, keeping the tape close to the body. Compare it with the pattern’s bodice length plus rise before cutting.
How to use your measurements to choose a size
Your numbers are body measurements. A pattern has two charts: a body measurement chart (the size chart) and finished garment measurements, which include ease, the extra room built in for movement and style.
Find your size on the body chart, starting with full bust for tops, dresses and jumpsuits and full hip for skirts and pants.
If you fall between sizes, choose the size that fits your bust and shoulders, which are the hardest areas to alter, then grade out or in at the waist and hip. The guide to grading between sizes shows how to blend the cutting lines.
Check the finished measurements to see how much ease you’ll get. A waistband usually needs only up to about 1 in (2.5 cm) of ease, and woven pants at least 2 to 4 in (5 to 10 cm) at the hip, according to New Mexico State University’s fitting guide.
Compare lengths to see where to lengthen or shorten.
Whatever pattern size the charts point to, make a muslin for anything fitted and adjust it before cutting your real fabric.
Common mistakes and how to fix them
Mistake
What happens
Fix
Measuring over clothes
Numbers 1 to 2 in too big; garment too loose
Measure in underwear or a leotard
Tape dipping at the back
Bust and hip read larger than they are
Check in a mirror or have a helper look
Pulling the tape tight or holding your breath
Garment feels tight when finished
Snug, one finger underneath, breathe normally
Guessing the waist position
Bodice too long or too short
Tie elastic and let it settle at the narrowest point
Using ready-to-wear size
Wrong pattern size; sewing sizes run differently
Always compare body numbers with the pattern’s chart
Using an old, stretched tape
Every number off by a fraction
Check the tape against a ruler
Old measurements
Fit drifts project to project
Re-measure and date every set
Your measurements and the Kemi midi dress
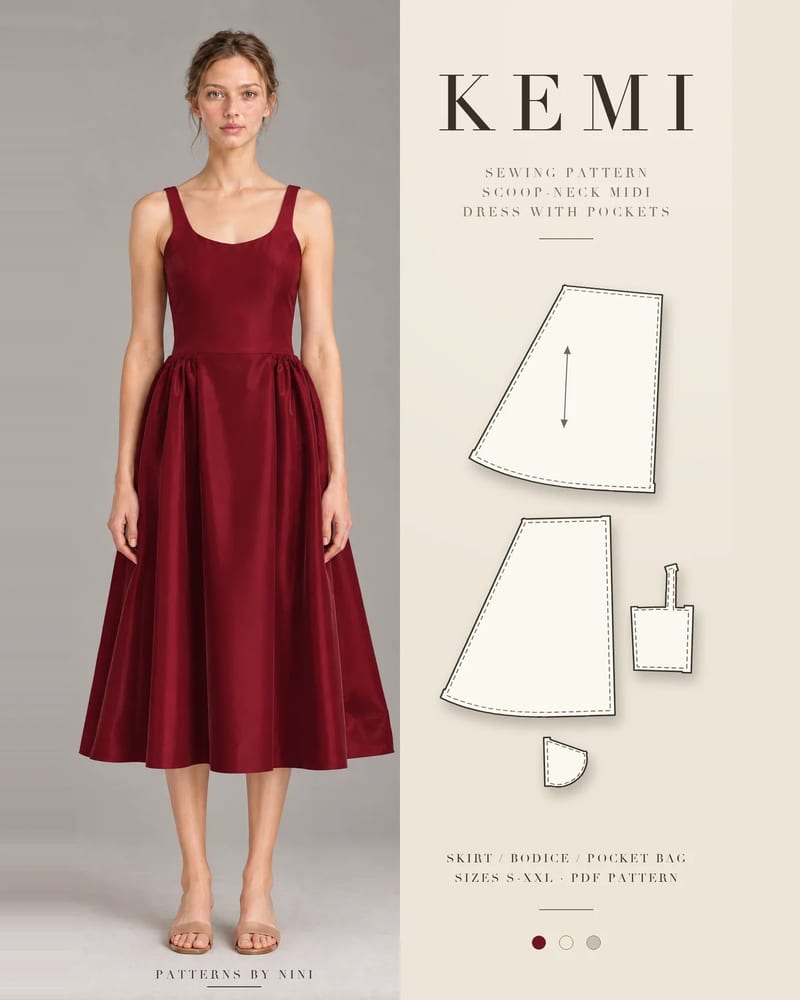
The Kemi scoop-neck midi dress comes in sizes S–XXL with a size chart and finished measurements in inches and centimeters. Its fully lined bodice has princess seams and back waist darts and closes with an invisible zipper at the center back, so your full bust, high bust and waist decide the bodice size, while your hip tells you how the gathered skirt will sit. It is also worth checking your back waist length before cutting. If your numbers fall across several sizes, a pattern drafted to your measurements is available through the custom-fit pattern service.
Measurement record
Measurement
Inches
Centimeters
Full bust
High bust
Waist
Full hip (and distance below waist)
Back waist length
Front waist length
Shoulder width
Bust point to bust point
Seated rise
Crotch length (front / back)
Torso loop (jumpsuits)
Date measured
Frequently asked questions
Should I measure myself over clothes or underwear?
Measure over underwear, or a thin leotard or camisole, never over jeans, sweaters or anything with seams and pockets. Wear the bra you plan to wear with the finished garment, because a different bra can noticeably change your full bust and where your bust points sit. Pattern size charts are drafted from bare body measurements, so extra layers push you into the wrong size.
Can I take my own body measurements for sewing without help?
You can take most circumference measurements alone in front of a mirror: bust, waist, hip and thigh. Back waist length, shoulder width and crotch length are hard to read accurately on yourself, because you have to twist to see the tape. Ask a helper for those, or tie elastic at your waist and use it as a fixed reference point you can feel.
Which measurement do I use to choose a sewing pattern size?
For tops, dresses and jumpsuits, start with your full bust, or your high bust if your full bust is more than about 2 in (5 cm) larger, then compare waist and hip. For skirts and pants, use your hip. If your measurements fall in different sizes, pick the size for the hardest area to alter (usually the bust or shoulders) and grade between sizes for the rest.
How tight should the measuring tape be?
Snug against the body but not pressing in. A good test is that you can slide one finger under the tape without it lifting away from your body. Keep the tape level, parallel to the floor, all the way around, and breathe normally. Pulling it tight or holding your breath gives you a smaller number than your body really is, and the garment will feel tight.
How often should I re-measure for sewing?
Re-measure before every new fitted project, or at least every few months. Bodies change with weight, training, pregnancy, age and even time of day, and a few months can shift your waist or hip by a size. Write the date next to each set of numbers so you know how current they are, and re-measure if a muslin fits differently than you expected.
How to choose a sewing pattern size: measure your bust, waist and hip, read the body chart, check finished measurements for ease and pick a starting size.
How to hem a dress at home: mark the length on the body, pick the hem depth for a straight, flared or bias-cut skirt, then press and stitch by machine or hand.
How a princess seam dress sewing pattern shapes the bodice, how to sew the curved seams smoothly, and how to fit the bust before you cut your fabric.
Help us understand what inspires you
May we use Pinterest cookies to measure visits and purchases and improve our advertising? You can shop either way and change your choice in Cookie settings. Privacy policy
 Patterns