A note on measurements: this guide is written for US sewists, so it uses US units first: inches, yards
and US paper sizes (Letter, 36 × 48 in). Metric equivalents are in brackets where they matter. If you're not used to US
measurements, convert them before you cut: 1 in = 2.54 cm, 1 yd = 91.4 cm.
To sew a collar, interface the upper collar, sew it to the under collar along the outer edges, trim and turn it, then attach it to the neckline with a stand, a facing or a strip of binding. That is how to sew a collar of almost any style: the shirt collar, the Peter Pan collar and the stand collar all start as two layers joined, turned and pressed. What changes is how the finished collar meets the garment. The steps below use a 5/8 in (1.5 cm) seam allowance; use your pattern’s if it differs.
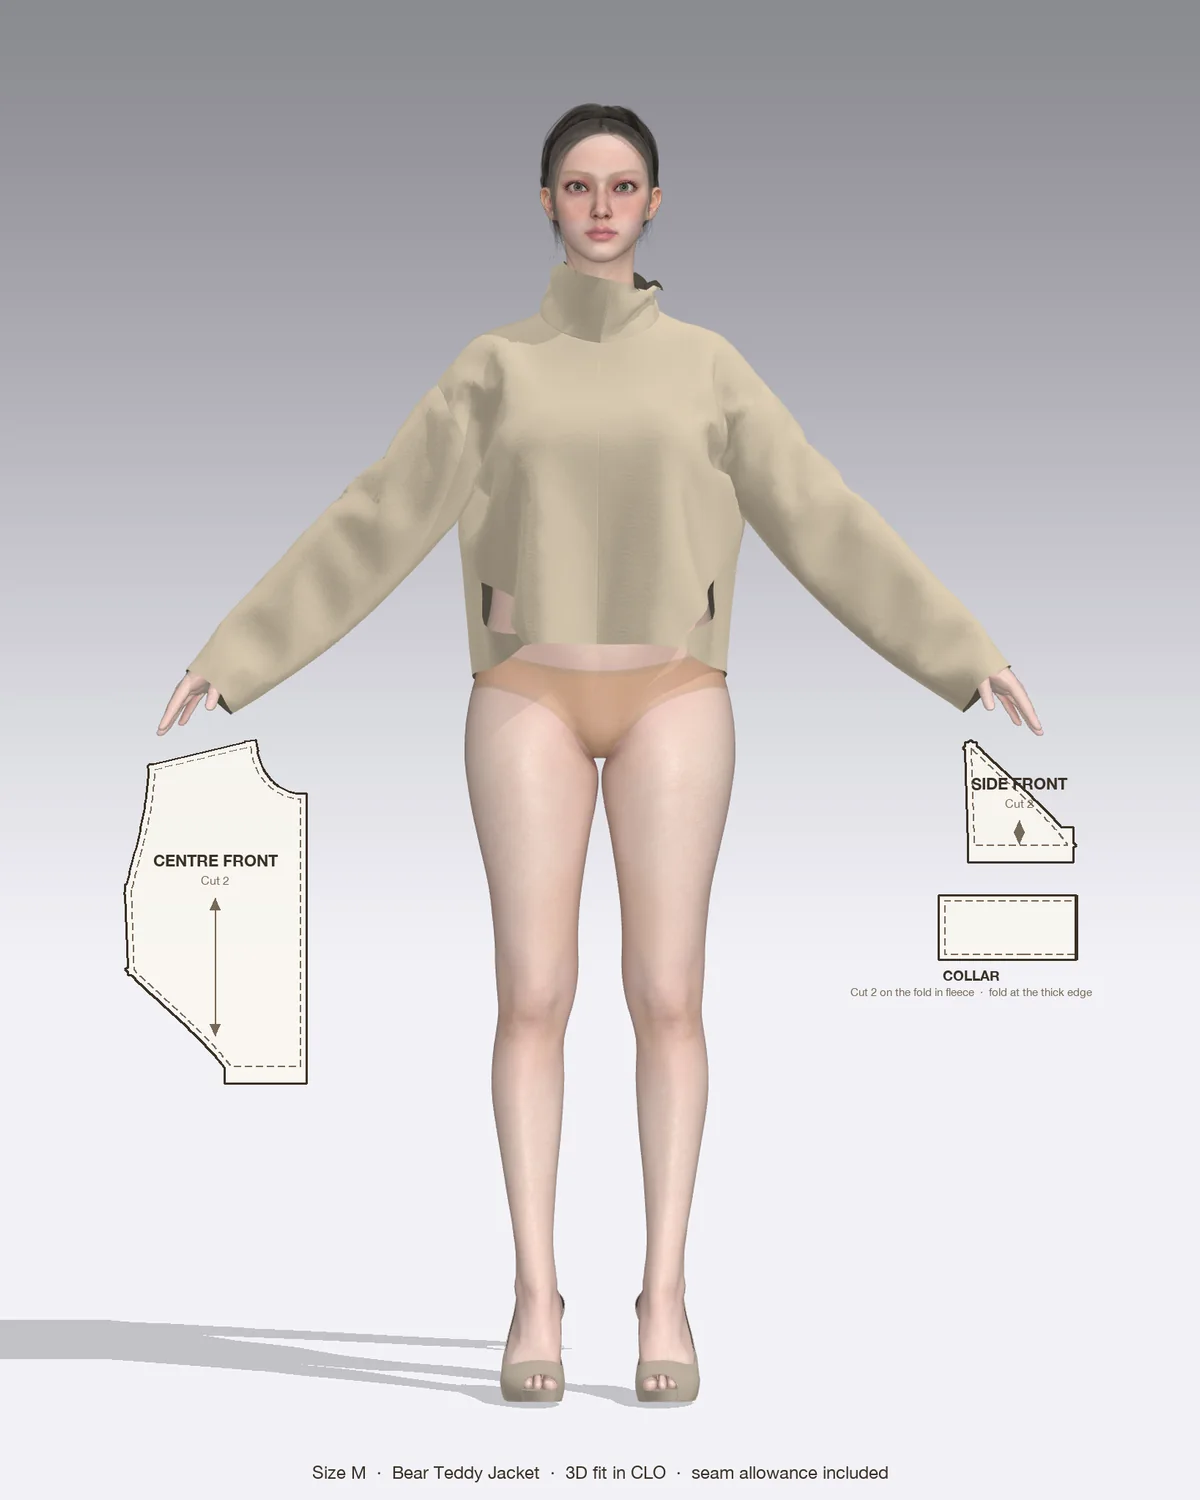
Draped in CLO 3D: the Bear with its pattern pieces, drawn to scale.
Before you start: collar types and preparation
Most collars fall into three groups.
Flat collars, such as the Peter Pan, lie on the shoulders. They are attached with a facing or with bias binding.
Stand collars, including mandarin and zip-up jacket collars, rise straight from the neckline and don’t fold over.
Shirt collars with a stand combine the two: a collar leaf sewn into a separate band that sits on the neckline.
Prepare the pieces the same way for all of them.
Cut accurately and mark every notch, including center back, the shoulder points and the collar ends. The collar only sits evenly if these match.
Interface the upper collar, the layer that shows. On a shirt, interface the outer stand too. Use interfacing as firm as the fabric or slightly firmer, since a collar needs to stand away from the neck. Trim heavy fusibles out of the seam allowances before fusing to keep the edges flat.
Staystitch the garment neckline about 1/2 in (1.3 cm) from the edge so it doesn’t stretch while you work.
Sew the shoulder seams and press them open, so the neckline is one continuous edge.
How to sew the collar itself
This is the part every collar shares.
Trim the under collar
Trim about 1/8 in (3 mm) off the outer edge and ends of the under collar, but not off the neck edge. Pin it to the upper collar with the edges matching, easing the upper collar to fit. This makes the seam roll toward the underside, so it won’t show when the collar is worn.
Stitch, trim and turn
Pin the collars right sides together and stitch the ends and the outer edge, leaving the neck edge open.
At each point, shorten the stitch to about 1.5 mm for the last inch (2.5 cm) and take one or two stitches across the tip instead of pivoting sharply. This leaves room for the allowance inside the point.
Grade the seam allowances. Trim the under collar allowance to 1/8 in (3 mm) and the upper collar to 1/4 in (6 mm). Cut diagonally across each point.
On a rounded collar, notch the curves with small V shapes every 1/2 in (1.3 cm), stopping short of the stitching.
Understitch where you can. Press the allowances toward the under collar and stitch through the under collar and allowances, about 1/8 in (3 mm) from the seam. On a pointed collar you can only reach the long edge; stop about 1 in (2.5 cm) from each point.
Turn right side out and ease the points out with a point turner. Don’t force them with scissors.
Press from the under collar side, rolling the seam slightly underneath. Use the cotton setting with steam for cotton, and a press cloth on synthetics.
Check both ends match. Fold the collar in half at center back and compare the points or curves before you attach it.
Attaching the collar to the neckline
A shirt collar with a stand
Sandwich the collar leaf between the two stand pieces, right sides of the stands facing the collar, matching center backs and notches.
Stitch the top edge of the stand through all layers. Grade the allowances, clip the curves and turn the stand down.
Press under the neck edge of the inner stand by the seam allowance and trim it to 1/4 in (6 mm).
Pin the outer stand to the neckline, right sides together, matching center back, shoulder notches and front edges. Clip the garment neckline up to the staystitching where it needs to spread.
Stitch the neckline seam slowly. This seam decides how the collar sits, so unpick and redo any wobbles.
Bring the folded inner stand down so it just covers the stitching line. Pin from the right side.
Edgestitch around the stand about 1/16 in (2 mm) from the edge, starting and ending at a center front. Lengthen the stitch to about 3 mm.
A stand collar or mandarin collar
Sew the two stand layers together along the top edge and ends, grade, clip and turn. Then attach it exactly as you would the stand above: outer layer to the neckline, inner layer folded under and edgestitched, or slipstitched by hand for a clean finish. On a jacket with a zipper running to the top of the collar, the zipper goes in before the inner collar layer is closed, so the tape ends are hidden inside.
A flat collar with a facing or binding
Baste the finished collar to the right side of the neckline at 1/2 in (1.3 cm), matching center back and the shoulder marks.
Lay the neckline facing or binding over the collar, right sides together, and stitch through all layers at the full seam allowance.
Grade the layers and clip the curve, then press the facing to the inside.
Understitch the facing to the seam allowances so it stays inside.
Tack the facing at the shoulder seams by hand or by stitching in the ditch.
Common collar mistakes and how to fix them
Problem
Likely cause
Fix
Seam shows on the top of the collar
Under collar not trimmed
Trim 1/8 in (3 mm) off the under collar and roll the seam under
Blunt or lumpy points
Allowance left inside the point
Stitch across the tip, trim diagonally and grade
One side longer than the other
Notches not matched
Check symmetry before attaching; recut the stand if needed
Neckline puckers at the stand
Neckline not clipped
Clip to the staystitching so the curve spreads
Inner stand misses the seam
Allowance not pressed under first
Press under before attaching and pin from the right side
Collar flops
Interfacing too light
Use a firmer fusible on the upper collar next time
Where you’ll use this
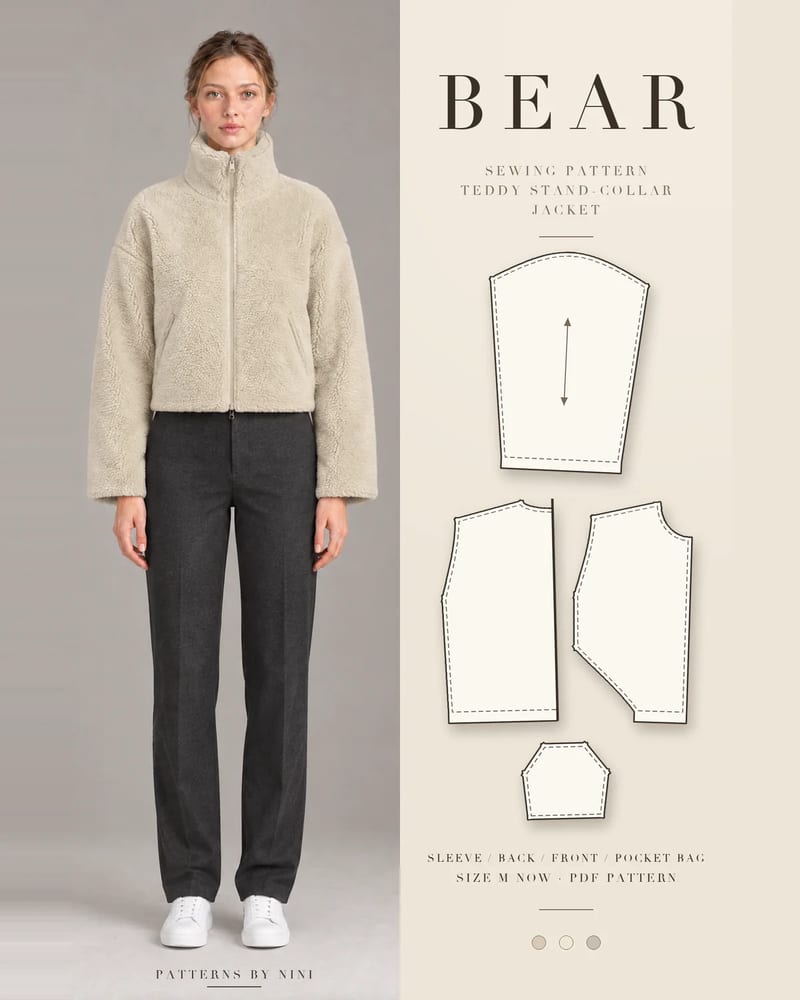
The Bear teddy jacket has a tall two-layer stand collar that you can wear zipped or open, with the exposed separating zipper running from the hem to the collar top. It’s sewn in sherpa or teddy fleece, so it skips the crisp pressing a shirt collar needs: finger press the seams, or use low heat with a press cloth, and use a walking foot, as the pattern recommends, to keep the thick layers feeding evenly. The steps for the zipper side are in how to sew a zipper, and the full construction order is in how to sew a jacket. Bear is rated for confident beginners and sold in size M only.
For a dress, the Yemi halter midi dress has a separate neck band buttoned at the center back. It isn’t a collar, but it’s sewn with the same habits: matched notches, graded seams and careful pressing.
Frequently asked questions
Which collar piece gets the interfacing?
Interface the upper collar, the layer that shows when the garment is worn. Interfacing it keeps the seam allowances from showing through on the right side. On a shirt collar with a stand, interface the upper collar and the outer stand. Very soft or thin fabrics sometimes need both layers interfaced, so test on a scrap and follow your pattern if it says otherwise.
Do you sew the collar or the collar stand first?
Make the collar first. Sew, trim, turn and press the collar leaf, then sandwich it between the two stand pieces and stitch the stand's top edge. The finished collar and stand then go onto the neckline as one unit. Sewing the stand to the neckline first is a valid alternative some patterns use, so follow your instructions.
How do you get sharp collar points?
Shorten the stitch to about 1.5 mm for the last inch before each point and take one or two stitches straight across the tip instead of pivoting on it. Trim the allowance diagonally across the point, grade the sides, then turn and ease the point out with a point turner. A thread loop sewn into the seam can pull a stubborn point out.
What is the difference between a stand collar and a mandarin collar?
A mandarin collar is a type of stand collar: a band that rises straight up from the neckline without folding over, usually with curved front ends. Stand collar is the wider term and also covers tall, straight or zip-up stands like those on jackets. Both are sewn the same way, as two layers joined along the top edge.
How to hem jacket sleeves step by step: set the length, turn and stitch an unlined hem, reattach a lining with ease, and deal with vents and cuff buttons.
How to sew a jacket from a pattern: choose fabric, interface the fronts, work in the right order, add pockets and a zipper, then line it or bind the seams.
How to sew a zipper in a skirt, dress or jacket: choose the right type and length, then sew a centered, lapped or exposed separating zipper step by step.
Help us understand what inspires you
May we use Pinterest cookies to measure visits and purchases and improve our advertising? You can shop either way and change your choice in Cookie settings. Privacy policy
 Patterns