A note on measurements: this guide is written for US sewists, so it uses US units first: inches, yards
and US paper sizes (Letter, 36 × 48 in). Metric equivalents are in brackets where they matter. If you're not used to US
measurements, convert them before you cut: 1 in = 2.54 cm, 1 yd = 91.4 cm.
To sew a strap on a dress, make the strap as a finished tube or folded strip first, baste each end to the top edge of the bodice with right sides together, then sew the lining or facing over it so the strap ends are sandwiched inside. When you turn the lining to the inside, the straps flip up and the raw ends are hidden. This guide on how to sew a strap on a dress covers making narrow spaghetti straps and wider straps, setting them into a lined bodice, fitting the length, and reattaching a strap on a dress you already own.
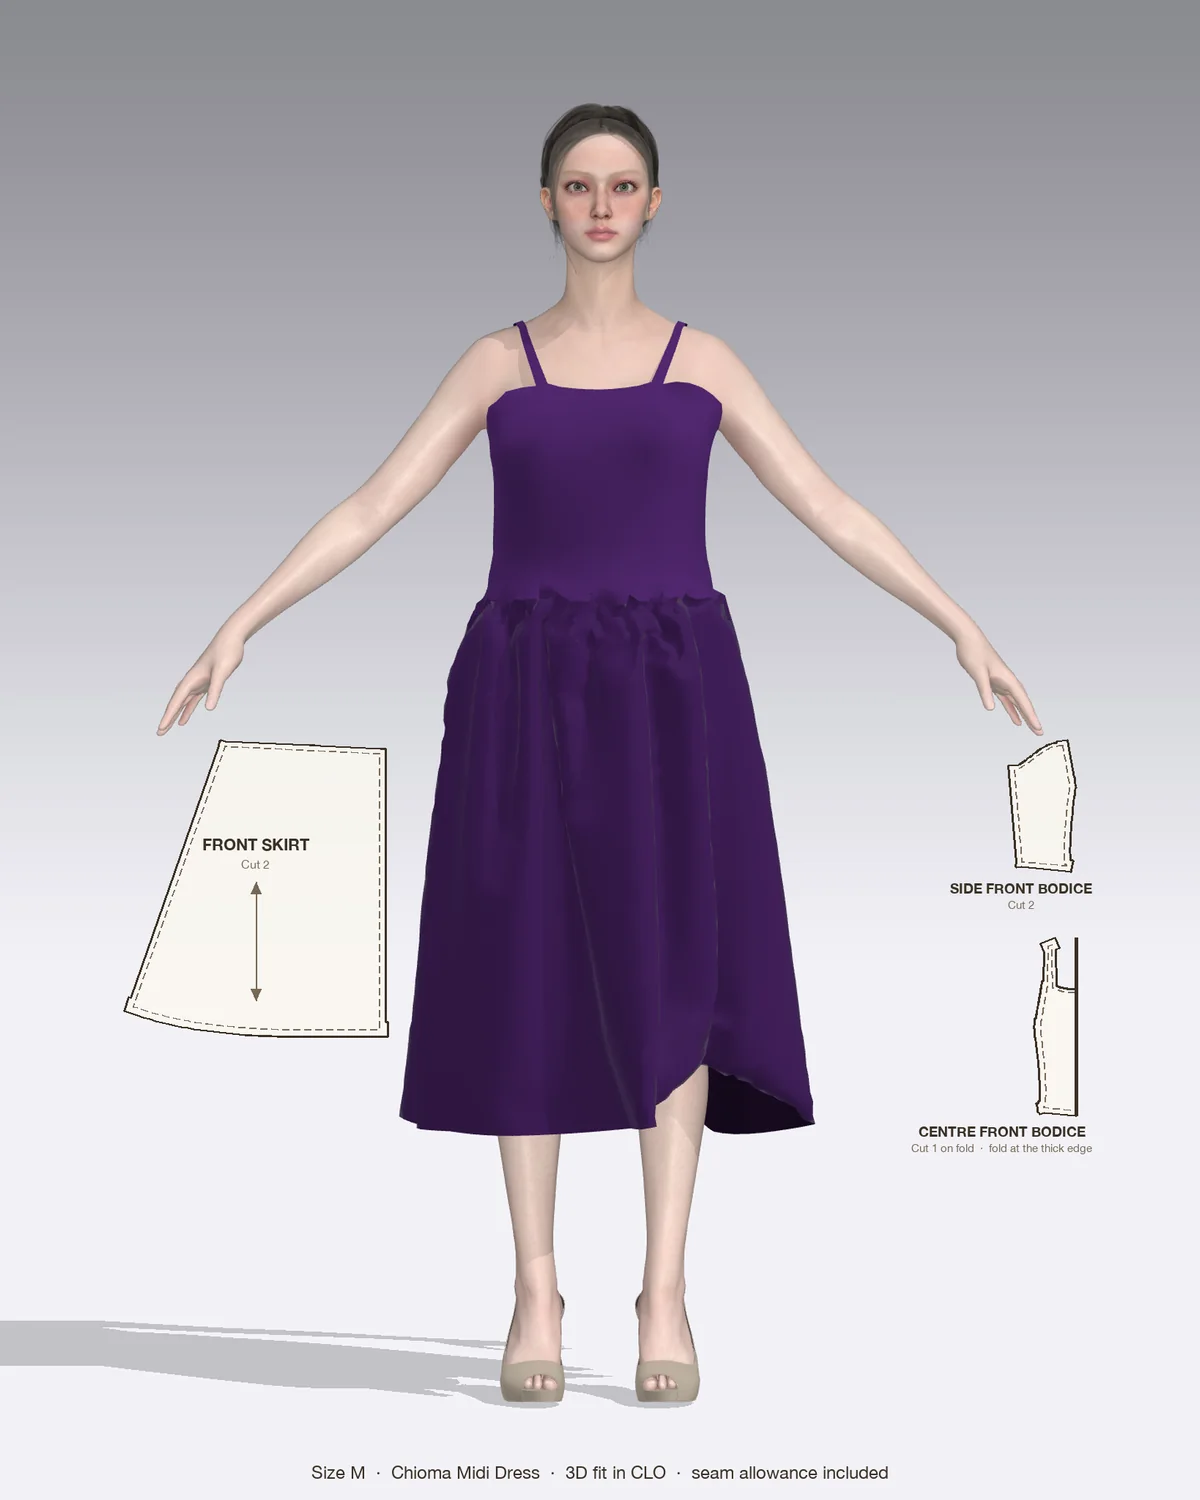
Draped in CLO 3D: the Chioma with its pattern pieces, drawn to scale.
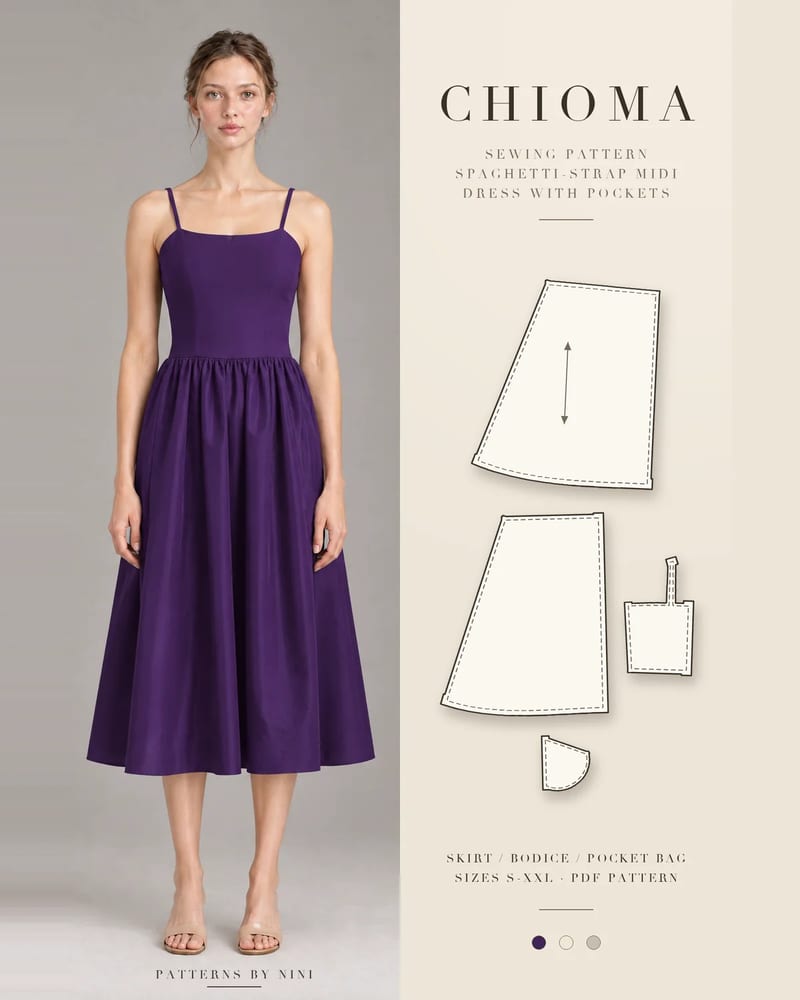
The main example is the Chioma spaghetti-strap midi dress, which has a fully lined princess bodice and a straight neckline with a small scoop at center front on 1/2 in (1.2 cm) straps, so it uses exactly this method.
Types of dress straps
Strap
Finished width
How it’s made
Spaghetti strap
1/8 to 1/2 in (3 mm to 1.2 cm)
Bias tube, sewn and turned
Flat folded strap
1/4 to 1/2 in (6 mm to 1.2 cm)
Strip folded in four and edgestitched, no turning
Wide strap
3/4 to 1 1/2 in (2 to 4 cm)
Folded strip sewn and turned, or cut in one with the bodice
Adjustable strap
Any narrow width
Strap threaded through a ring and slider
Straps that are cut in one with the bodice, like those on the Ada mini dress and the Tomi strappy mini dress, are part of the bodice pattern piece, so you don’t make or insert them separately. They are usually finished with the lining in one go, often with the burrito method. Everything below is for separate straps.
How to make spaghetti straps
Use the strap pattern piece if your pattern has one. If you’re drafting your own, cut the strip twice the finished width plus two seam allowances. For a 1/2 in (1.2 cm) strap with 1/4 in (6 mm) seam allowances, that’s a strip 1 1/2 in (4 cm) wide. Cut it on the bias for narrow straps: the slight stretch helps it turn and curve over the shoulder.
1. Sew the tube
Fold the strip in half lengthwise, right sides together, and press lightly.
Set a straight stitch of 1.5 to 2 mm. A shorter stitch stops the seam popping when you stretch the strap to turn it.
Stitch the long edge at your seam allowance. Stretch the strip very slightly as you sew so the stitches have some give, like the bias itself.
Leave long thread tails at one end, about 6 in (15 cm).
Trim the seam allowance to about 1/8 in (3 mm).
2. Turn the strap
Slide a loop turner into the tube, hook the far end and pull it back through itself.
No loop turner? Thread the long tails into a blunt hand needle, knot them to the eye, and push the needle eye-first through the tube. Pulling the needle out draws the fabric right side out, as Grainline Studio shows.
A safety pin fixed to one end works for straps wider than about 3/8 in (1 cm).
Roll the seam so it sits along one edge or the center back of the strap, then press. Use a cotton setting for cotton or linen and a medium setting with a press cloth for viscose. Pull the strap taut as you press so it doesn’t ripple.
The no-turn alternative
For slippery fabric, fold the strip in half wrong sides together and press, open it, fold both long raw edges to the center crease, fold in half again and edgestitch 1/16 in (2 mm) from the open edge. The strip needs to be four times the finished width.
How to sew straps into a lined bodice
This is the order used on Chioma and most lined strappy dresses. The bodice and lining are sewn separately first, including the princess seams, darts and side seams.
Mark the strap positions. Transfer the strap dots from the pattern to the top edge of the front and back bodice.
Baste the front ends. Lay the bodice right side up. Place each strap end at its front mark, right sides together, raw ends level with the top edge and the strap hanging down over the bodice. Baste inside the seam allowance with a 4 mm stitch. Check the strap isn’t twisted.
Pin the back ends. Pin the other end of each strap to the back marks the same way. Don’t baste it yet if you want to fit the length first.
Fit. Pin the lining to the bodice along the top edge and try the dress on carefully, or try the outer bodice on alone. Adjust the back of each strap until the neckline sits where you want it, then baste. Strap length is hard to change once the lining is closed.
Add the lining. Place the lining over the bodice, right sides together, with the straps sandwiched between. Pin along the top edge, matching seams.
Stitch. Sew the top edge at the pattern seam allowance, pivoting at any corners. Sew over each strap twice, or backstitch across it, because this is the point that carries the weight of the dress.
Trim and clip. Grade the seam allowances, clip into curves such as Chioma’s center front scoop, and trim corners.
Turn and understitch. Turn the lining to the inside so the straps flip up. Understitch the lining to the seam allowances 1/8 in (3 mm) from the seam, stopping about 1 in (2.5 cm) short of each strap where the machine can’t reach.
Press. Press the top edge so the lining rolls just out of sight.
The rest of the dress follows: the skirt, the waist seam and the invisible zipper at the center back, with the lining finished by hand or machine. The full order is in our guide on how to sew a dress.
Wide straps
Wider straps go in the same way. The Kemi midi dress sits on 7/8 in (2.2 cm) straps and the Bisi mini dress on 1 3/8 in (3.5 cm) wide straps, both set into a fully lined bodice. Wide straps can be cut on the straight grain, which holds the dress up more firmly. Turn them with a safety pin and press the seam to the underside.
Unlined bodices
On a dress with a facing, baste the straps to the bodice and sew the facing over them in the same way. On a bodice finished with bias binding, place the strap ends on the inside of the top edge before binding, then fold the strap up and stitch through it once more along the binding edge so it can’t pull down.
Adjustable straps with rings and sliders
Cut the strap the finished length plus about 4 in (10 cm) for the overlap.
Thread one end through the slider, over the center bar, and stitch it down 3/8 in (1 cm) from the end.
Take the other end through the ring, back up through the slider and down again.
Sew the free end and the ring end into the bodice as above, with the ring at the back.
How to reattach or add a strap to a finished dress
Find the original position. If the strap came loose, the old stitch holes show where it went. For new straps, try the dress on and pin them at front and back, angled slightly toward the neck.
Open the seam. On a lined dress, unpick about 1 1/2 in (4 cm) of the top seam at the strap position with a seam ripper.
Insert the strap. Slip the strap end 3/8 in (1 cm) inside, between the dress and lining.
Close it. Turn in the seam allowances and topstitch the gap close to the edge, sewing through the strap twice. By hand, use small backstitches through the strap and lining, then slip stitch the edge closed.
Common mistakes and troubleshooting
Twisted straps. Lay the dress flat and check each strap runs straight from front to back before you sew the lining.
The strap won’t turn. The strip is too narrow, the seam allowance wasn’t trimmed, or it’s cut on the straight grain. Trim to 1/8 in (3 mm) and start the turn gently.
Straps slip off the shoulders. Move the back ends about 1/2 in (1.3 cm) toward center back, or shorten both straps slightly.
Uneven strap widths. Check turned straps with a ruler or seam gauge along their length before attaching them.
The strap pulls out. It wasn’t caught deep enough in the seam. Leave at least the full seam allowance inside, and stitch across it twice.
Lining peeks out at the top edge. Understitch, and press so the seam rolls to the inside.
Practice on the Chioma dress
The Chioma midi dress is a good project for learning straps. It’s rated confident beginner, comes in sizes S to XXL, and pairs its 1/2 in (1.2 cm) straps with a fully lined princess bodice, a skirt gathered all round at the natural waist, in-seam pockets and an invisible zipper at the center back.
Frequently asked questions
Should dress straps be cut on the bias?
For narrow turned straps, yes. A bias strip has a little give, so it turns through itself more easily and curves over the shoulder without twisting, and its edges fray less. Wide straps of 1 in (2.5 cm) or more can be cut on the straight grain, which stretches less and holds the dress up more firmly. Follow the grainline on your pattern piece.
How do I know how long to make dress straps?
Use the length on your pattern, then confirm it on your body. Baste the straps to the front, try the dress on inside out or with the lining pinned, and pin each strap to the back where it feels secure without digging in. Mark that point, take the dress off and trim any extra, leaving the seam allowance.
Can I add straps to a strapless dress?
Yes. Make two straps, try the dress on and pin each strap inside the top edge at front and back, angled slightly toward the neck so they stay on your shoulders. If the dress is lined, unpick a short gap in the top seam, slip the strap end in and restitch. Otherwise hand-sew the strap firmly to the lining or facing seam allowance.
Why do my spaghetti straps keep slipping off my shoulders?
Usually the straps are set too far out toward the armhole, or they're slightly too long. Move the back end of each strap about 1/2 in (1.3 cm) closer to the center back, or shorten both straps by the same amount. Angling the straps so they meet the shoulder closer to the neck helps them sit in place.
How to finish seams without a serger: zigzag, overcast, pinked, turned and stitched, French, flat-felled, bound and hand overcast, with settings for each.
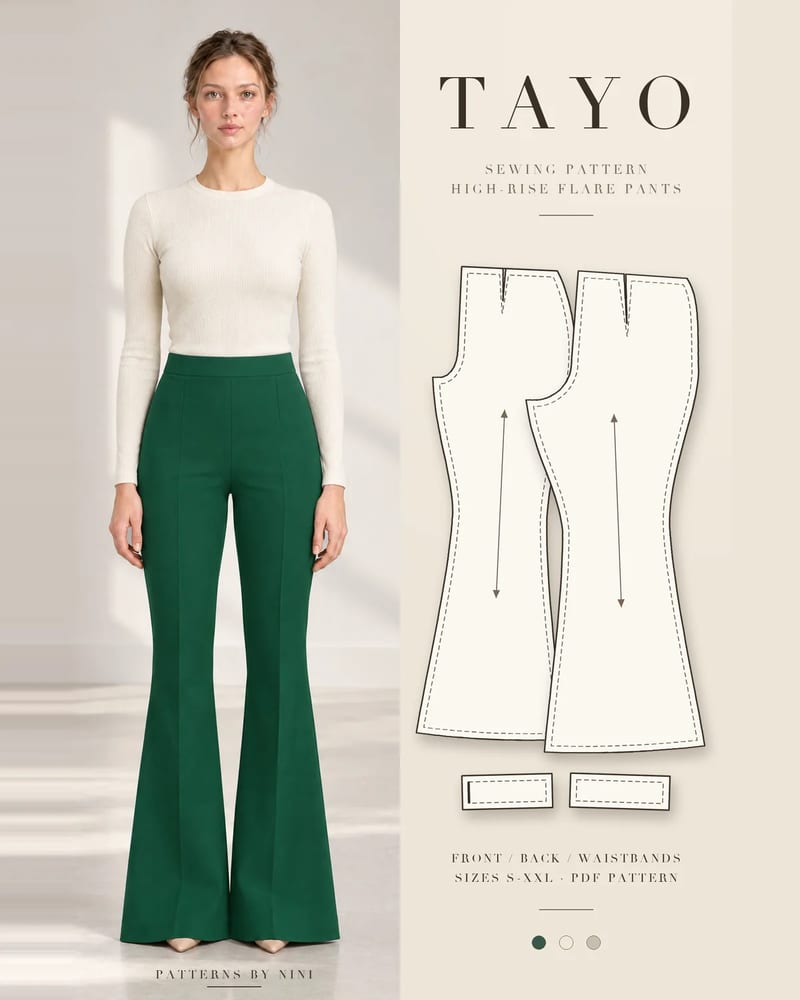
How to sew bell bottom pants step by step: pick a flare pattern or add flare to one you own, then fit the knee, sew the legs and hem the wide flare neatly.
How to sew pockets into pants step by step: slanted front pockets, side seam pockets you can add to any pattern, and back patch pockets, with measurements.
Help us understand what inspires you
May we use Pinterest cookies to measure visits and purchases and improve our advertising? You can shop either way and change your choice in Cookie settings. Privacy policy
 Patterns