A note on measurements: this guide is written for US sewists, so it uses US units first: inches, yards
and US paper sizes (Letter, 36 × 48 in). Metric equivalents are in brackets where they matter. If you're not used to US
measurements, convert them before you cut: 1 in = 2.54 cm, 1 yd = 91.4 cm.
To fix crotch fit on pants, read the wrinkles first: lines that point toward the crotch show where the fabric is short or too loose, and each pattern has a small set of fixes for it. Most problems come down to one of three things: the rise (crotch depth) is too long or short, the crotch point (extension) is too long or short, or the curve is the wrong shape for your body. This guide explains how to fix crotch fit on pants by diagnosing the problem on a muslin, then changing the front or back pattern piece, step by step.
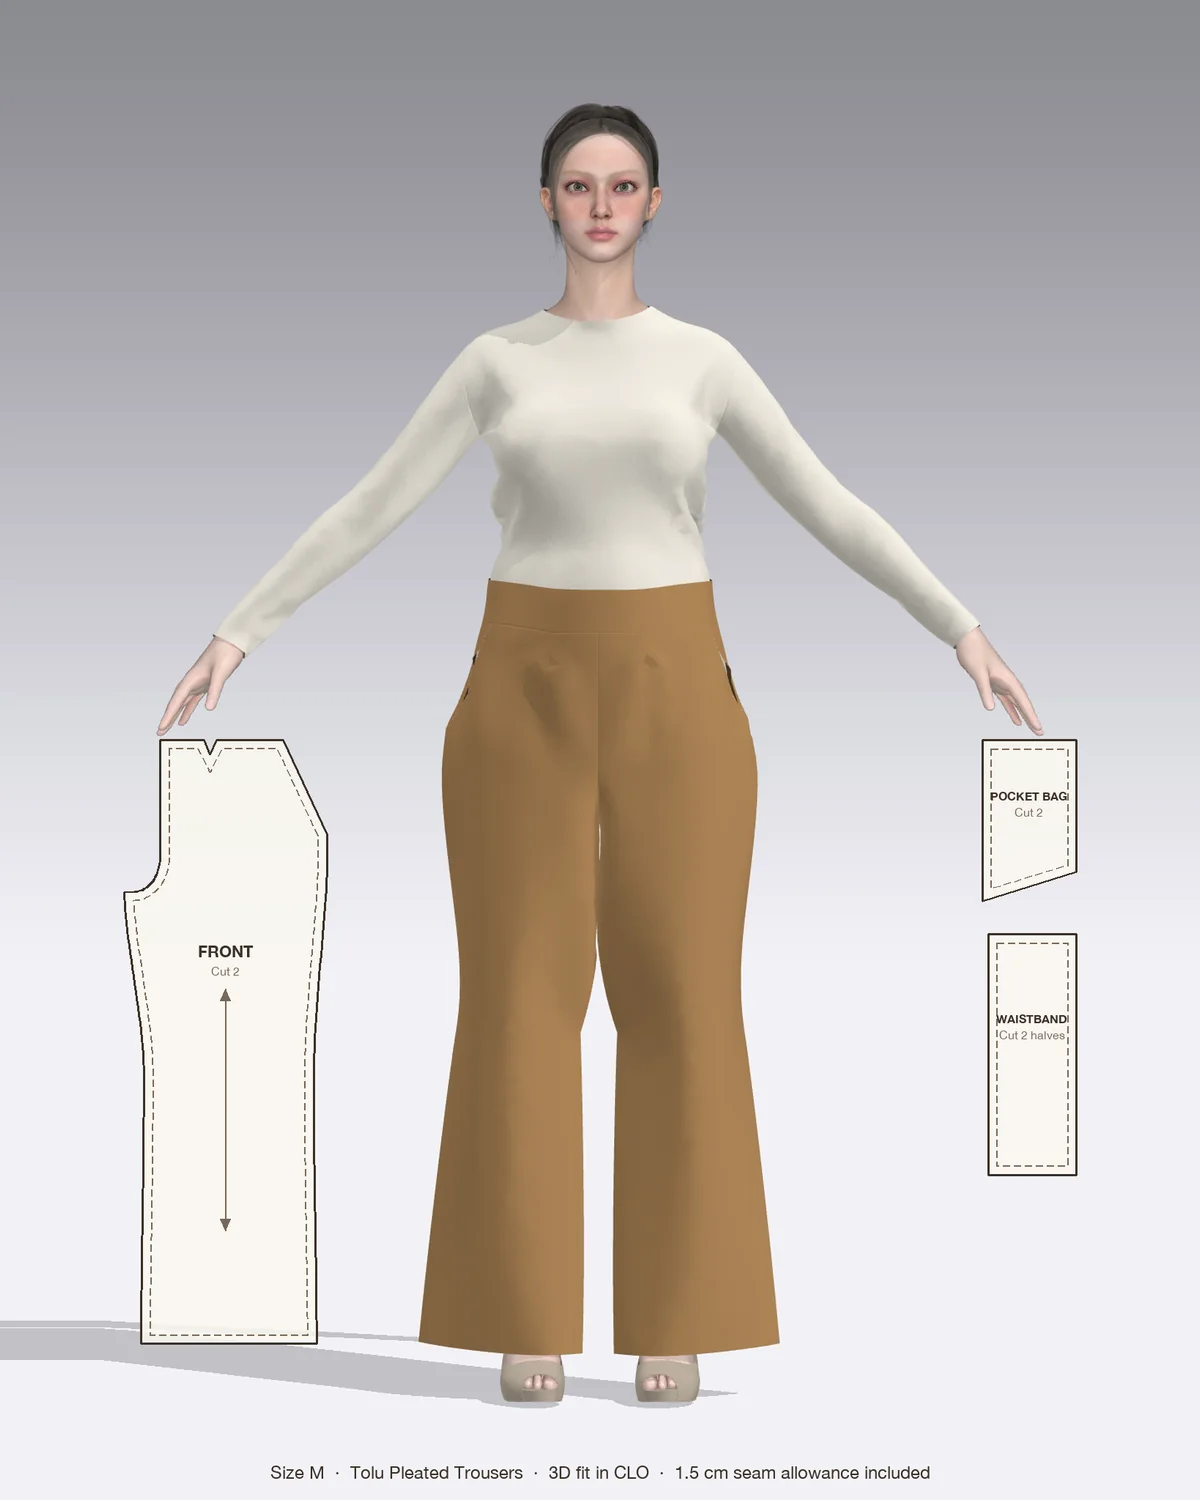
Draped in CLO 3D: the Tolu with its pattern pieces, drawn to scale.
The parts of the crotch you can change
Before you alter anything, it helps to know what each part of the pattern controls.
Rise, or crotch depth: the vertical distance from the waist down to the crotch line. Too long and the crotch hangs low; too short and it cuts in.
Crotch point, or extension: the horizontal tip of the front and back leg pieces at the inseam. It gives room for the thickness of your body between the legs.
Crotch curve: the shape of the seam from center front, under the body, up to center back. The back curve is longer and deeper than the front because it wraps around the seat.
Crotch length: the total length of that seam, front plus back, measured along the stitching line.
Change only one of these at a time, or you won’t know which change helped.
Seated rise: sit on a hard, flat chair and measure from your waist down to the seat. On the pattern, draw a line straight across from the crotch point to the side seam and measure from the waist seam line down to it. Pants usually have about 1/2 to 1 in (1.3 to 2.5 cm) more than your seated rise; fitted styles sit at the low end, relaxed ones at the high end.
Crotch length: stand the tape on its edge on the pattern and measure the front and back crotch seams along the stitching line, from the waist seam line to the inseam line. Leave out the seam allowances and any waistband. Add front and back together and compare with your own measurement, plus a little ease.
Note the difference. If the rise is more than 1/2 in (1.3 cm) off, fix it before anything else, because a wrong rise causes most other crotch wrinkles.
If your waist and hip fall in different sizes, grade between sizes first and blend the crotch curve from the waist size into the hip size. Then make a muslin.
Read the wrinkles on a muslin
Sew a quick test version in cheap woven fabric of a similar weight to your real fabric. Baste the seams with a 4 mm stitch length so you can unpick them, and mark the center front, center back and a horizontal hip line in pen. Try it on, stand naturally, then sit and walk.
What you see
What it means
Fix
Smile lines curving up from the crotch, front or back
Too much length or a crotch point that is too long
Shorten the rise or bring the crotch point in
Frown lines pulling down from the crotch
Not enough room
Lengthen the rise or extend the crotch point
Wedgie, back waist pulled down, drag lines toward center back
Back crotch too short for your seat
Full seat adjustment or extend the back crotch point
Loose folds under the seat
Back crotch too long
Flat seat adjustment
Horizontal folds across the front crotch
Front curve too deep
Make the front curve shallower
Vertical lines or tightness at the front crotch
Front curve too shallow or too short
Deepen the front curve or extend the front crotch point
How to fix crotch fit on the pattern, step by step
Trace your size onto pattern paper first and keep the original. Make every change on both the front and back pieces unless the fix says otherwise.
Lengthen or shorten the rise
Draw a horizontal line across the front and back pieces about halfway between the waist and the crotch line, at a right angle to the grainline.
To lengthen, cut along the line, spread the pieces apart by the amount you need, and tape paper behind them.
To shorten, fold out the amount along the line.
Smooth the side seam and crotch curve across the step with a ruler or curve so there are no jogs.
Extend or reduce the crotch point
To extend, tape paper to the tip of the crotch point and add 3/8 to 5/8 in (1 to 1.5 cm) straight out, then redraw the inseam so it tapers back to the original line at the knee.
To reduce, mark 3/8 in (1 cm) in from the tip and redraw the inseam from that point to the knee.
Check the inseams. The front and back inseams should still be the same length so they match when you sew them.
Full or flat seat adjustment (back only)
Draw a line on the back piece from the center back crotch seam, about level with the hip, to the side seam. Cut along it to the side seam seam line, leaving a paper hinge.
For a full seat, pivot the top section up at center back to open a wedge. Start with 3/8 to 5/8 in (1 to 1.5 cm) at center back.
For a flat seat, pivot the top section down so the pieces overlap by about 5/8 in (1.5 cm) at center back.
Redraw the center back seam as a smooth line, and true the waist so it meets center back at a right angle.
Change the curve shape
Scoop the lowest part of the curve by 1/8 in (3 mm) at a time when the fit is close but pulls slightly, blending into the original line on each side.
For a flatter front, redraw the front curve a little shallower. For a fuller front, make it a little deeper.
Restitch the muslin on the new line and try it on again before you cut into good fabric.
Fixing crotch fit on the Tolu pleated pants
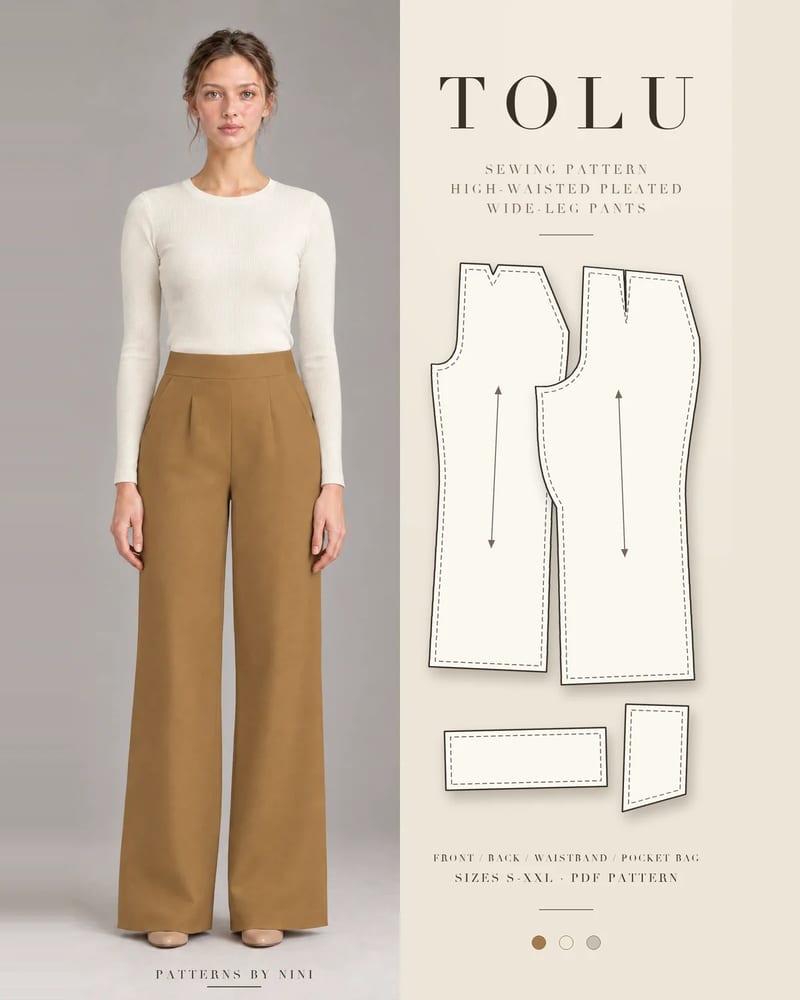
On high-waisted pants, the rise and the waistband height work together. The Tolu high-waisted pleated wide-leg pants have a flat interfaced waistband at the natural waist, one soft pleat on each side of the front and back darts, so if the rise is too short for you, it pulls the crotch up when you sit and gives a wedgie that no curve change will fix.
Check the rise first. Make a muslin with the waistband, sit down and lift your knees. If the crotch pulls up, add length between the waist and the crotch before changing the curve.
Then check the curve. Tolu’s straight wide legs fall from the hip with a soft front pleat and back darts, so the legs are forgiving; it is the rise and the back curve that need to match your body.
Mind the zipper. Tolu has an 8 in (20 cm) invisible zipper at the center back. A full or flat seat adjustment changes the length of that seam, so check the zipper still stops above the curve.
Common mistakes and troubleshooting
Fixing the curve when the rise is wrong. Scooping a curve on pants that are too short in the rise just moves the strain. Measure the rise first.
Scooping too much. Big scoops make the back thigh baggy and can weaken the seam. Use a seat adjustment for changes over 1/4 in (6 mm).
Changing several things at once. Make one change, restitch, try on, then decide on the next.
Fitting in the wrong fabric. A stiff muslin fits tighter than drapey crepe or viscose. Use something of a similar weight.
Mismatched inseams. After extending or reducing a crotch point, walk the front and back inseams against each other and true them.
Forgetting the waistband. If you shorten the rise on pants with a waistband, the waistband still sits on top, so measure to the waistband seam line, not the top edge.
Not pressing. Press the crotch seam allowances open or together over a tailor’s ham at the curve before you judge the fit; an unpressed curve can look like a fit problem.
Frequently asked questions
Why do my pants give me a wedgie?
A wedgie usually means the back crotch is too short for your seat, so your body pulls the seam up. Add length to the back crotch with a full seat adjustment, which pivots the top of the back piece up at center back, or extend the back crotch point by 3/8 to 5/8 in (1 to 1.5 cm). On a jumpsuit, also check that the torso is long enough.
What do smile lines and frown lines at the crotch mean?
Smile lines curve upward from the crotch and show extra fabric: the crotch is too long or too low, so shorten the rise or bring the crotch point in. Frown lines droop downward from the crotch and show strain: the crotch is too short or too tight, so lengthen the rise or extend the crotch point. Fix one thing at a time on a muslin.
Should I scoop the crotch curve to fix the fit?
Only for small changes. Scooping lowers the deepest part of the curve, which adds a little length and takes a little width off the inner thigh. Do it in 1/8 in (3 mm) steps on a basted muslin and stop when the pulling eases. Scooping a lot weakens the curve and can make the back thigh baggy; a seat adjustment or crotch extension is better for big changes.
How do I fix a crotch that hangs too low on pants?
A low, baggy crotch means the rise is too long for you. Measure your seated rise and compare it with the pattern's crotch depth plus about 1/2 to 1 in (1.3 to 2.5 cm) of ease. Fold out the extra along the lengthen/shorten line between the waist and crotch on both front and back, then smooth the side seam and crotch curve.
How to sew a hem in pants that hangs straight: measure the length, choose a hem allowance, press, and blind hem by machine or by hand, plus tapered legs.
How a princess seam dress sewing pattern shapes the bodice, how to sew the curved seams smoothly, and how to fit the bust before you cut your fabric.
Help us understand what inspires you
May we use Pinterest cookies to measure visits and purchases and improve our advertising? You can shop either way and change your choice in Cookie settings. Privacy policy
 Patterns