 Patterns
Sewing patterns for beginners: how to choose your first
How to choose sewing patterns for beginners: the shapes, closures, fabrics and sizing that make a first garment easy, plus what to skip until project three.
A note on measurements: this guide is written for US sewists, so it uses US units first: inches, yards and US paper sizes (Letter, 36 × 48 in). Metric equivalents are in brackets where they matter. If you're not used to US measurements, convert them before you cut: 1 in = 2.54 cm, 1 yd = 91.4 cm.
A seam ripper for sewing is a small tool with a long point and a curved blade that cuts stitches without cutting the fabric. Use the point to lift and snip single stitches, or slide the blade along an opened seam with the red safety ball against the fabric, then pull out the loose threads and press. Keep it sharp, cut toward the seam rather than across it, and you can take out almost any stitch cleanly.
Every sewist unpicks. A dart sewn on the wrong side, a zipper that waves or a muslin that needs a seam let out all start with the ripper, so it belongs in your kit from your first project.
Some rippers have a rubber eraser on the cap end for lifting thread bits; a lint roller or a strip of masking tape does the same job.
Before you start, find the stitches. If the thread matches the fabric, rub a little chalk along the seam or work in good light so the stitches stand out. Do a few cuts on a seam allowance first if the fabric is delicate.
Use this on fine fabrics, short sections, topstitching and anywhere a slip would show.
Use this on plain seams in stable woven fabrics, once a few stitches are open.
On denim, canvas, coating and sherpa, the stitches sit deep in the pile and method 2 snags. Cut the first 4 or 5 stitches, hold one layer in each hand, and pull them gently apart. The stitches break along the line. Snip any that resist rather than yanking, which can stretch or tear the cloth.
Start at the wide end of the dart and work toward the point, cutting stitch by stitch. Near the tip the stitches are short and sit on a fold, so lift them with the point and cut each one; don’t slide the blade here. Press the fold away before you re-sew. The guide on how to sew darts explains how to taper the stitching off the fold on the second try.
Unpick one side of the zipper tape at a time. Cut the stitches from the wrong side, where the tape gives you a firm edge to work along, and keep the blade away from the zipper teeth or coil. On an invisible zipper, the stitches sit right beside the coil: lift each one with the point. Then press the tape flat, with a press cloth over nylon coils, before you sew it again. The invisible zipper guide covers re-sewing it closer to the coil.
On a 3- or 4-thread overlock seam, find the straight needle thread (or threads) on top of the stitching and pull each one out by sliding the ripper’s point under it every inch or two. Once the needle threads are gone, the looper threads lift off the edge in one go. Pulling the loops one by one takes far longer.
These are dense, so cut stitches from both sides and pick the short pieces out with the point or tweezers. Go slowly: a slip here makes a small hole at the end of a seam, where it carries the most strain.
| Problem | Cause | Fix |
|---|---|---|
| A small hole or slit beside the seam | Blade slid with the ball facing up, or point pushed through the fabric | Stop, cut stitch by stitch near the damage; fuse a small patch of lightweight interfacing behind it before re-sewing |
| The ripper snags and jerks | Dull blade | Replace the seam ripper |
| Thread breaks into tiny pieces | Cutting every stitch | Cut every third to fifth stitch and pull the bobbin thread out in one length |
| Can’t see the stitches | Thread matches the fabric | Rub chalk along the seam or work under a bright lamp |
| The edge stretched out of shape | Pulling layers apart on a bias or knit edge | Cut stitch by stitch on curves and knits, then steam the edge back into shape |
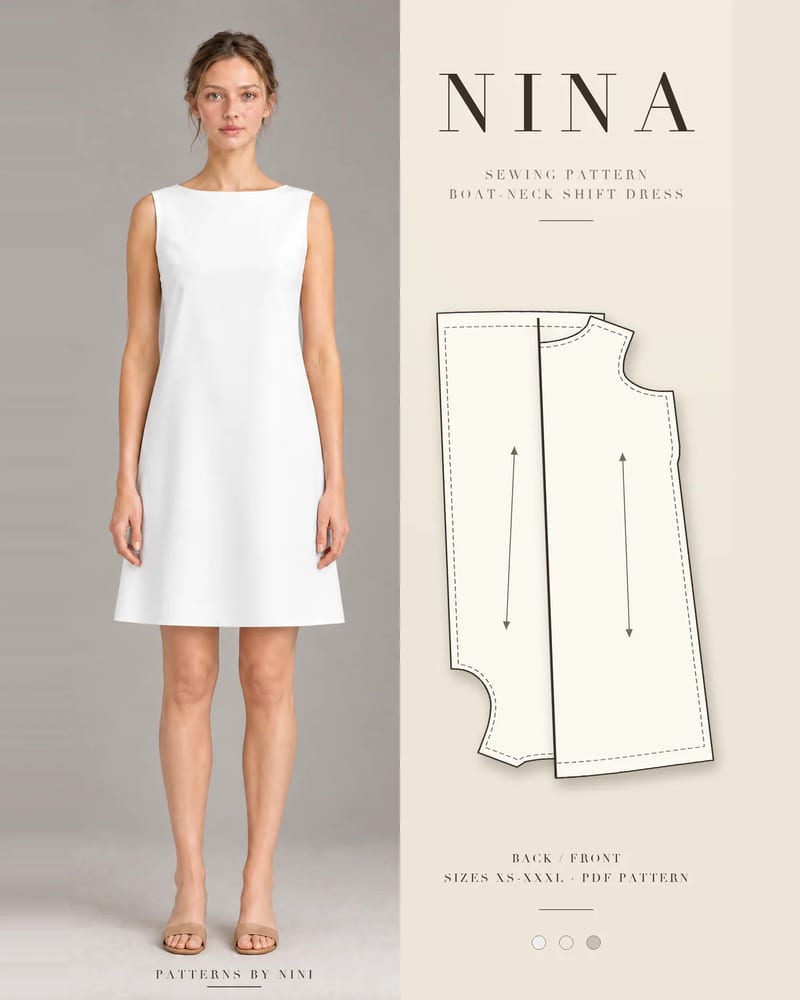
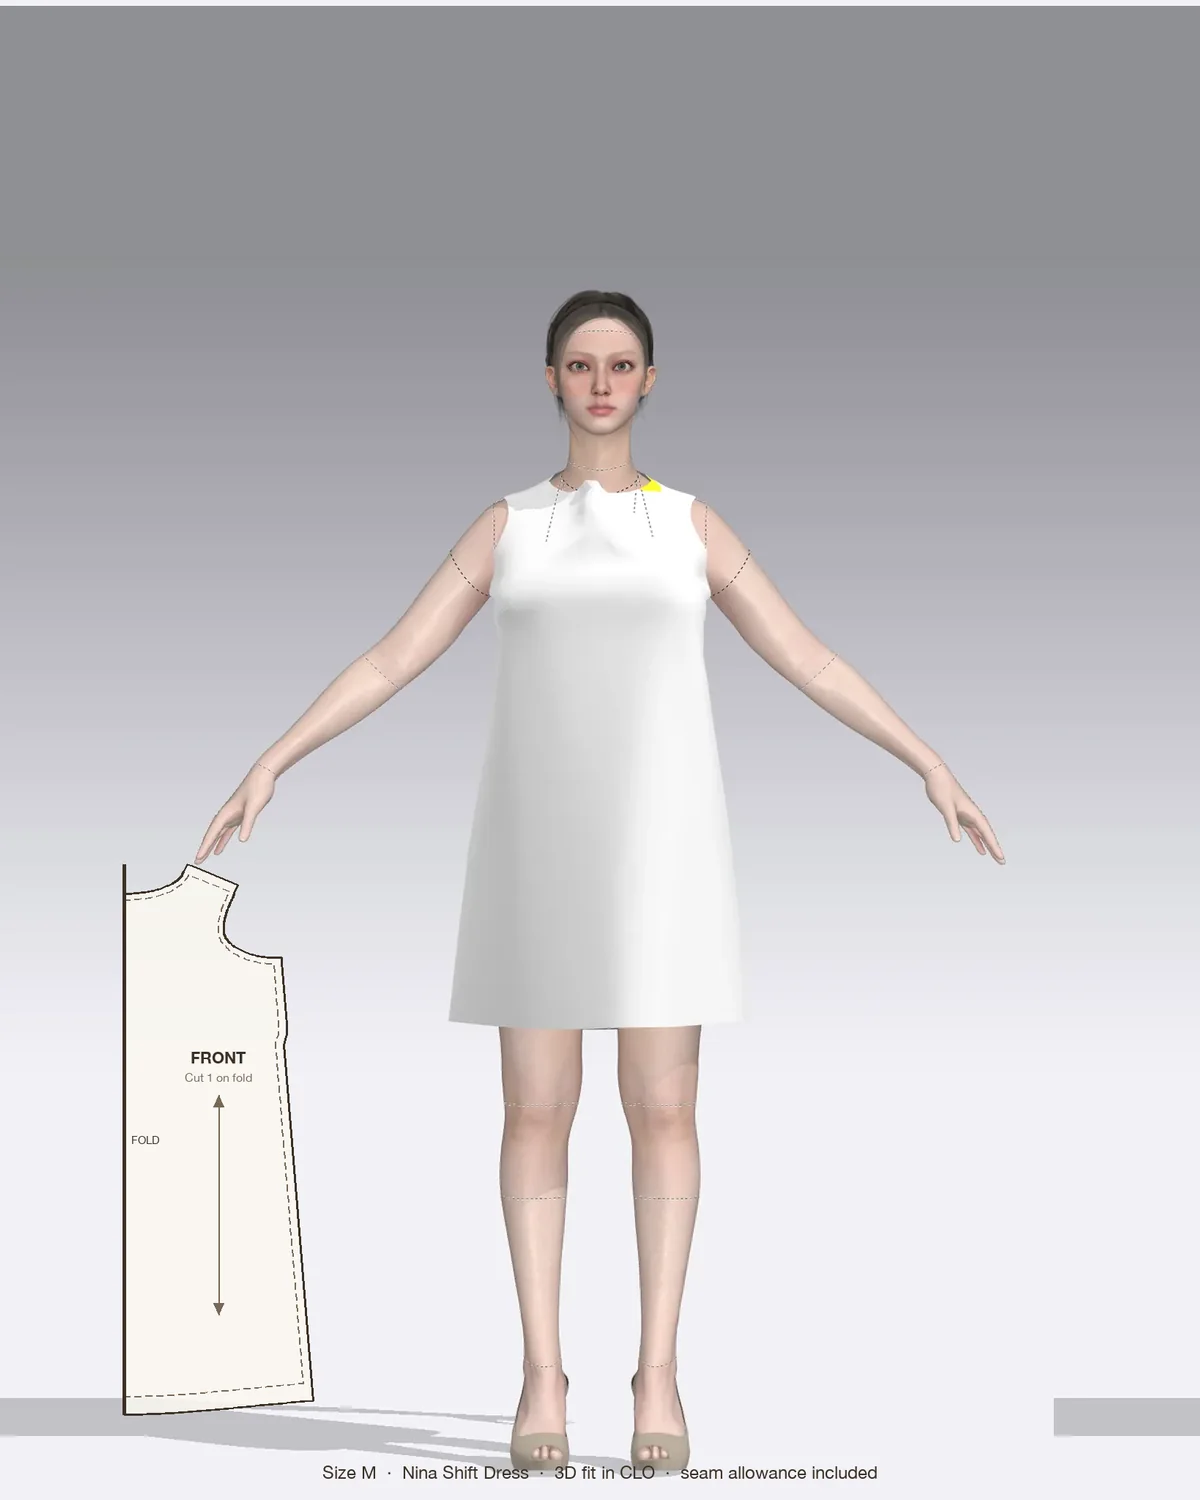
The Nina shift dress is a good first dress for a beginner, and its bust darts, invisible zipper at the center back and all-in-one neck and armhole facings are exactly the places where a first try sometimes needs redoing. Keep the seam ripper beside the machine, and unpick and re-sew any section you are unhappy with before you trim or understitch. Trimmed seam allowances are much harder to unpick and re-sew neatly.
On the Bear teddy jacket, sherpa and fleece hide stitches in the pile, so use method 3 or the stitch-by-stitch method and work from the side where you can see the stitching best. Its exposed separating zip is sewn on show, so test your stitching on a scrap first rather than relying on unpicking it.
If you are making a test version of a pattern, sew it with a long stitch of 4 to 5 mm so the seams come out easily: the guide on how to make a muslin explains how. For more on the seams you’ll be opening and sewing again, see what are seams in sewing.
How to choose sewing patterns for beginners: the shapes, closures, fabrics and sizing that make a first garment easy, plus what to skip until project three.
What are seams in sewing? The line that joins two pieces of fabric. Learn the seam allowance, how to sew a plain seam, the main seam types and finishes.
How to do a full bust adjustment: measure to see if you need one, slash and spread the front pattern piece, redraw the bust dart and true the side seam and hem.
May we use Pinterest cookies to measure visits and purchases and improve our advertising? You can shop either way and change your choice in Cookie settings. Privacy policy