Patterns
Seam gauge for sewing: what it is and how to use it
A seam gauge for sewing is a 6 in ruler with a sliding marker. Learn to use it for even hems, seam allowances, buttonholes, pleats, darts and elastic casings.
A note on measurements: this guide is written for US sewists, so it uses US units first: inches, yards and US paper sizes (Letter, 36 × 48 in). Metric equivalents are in brackets where they matter. If you're not used to US measurements, convert them before you cut: 1 in = 2.54 cm, 1 yd = 91.4 cm.
A magnetic sewing seam guide is a small block with a strong magnet in its base that clings to the metal needle plate of your machine. You set its edge a measured distance from the needle, run the fabric edge against it as you sew, and every seam comes out at the same allowance. It costs a few dollars, fits almost any machine with a steel plate, and is one of the cheapest ways to make a first garment fit the way the pattern intends.
The catch: it only works on steel, it only helps with straight lines and gentle curves, and it should stay on the needle plate and away from the electronics of a computerized machine. This guide covers all of that, step by step.
Pattern pieces are drafted to be sewn at a set distance from the cut edge, called the seam allowance. Sew a side seam 1/8 in (3 mm) too wide on each of four seams and the garment loses 1 in (2.5 cm) of width around the body. Sew it narrower and the dress grows. The guide gives the fabric edge something to push against, so you watch the edge instead of the needle and the allowance stays even.
Common seam allowances you’ll set it to:
Check the pattern instructions before you cut, because the allowance is part of the drafting. Our guide to what are seams in sewing explains how the seam line and the cut edge relate.
You’ll need the guide, a ruler or seam gauge and a scrap of the fabric you’re sewing.
Leave the guide in place for the whole project, and if you need a second allowance (a 1/4 in neckline after 5/8 in side seams, say), mark the first position on the plate with a thin strip of washi tape so you can go back to it.
On a long A-line side seam, a hip curve or a princess line, the fabric edge only needs to touch the guide at the point just in front of the needle. Turn the fabric gradually so that one point stays on the guide while the rest of the edge swings away. Slow down, and stop with the needle down to adjust if the curve tightens.
On a neckline, an armhole or a curved facing, a long straight guide pushes the edge off course. Slide the guide back, behind the needle, or remove it, and sew to the plate markings in front of the needle or to a chalk line. At a corner, stop with the needle down at the pivot point, lift the foot, turn the fabric 90 degrees and carry on.
Turn the guide around so it sits to the left of the needle (if your plate allows) or use it at the right with the folded edge against it. For a 1 in (2.5 cm) hem, set the guide 1 in from the needle and run the fold along it for perfectly parallel topstitching. The same trick keeps the stitching an even distance from the edge when you sew bias binding on by machine.
Magnets and electronics are the most common worry, and the advice is consistent across the guide makers: keep the guide on the needle plate only.
So: follow your manual first. If it allows magnets, place the guide straight onto the plate, never slide it across the body of the machine, and store it in a tin rather than parking it on the machine between seams. On an all-mechanical, all-metal machine you can park it anywhere metal.
| Problem | Likely cause | Fix |
|---|---|---|
| Guide won’t stick | Aluminum or plastic plate, or a clear plastic bobbin cover | Use painter’s tape, stacked sticky notes or a screw-on guide |
| Seams come out wider or narrower than set | Measured from the foot edge, or needle not centered | Re-measure from the needle point; check the needle position |
| Seam drifts off line | Guide set at an angle | Line the guide up with an engraved plate line |
| Guide creeps during sewing | Heavy fabric pushing it, or a weak magnet | Add a strip of tape behind it; slow down |
| Guide covers the feed dogs | Allowance too narrow for the guide’s position | For 1/4 in seams, use a 1/4 in foot or move the needle right |
| Curves come out flat or uneven | Fabric held against the full length of the guide | Touch the guide only in front of the needle, or remove it |
Other alternatives when a magnet isn’t an option: a screw-on seam guide (many machines have a threaded hole in the bed for one), a quilting bar that slides into the presser foot shank, a 1/4 in foot with a flange, or a laser guide on machines that have one.
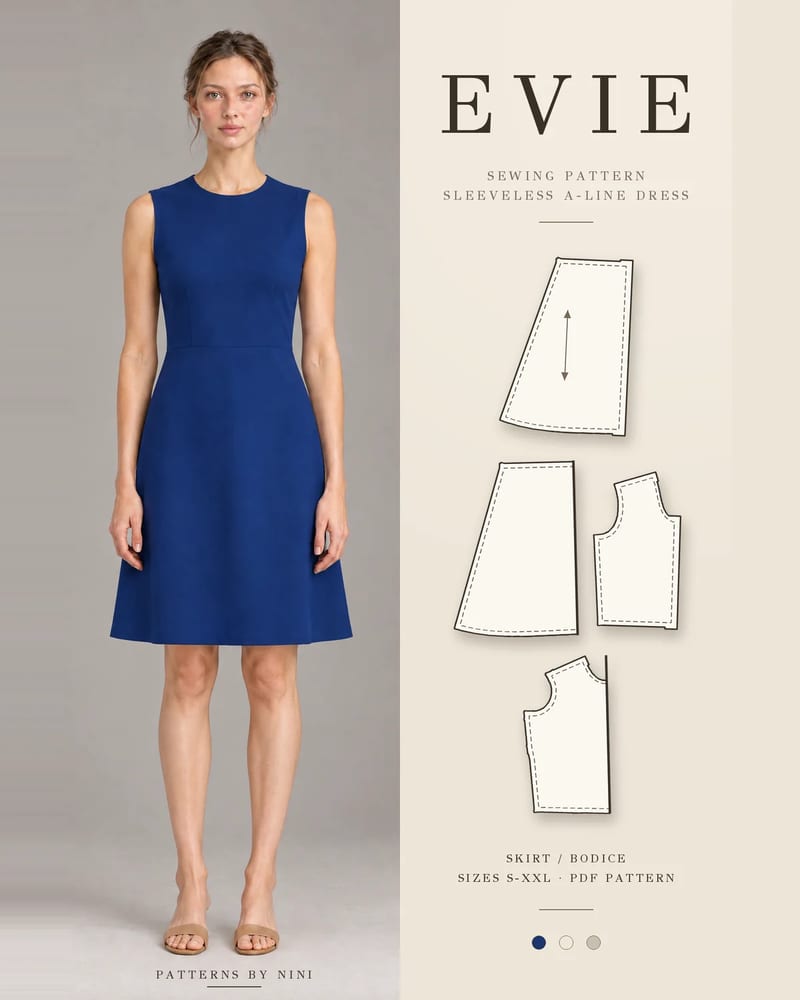
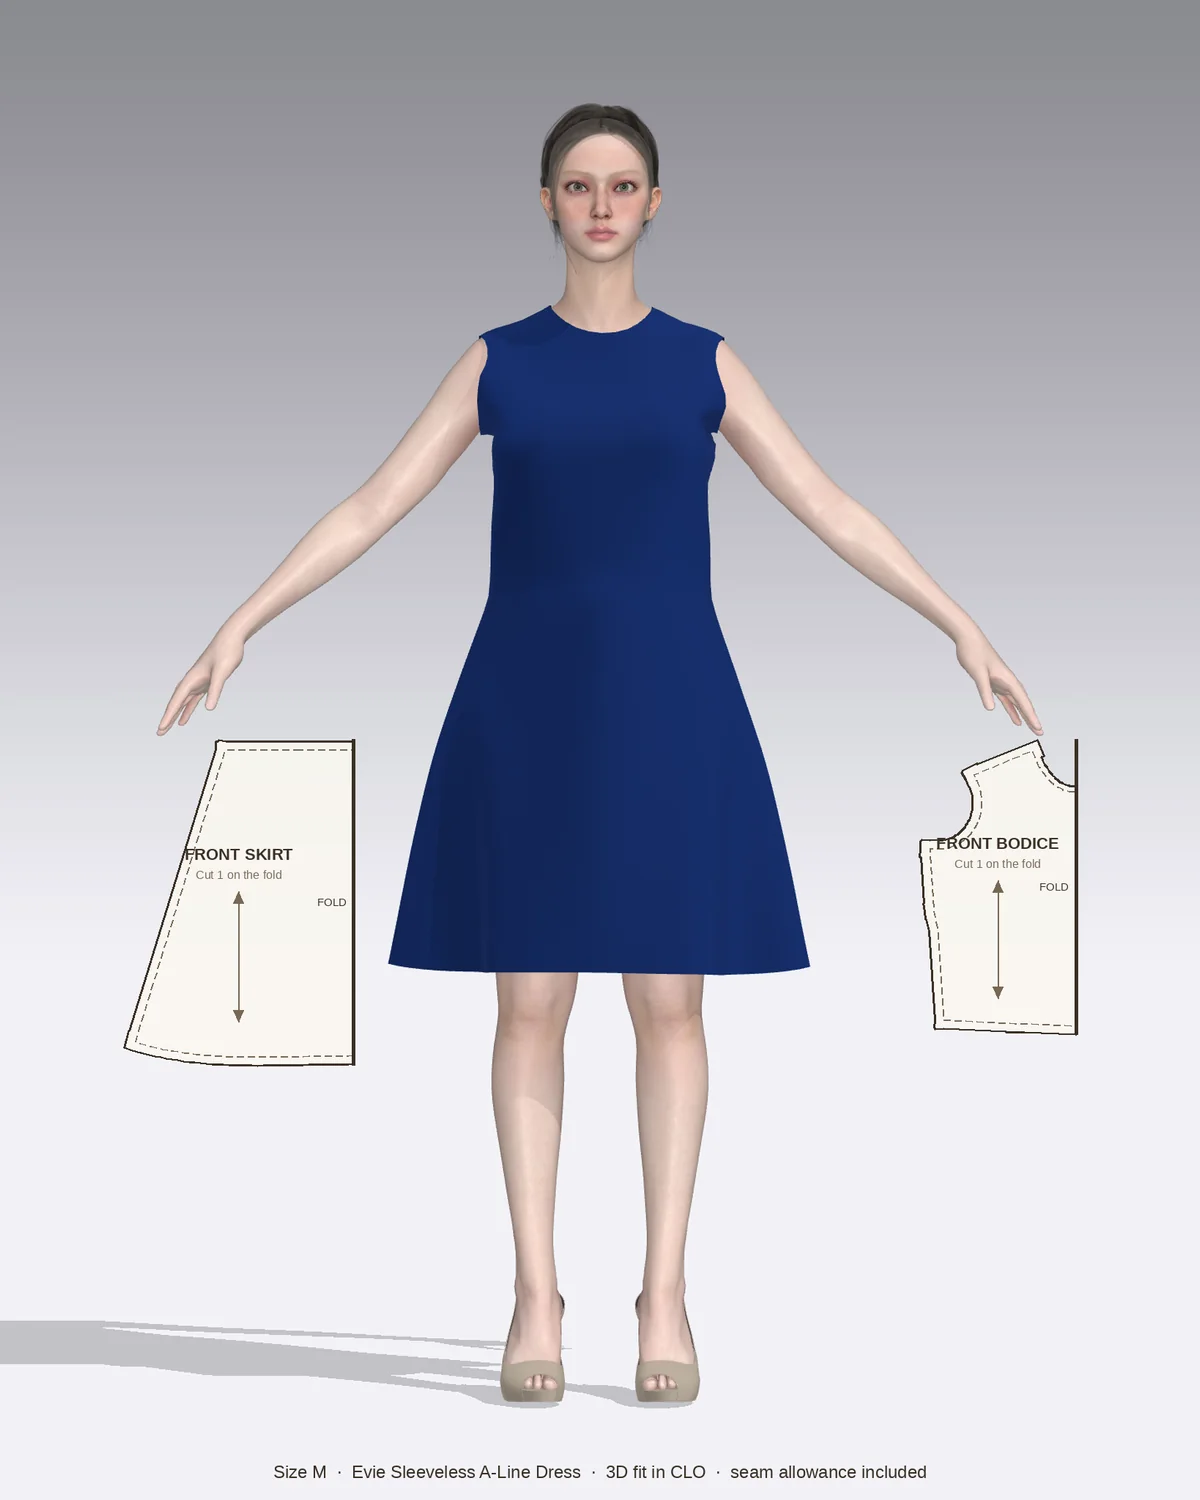
The Evie A-line dress is a good first project to try one on. Its smooth flared A-line skirt has long side seams with no gathers to hide uneven stitching, and its fitted bodice has bust and waist darts, so a seam sewn at the wrong allowance changes the fit at the waist. Set the guide once to the allowance in the instructions and sew every side and skirt seam with it, then slide it back for the bias-bound high round neckline and armholes. The center-back invisible zipper is sewn with a zipper foot close to the coil, so take the guide off for that step.
The same habit pays off on the Nina shift dress, whose straight side seams and darts are a calm place to practice. On the Bear teddy jacket, the pattern recommends a walking foot and the inside seams are bound; a magnetic guide works beside a walking foot on a steel plate and keeps the bulky sherpa layers feeding at an even allowance before you bind them. If you are just starting out, the guide to sewing patterns for beginners suggests which designs to try first.
A seam gauge for sewing is a 6 in ruler with a sliding marker. Learn to use it for even hems, seam allowances, buttonholes, pleats, darts and elastic casings.
How to sew T-shirts on a regular sewing machine: choose a knit, cut it, sew the shoulders, neckband, sleeves, side seams and hems, and fix wavy seams.
How to sew pajama pants step by step: pick and prewash fabric, cut, sew the legs and crotch, add an elastic and drawstring waistband, then hem.
May we use Pinterest cookies to measure visits and purchases and improve our advertising? You can shop either way and change your choice in Cookie settings. Privacy policy