A note on measurements: this guide is written for US sewists, so it uses US units first: inches, yards
and US paper sizes (Letter, 36 × 48 in). Metric equivalents are in brackets where they matter. If you're not used to US
measurements, convert them before you cut: 1 in = 2.54 cm, 1 yd = 91.4 cm.
To sew a French seam, you stitch the two pieces wrong sides together with a narrow seam, trim the seam allowance, then fold the pieces right sides together along that seam and stitch again, so the raw edges are sealed inside a small tube. With a standard 5/8 in (1.5 cm) seam allowance, that means a 3/8 in (1 cm) first pass and a 1/4 in (6 mm) second pass. This guide covers how to sew a French seam step by step, the measurements for other seam allowances, curves, and how to fix threads poking through.
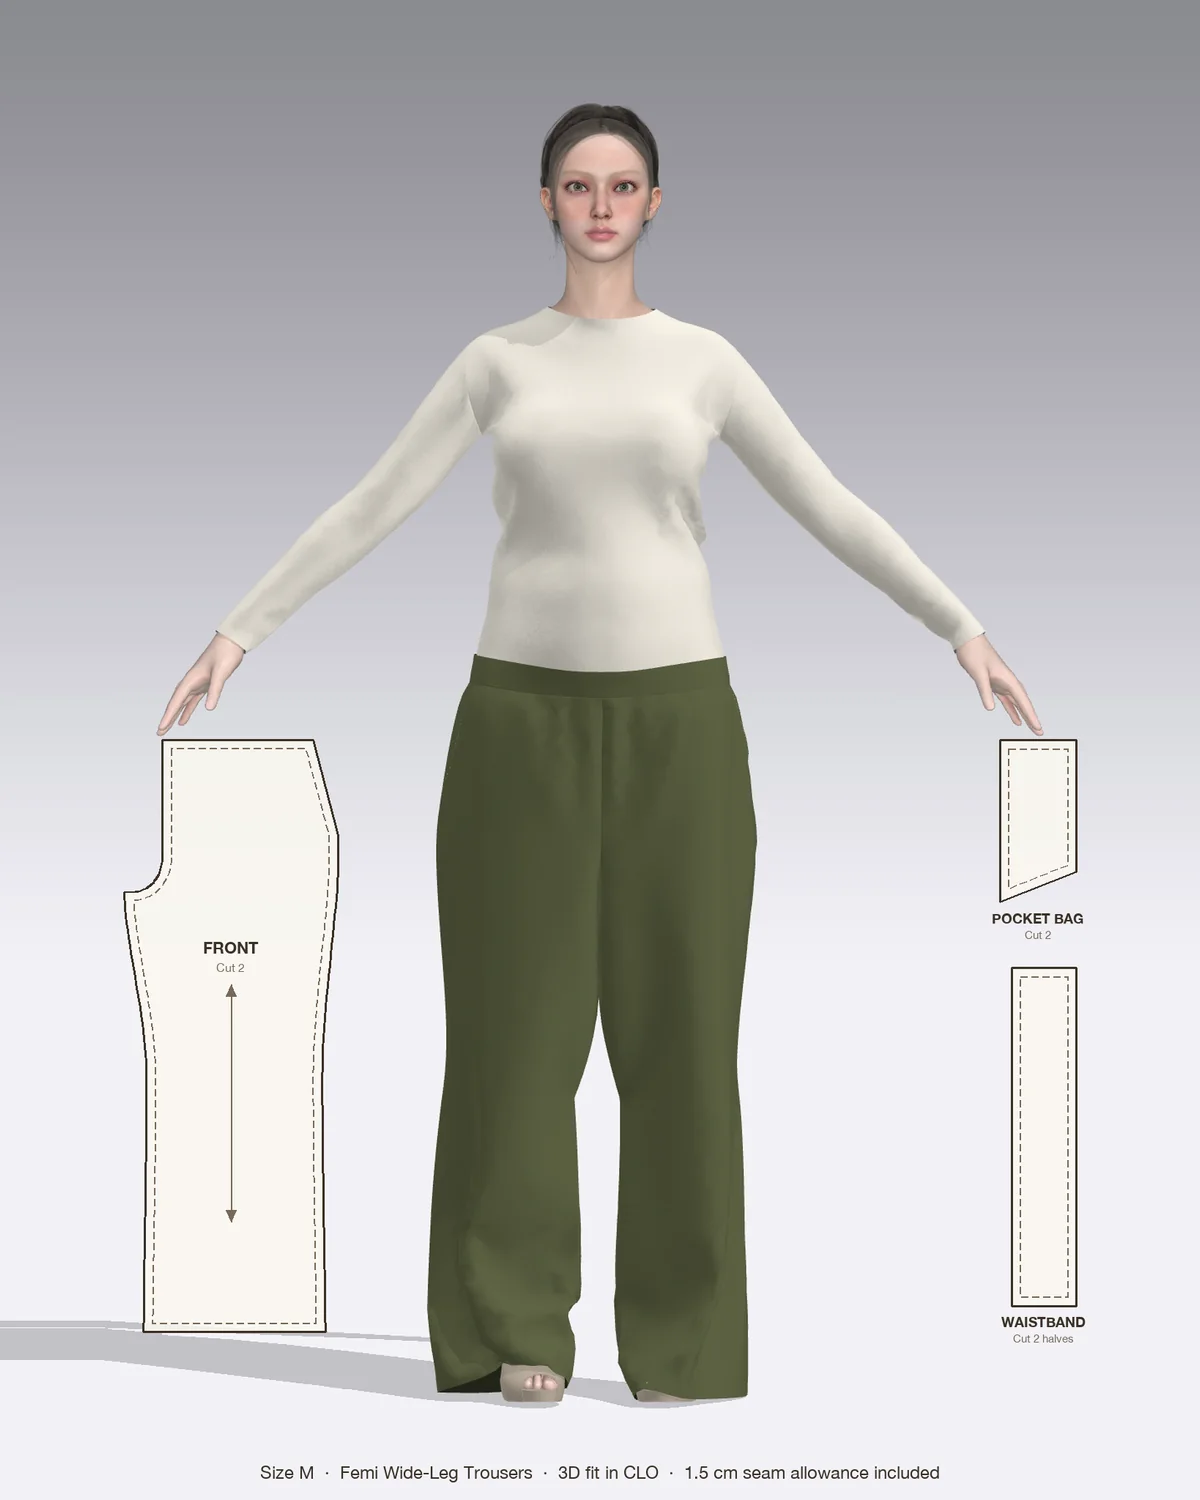
Draped in CLO 3D: the Femi with its pattern pieces, drawn to scale.
What a French seam is and when to use it
A French seam is an enclosed seam finish. From the outside it looks like any plain seam. Inside, instead of two raw edges that need serging or zigzagging, there is a neat folded strip about 1/4 in (6 mm) wide with nothing to fray.
It is the go-to finish for:
Sheer and lightweight fabrics such as voile, cotton lawn, chiffon, georgette and organza, where a serged edge would show through or look heavy.
Fray-prone wovens such as rayon challis, viscose, crepe and lightweight linen, which can unravel in the wash if seams are left raw.
Unlined garments where the inside shows: loose blouses, slip dresses, wide pants, kimono-style jackets.
Sewing without a serger. A French seam needs only a regular straight stitch.
It is a poor choice for thick fabrics, because the finished seam is four layers deep and turns stiff and ridged. For denim, canvas or heavy linen, a flat-felled seam or a serged finish is a better fit.
What you need
A regular sewing machine with a straight stitch (no special foot needed; a 1/4 in patchwork foot helps you keep the second seam even)
Thread to match, and a fine needle for lightweight fabric: size 60/8 to 70/10 for sheers, 80/12 for medium-light wovens
These steps assume the common US pattern seam allowance of 5/8 in (1.5 cm). Set a stitch length of about 2.0 to 2.5 mm; slightly shorter stitches hold better on fine fabric.
First pass: wrong sides together
Place the two pieces wrong sides together, so the right sides face out. This feels backward, and that’s the point. Pin or clip the raw edges.
Stitch 3/8 in (1 cm) from the raw edge, backstitching at both ends.
Press the seam flat as sewn to set the stitches.
Trim and press
Trim the seam allowance to about 1/8 in (3 mm). It must end up narrower than the second seam, or the edges will poke through. Cut carefully so you don’t nick the stitching.
Snip off any loose threads along the trimmed edge.
Press the seam open, or press both allowances to one side. This gives a sharper fold in the next step.
Second pass: right sides together
Fold the pieces right sides together along the stitched line, so the seam sits exactly on the fold and the trimmed edges are hidden inside.
Press the fold firmly. Roll the seam between your fingers first so the stitching sits right on the edge, not rolled to one side.
Stitch 1/4 in (6 mm) from the fold, backstitching at both ends. The trimmed raw edges are now enclosed.
Check the right side of the second seam for any threads showing before you press.
Final press
Press the finished seam flat from the wrong side.
Press it to one side, usually toward the back of the garment.
Turn the garment over and press lightly from the right side through a pressing cloth.
Match the iron to the fiber: high heat with steam for cotton and linen, medium for rayon and viscose, and low heat with a cloth for silk and polyester, which can go shiny or melt.
French seam measurements for other seam allowances
The two passes add up to the seam allowance, and the first seam is trimmed narrower than the second. Grainline Studio suggests stitching roughly half the allowance first, then trimming that in half.
Seam allowance
First pass (wrong sides)
Trim to
Second pass (right sides)
5/8 in (1.5 cm)
3/8 in (1 cm)
1/8 in (3 mm)
1/4 in (6 mm)
1/2 in (1.2 cm)
1/4 in (6 mm)
1/8 in (3 mm)
1/4 in (6 mm)
3/8 in (1 cm)
3/16 in (5 mm)
1/8 in (3 mm) or less
3/16 in (5 mm)
1/4 in (6 mm)
1/8 in (3 mm)
barely trim
1/8 in (3 mm)
Many European and indie PDF patterns use 3/8 in (1 cm) seam allowances. A French seam is possible there, but the margin for error is tiny. If you know you want French seams, add width to the seams you plan to finish this way when you cut, so you have a full 5/8 in (1.5 cm) to work with. Check the seam allowance printed on your pattern before you start; it is not the same on every pattern.
French seams on curves, and the mock French seam
A true French seam works on straight seams and gentle curves. On a curve:
Trim the first seam slightly narrower than usual, to about 1/8 in (3 mm) or a hair less.
If the curve won’t fold flat, clip into the allowance toward the stitching every 1/2 in (1.2 cm) or so, without cutting through the stitches.
Fold, press and pin a few inches at a time, then stitch. Working in sections stops the second seam from puckering.
Deep curves, such as a crotch seam or a tightly curved armhole, don’t fold well. For those, a mock French seam gives a similar enclosed look:
Sew a regular seam right sides together at the full seam allowance and press it open.
Fold each raw edge in toward the stitching line by about 1/4 in (6 mm), and press.
Bring the two folded edges together and edgestitch through them, close to the folds.
A mock French seam is easier to control, and the folds can be eased around a curve.
Using French seams in the Femi pants
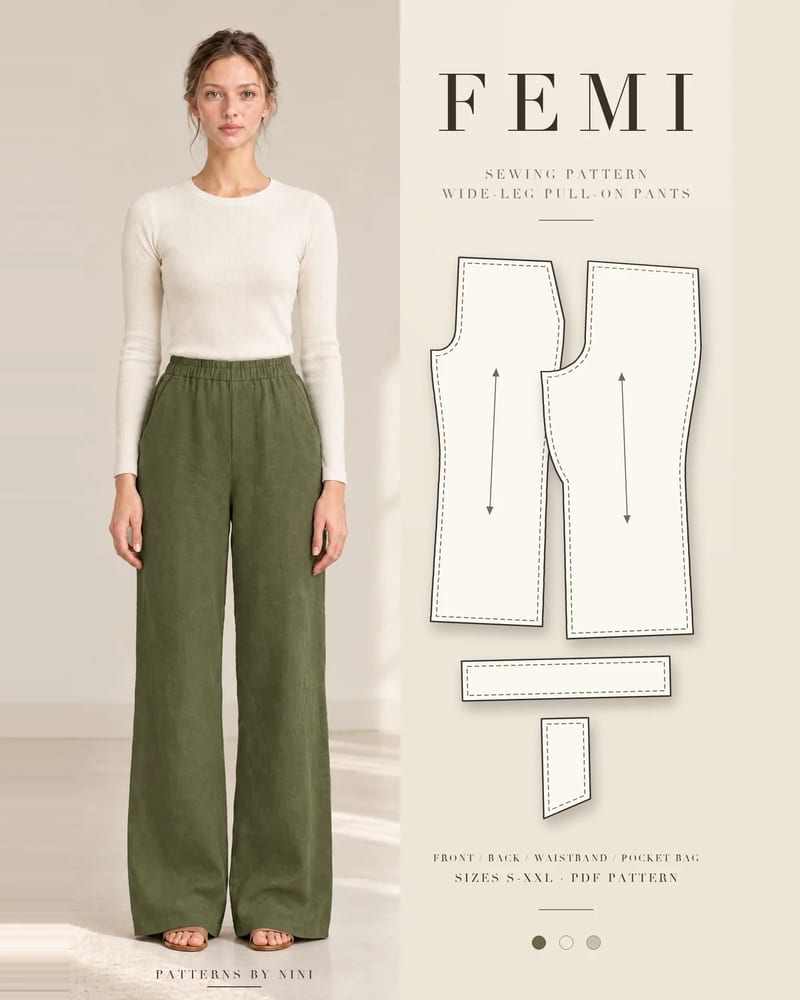
The Femi wide-leg pants are made for linen, linen-viscose, cotton or Tencel with a soft drape, which all fray, so French seams are a good optional finish for the straight seams. The best candidates are the long, straight seams of the legs. A few things to plan for:
The crotch curve is too deep for a true French seam. Use a mock French seam or finish the edges with a serger or zigzag.
Fabric weight: a French seam is four layers thick, so it suits the lighter end of Femi’s fabrics. In a heavier cotton or linen it turns ridged; use a flat felled seam or a serged finish instead.
Pockets and waist: where the slanted front pockets and the gathered elastic waistband meet the legs, use your usual finish rather than a French seam, because several layers come together there.
Common mistakes and how to fix them
Problem
Likely cause
Fix
Raw edges or threads showing on the outside
First seam trimmed too wide, or whiskers left on the edge
Trim to 1/8 in (3 mm); snip threads before folding. On a finished seam, stitch again slightly wider to trap them
Raw edges showing on the inside of the garment
Pieces sewn right sides together on the first pass
Unpick and restart with wrong sides together
Seam rolls or looks wavy
Fold not pressed, or stitched while the seam sat off the edge
Roll the seam onto the fold and press firmly before the second pass
Puckering on a curve
Not clipped, or sewn in one long pass
Clip toward the stitching and work in short sections
Garment fits tighter than expected
Passes added up to more than the seam allowance
Make sure the first and second passes together equal the seam allowance
Stiff, bulky seam
Fabric too thick for four layers
Use a flat-felled seam or a serged finish instead
Quick checklist
Seam allowance checked on the pattern, with extra added if it’s less than 1/2 in (1.2 cm)
First pass wrong sides together, 3/8 in (1 cm) for a 5/8 in (1.5 cm) allowance
Trimmed to 1/8 in (3 mm), loose threads snipped
Folded right sides together with the seam right on the edge, pressed
Second pass 1/4 in (6 mm) from the fold
Final press to one side, then lightly from the right side through a cloth
Frequently asked questions
How much seam allowance do you need for a French seam?
A 5/8 in (1.5 cm) seam allowance is the easiest to work with: stitch 3/8 in (1 cm) wrong sides together, trim, then stitch 1/4 in (6 mm) right sides together. A 1/2 in (1.2 cm) allowance also works, with two passes of 1/4 in (6 mm). With 3/8 in (1 cm) or less, the seam gets fiddly, so add width when you cut.
Can you sew a French seam on a curve?
Yes, on gentle curves such as a slightly shaped side seam or a shallow armhole. Trim the first seam a little narrower than usual, and clip toward the stitching if the curve won't fold flat, without cutting through it. Work and press in short sections. Deep curves, like a crotch seam, are better finished with a serger, zigzag or mock French seam.
Which fabrics are best for French seams?
Lightweight and fray-prone wovens: cotton lawn, voile, batiste, chiffon, georgette, crepe de chine, rayon challis, viscose and lightweight linen. The finished seam is four layers thick, so it suits thin fabric. On denim, canvas, wool coating or thick linen it turns stiff and ridged; use a flat-felled seam, a bound seam or a serged finish instead.
Why are threads poking out of my French seam?
The first seam allowance wasn't trimmed narrow enough, or loose threads were left on the trimmed edge. Trim to about 1/8 in (3 mm), narrower than the second seam, and snip any whiskers before you fold. If threads already show on a finished seam, stitch a second line a fraction outside the first, slightly wider, to trap them, as long as the garment can lose that width.
How to sew pants from a pattern: choose fabric and size, cut, sew pockets, leg seams and the crotch, then add an elastic waistband and hem. For beginners.
How to finish seams without a serger: zigzag, overcast, pinked, turned and stitched, French, flat-felled, bound and hand overcast, with settings for each.
Help us understand what inspires you
May we use Pinterest cookies to measure visits and purchases and improve our advertising? You can shop either way and change your choice in Cookie settings. Privacy policy
 Patterns