A note on measurements: this guide is written for US sewists, so it uses US units first: inches, yards
and US paper sizes (Letter, 36 × 48 in). Metric equivalents are in brackets where they matter. If you're not used to US
measurements, convert them before you cut: 1 in = 2.54 cm, 1 yd = 91.4 cm.
A flat felled seam is a seam where one seam allowance is trimmed narrow, the other is folded over it, and the whole lot is stitched flat to the garment so no raw edges are left. With a standard 5/8 in (1.5 cm) seam allowance, you sew the seam, trim one allowance to about 1/4 in (6 mm), wrap the wider one around it and edgestitch it down. It is the seam on the inseam of your jeans and the side seams of most work shirts, and you can sew it on any home machine.
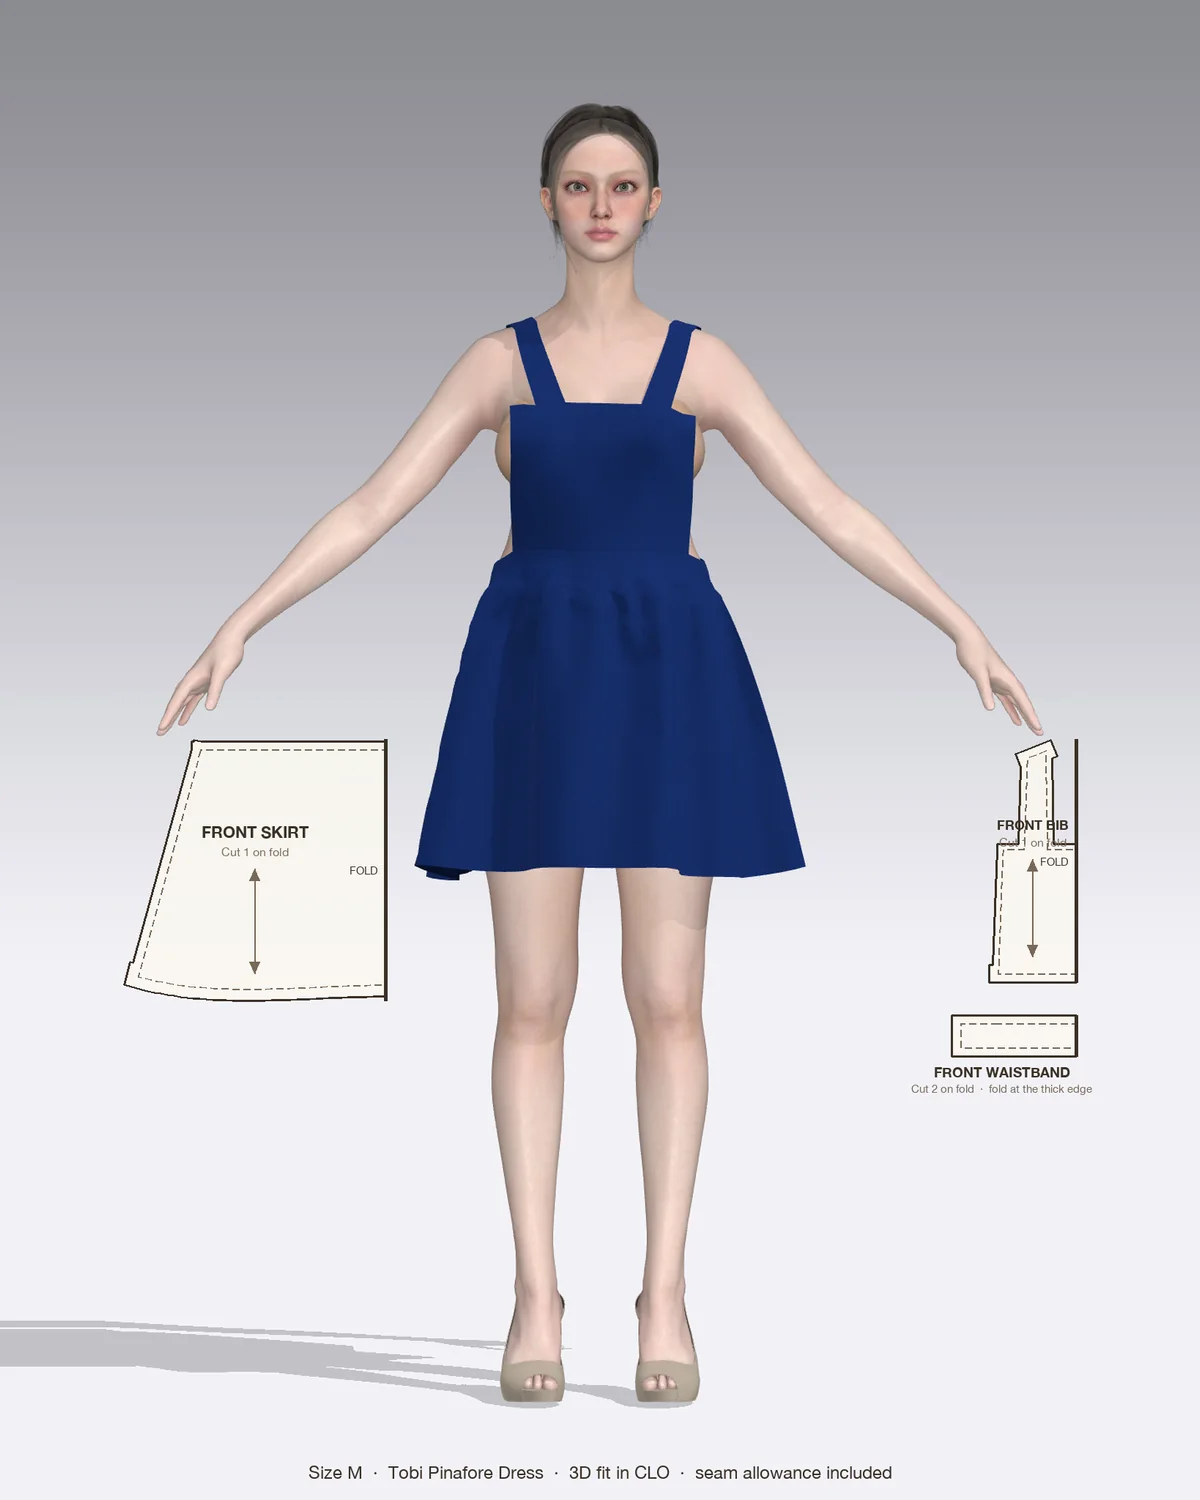
Draped in CLO 3D: the Tobi with its pattern pieces, drawn to scale.
What a flat felled seam is and when to use it
A flat felled seam is an enclosed seam finish, like a French seam, but it lies flat against the garment instead of standing up inside it. From the outside you see one or two parallel rows of topstitching. Inside, there is a neat folded band with nothing to fray.
It is the best choice for:
Medium to heavy wovens such as denim, chambray, twill, canvas, and mid-weight linen and cotton.
Garments that are washed often or worked hard: jeans, work pants, overalls, shirts, aprons and utility jackets.
Unlined garments where the inside shows, such as unlined jackets and loose shirts.
Reversible garments, because the seam looks tidy on both sides.
It is less suited to slippery or very drapey fabrics such as crepe, chiffon and rayon challis, which shift as you fold them and can look stiff with two rows of stitching. On those, a French seam is usually the better enclosed finish.
What you need
A sewing machine with a straight stitch. A regular foot works; an edgestitch foot or a felling foot helps.
A needle to suit the fabric: 80/12 for shirting, 90/14 for twill and linen, 100/16 denim needle for denim.
All-purpose thread for the seam, plus topstitching thread if you want a heavier, jeans-style line.
Sharp scissors or trimming shears, a seam gauge, pins or clips.
An iron and a pressing cloth.
Before you cut, check the seam allowance printed on your pattern. Keep notches short, about 1/8 in (3 mm), or mark them with a fabric marker: a deep notch cut into the allowance can show through the folded edge.
How to sew a flat felled seam, step by step
These steps use a 5/8 in (1.5 cm) seam allowance and put the felled band on the inside, with the topstitching showing on the outside. That is how most jeans and shirts are made. Set a stitch length of about 2.5 mm for the seam and 3.0 to 3.5 mm for topstitching.
Sew and trim
Place the pieces right sides together and pin or clip the edges.
Stitch at 5/8 in (1.5 cm), backstitching at both ends.
Press the seam flat as sewn to set the stitches, then press both allowances to one side, toward the side you want the seam to fold (usually the back).
Trim the lower allowance, the one lying underneath against the garment, to about 1/4 in (6 mm). Leave the top allowance at its full width. Open the allowances out as you cut so you don’t nick the garment.
Fold and press
Fold the raw edge of the wide allowance under so it meets the stitching line, wrapping around the trimmed edge. Press.
Fold the whole band over toward the side you chose in step 3, so the folded edge lies flat on the garment and covers the trimmed allowance completely. Press firmly from the inside.
Pin or clip the band every 2 to 3 in (5 to 7.5 cm). On slippery fabric, a narrow strip of washable fabric glue or basting tape under the fold holds it in place.
Topstitch
Edgestitch the folded edge about 1/16 in (1.5 mm) from the fold, through all layers. You can do this from the inside, where you can see the fold, or from the outside if you have basted it in place.
Check the outside. For a classic two-row finish, add a second row of topstitching close to the original seamline, on the outside, so the two rows sit about 1/4 in (6 mm) apart.
Press the finished seam from both sides. Match the iron to the fiber: high heat with steam for cotton, denim and linen; medium for blends.
Felling the seam on the outside
You can also put the felled band on the outside, as a design detail or to keep water out of the seams on outerwear. Start with the pieces wrong sides together instead of right sides, then trim, fold and edgestitch exactly as above. The band now sits on the right side and the inside shows a single line of stitching. Use this on purpose, and test it on scraps first, since it is very visible.
Flat felled seams on curves and armholes
Straight seams are easy. Curves such as armholes, the crotch seam and the back rise of jeans need more care, because the folded band has to stretch or ease to lie flat.
Sew curves in the flat. On a shirt, set the sleeve into the armhole before you sew the side and sleeve seams. Then the armhole is open and you can fell it on the ironing board, and the side seam and underarm seam are sewn last as one straight line.
Trim a little narrower on the curve, to about 3/16 in (5 mm).
Press over a tailor’s ham to shape the fold, and pin closely, every 1 in (2.5 cm).
Stitch slowly, stopping with the needle down to pivot and smooth the fold as you go.
Threads Magazine shows an alternative for shirt armholes: fold and edgestitch the edge of one piece before the seam is sewn, trim close, then join the pieces at 3/8 in (1 cm) and topstitch. The fold is made while the edge is still flat, which is easier on a curve.
The mock flat felled seam
The mock (or faux) version looks the same from the outside, with less bulk and pressing. The raw edges are finished rather than enclosed, which makes it a good choice for thick denim, for deep curves, and for patterns with 3/8 in (1 cm) allowances.
Sew the seam right sides together at the full seam allowance.
Trim the allowance that will sit underneath to about 1/4 in (6 mm).
Serge or zigzag the other allowance, or both together.
Press both allowances to one side.
From the outside, topstitch about 3/8 in (1 cm) from the seamline through all layers, catching the allowances. Add a second row close to the seamline if you want the two-row look.
Using a flat felled seam in Patterns by Nini designs
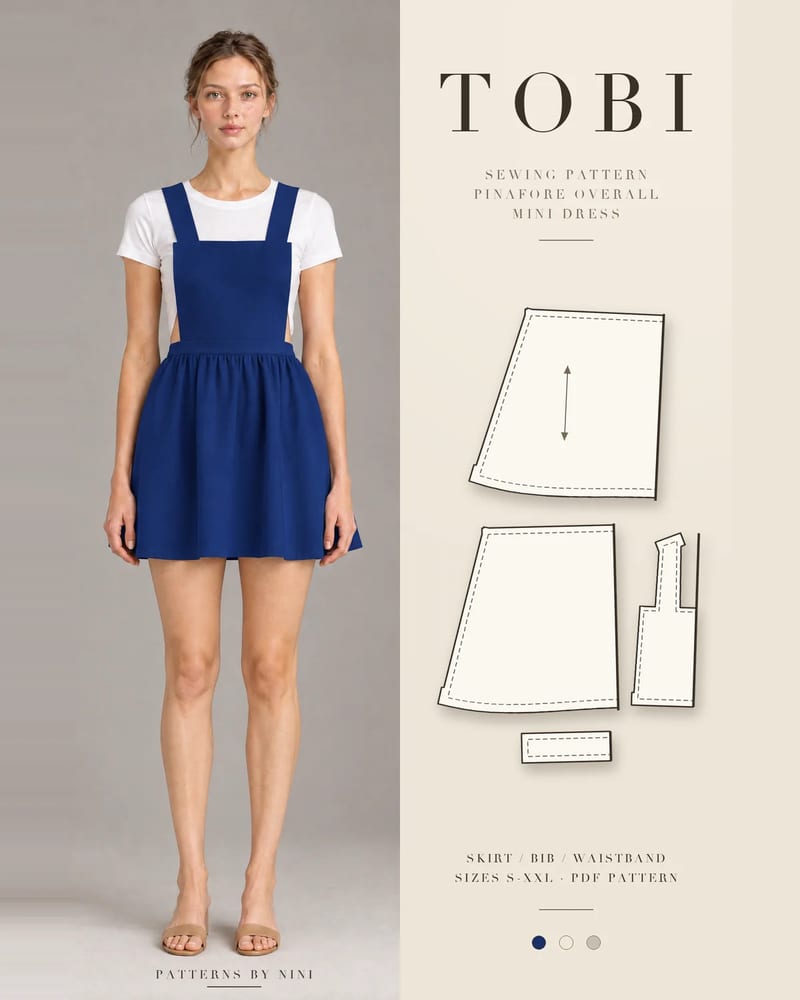
The Tobi pinafore overall mini dress suggests mid-weight wovens with body: cotton twill, denim, corduroy, canvas or linen. In twill or denim, a flat felled seam is a good optional finish for the straight seams of the skirt, and the topstitching suits their casual look. A few things to plan for:
Side zipper: Tobi has an invisible zipper in the left side seam, which needs open, flat seam allowances. Finish those edges with a zigzag or serger before you sew the invisible zipper rather than felling them.
Waistband and bibs: several layers meet where the interfaced waistband and the faced bibs join the skirt, so use a plain seam there rather than a felled one.
Width: if you add seam allowance for felling, add the same amount to both matching edges so the fit doesn’t change.
Common mistakes and how to fix them
Problem
Likely cause
Fix
Raw edges peeking out of the fold
Lower allowance trimmed too wide, or fold not pressed to the stitching line
Trim to 1/4 in (6 mm) or less; press the fold right to the seamline before you fold the band over
Topstitching wanders off the fold
Stitching too fast, or fold not pinned
Slow down, pin every 2 in (5 cm), use an edgestitch foot as a guide
Seam twists or ripples
Band stretched while folding, especially on bias or curves
Press, don’t pull; on curves trim narrower and press over a ham
Machine skips stitches at cross seams
Too many layers at once
Use a larger needle, hammer the bulky spot flat, and walk the needle by hand over it
Garment fits tighter than expected
Seam sewn wider than the pattern’s allowance
Sew the first seam at the printed allowance; felling doesn’t change the seamline
Stiff, ridged seam
Fabric too thick for a full fell
Use the mock flat felled seam instead
Quick checklist
Seam allowance checked, with width added if it is less than 1/2 in (1.2 cm)
Short notches, so they don’t show through the fold
Seam sewn right sides together and pressed to one side
Lower allowance trimmed to 1/4 in (6 mm)
Wide allowance folded around it, pressed and pinned flat
Edgestitched 1/16 in (1.5 mm) from the fold, with an optional second row
Final press on both sides
Frequently asked questions
What is the difference between a flat felled seam and a French seam?
Both enclose the raw edges, but they look and behave differently. A French seam is sewn twice and hidden inside, so the outside shows only a plain seamline; it suits light, sheer fabric. A flat felled seam is folded flat against the garment and topstitched, so one or two rows of stitching show on the outside. It is stronger and flatter, and suits denim, twill and linen.
What seam allowance do you need for a flat felled seam?
A 5/8 in (1.5 cm) seam allowance is the easiest to work with, and it is the standard on most US patterns. A 1/2 in (1.2 cm) allowance works but leaves less to fold. With 3/8 in (1 cm) allowances, common on European and indie PDF patterns, add width to the seams you plan to fell when you cut, or use the mock version instead.
Do you need a special foot to sew a flat felled seam?
No. A regular straight-stitch or all-purpose foot is enough if you press each fold carefully and stitch slowly along the edge. An edgestitch foot helps keep the topstitching even. A felling foot, sold in widths such as 4 mm and 6 mm, folds the fabric as you sew and saves time on long, straight seams like jeans inseams.
Which way should a flat felled seam be pressed?
Follow the pattern if it says. Otherwise, side seams and shoulder seams usually fold toward the back, and armhole seams fold toward the body. Decide before you trim, because the allowance you trim is the one on the side the seam folds toward, and the wider one wraps over it. Keep the direction the same on matching seams so the garment looks balanced.
How to sew a skirt from a pattern or rectangles: measure, cut, gather, add an interfaced waistband and side zipper, then hem. Step by step for beginners.
How to finish seams without a serger: zigzag, overcast, pinked, turned and stitched, French, flat-felled, bound and hand overcast, with settings for each.
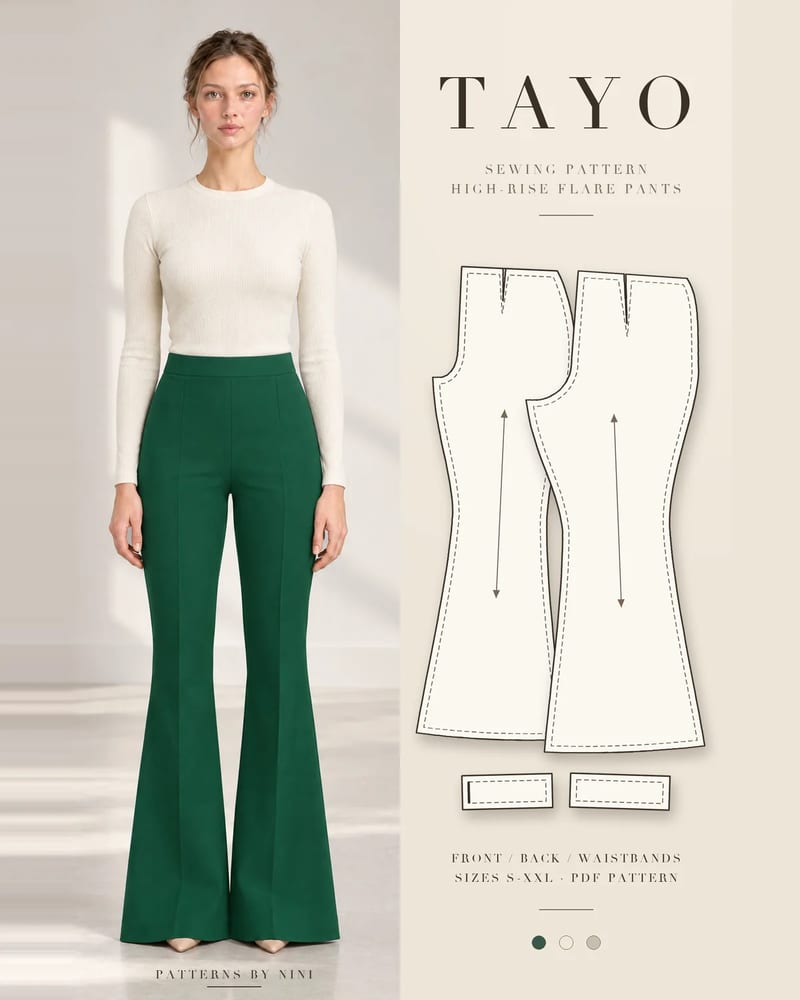
How to sew bell bottom pants step by step: pick a flare pattern or add flare to one you own, then fit the knee, sew the legs and hem the wide flare neatly.
Help us understand what inspires you
May we use Pinterest cookies to measure visits and purchases and improve our advertising? You can shop either way and change your choice in Cookie settings. Privacy policy
 Patterns