Patterns
How to take body measurements for sewing, step by step
How to take body measurements for sewing: what to wear, where to place the tape for bust, waist, hip and rise, and how to pick a pattern size.
A note on measurements: this guide is written for US sewists, so it uses US units first: inches, yards and US paper sizes (Letter, 36 × 48 in). Metric equivalents are in brackets where they matter. If you're not used to US measurements, convert them before you cut: 1 in = 2.54 cm, 1 yd = 91.4 cm.
To choose a sewing pattern size, measure your full bust, high bust, waist and hip, find those numbers on the pattern’s body measurement chart, then check the finished garment measurements to see how much room the style adds. Pick your starting size from the part of the garment that is hardest to alter, usually the bust for dresses and tops and the hip for pants and skirts. This guide shows how to choose a sewing pattern size step by step, including what to do when your measurements land in different sizes.
The most common mistake is buying or cutting the size you wear in stores. Pattern companies size from a measurement chart, not a label, and many sewists find their pattern size is one or two sizes larger than their store size. Your tape measure decides, not the letter on the tag.
Measure over the underwear you plan to wear with the garment, with the tape level and snug but not tight. Write each number down in inches and centimeters so you can read any chart.
For pants, also note your seated rise and inseam. The guide to taking body measurements for sewing shows where every measurement goes and how to avoid the usual errors.
Every pattern has a chart of body measurements for each size. Find your bust, waist and hip in it and note the size for each one separately. A typical result looks like this:
| Measurement | Yours | Size on the chart |
|---|---|---|
| Full bust | 38 in (96.5 cm) | L |
| Waist | 31 in (79 cm) | M |
| Hip | 41 in (104 cm) | L |
Don’t round down to the size you hoped for. If a measurement sits exactly on the border between two sizes, note both for now; the next step decides between them.
Patterns are drafted for one bust shape. Simplicity’s sizing guide, for example, says its Misses patterns are drafted for a B cup, with a 2 in (5 cm) difference between high bust and full bust. Subtract your high bust from your full bust:
Indie pattern companies may draft for a different cup size, so read the notes beside the chart if they mention one.
The body chart describes you. The finished garment measurements describe the clothes. The difference between the two is ease, and it tells you how a style is meant to fit.
To use the numbers, subtract your body measurement from the finished measurement at the bust, waist and hip for each size you noted. If one size gives you comfortable ease everywhere, that’s your size. A second check helps too: lay a garment you like the fit of flat, measure it across the bust and double it, and compare that with the finished measurements.
Start from the area that is hardest to change after cutting.
If the ease is generous, the smaller size often works. If the style is fitted, choose the larger size, because it’s easier to take in a seam than to let one out. When your bust, waist and hip fall in different sizes, you don’t have to choose one: you can grade between sizes by drawing a smooth new cutting line from one size to the next along the side seams.
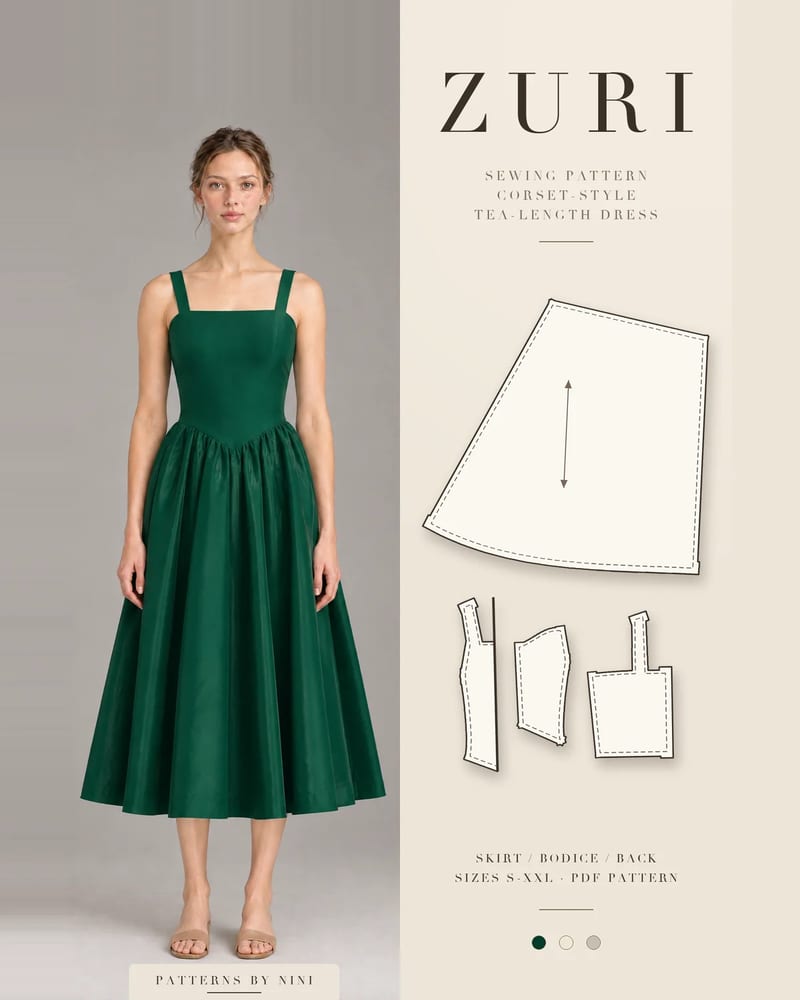
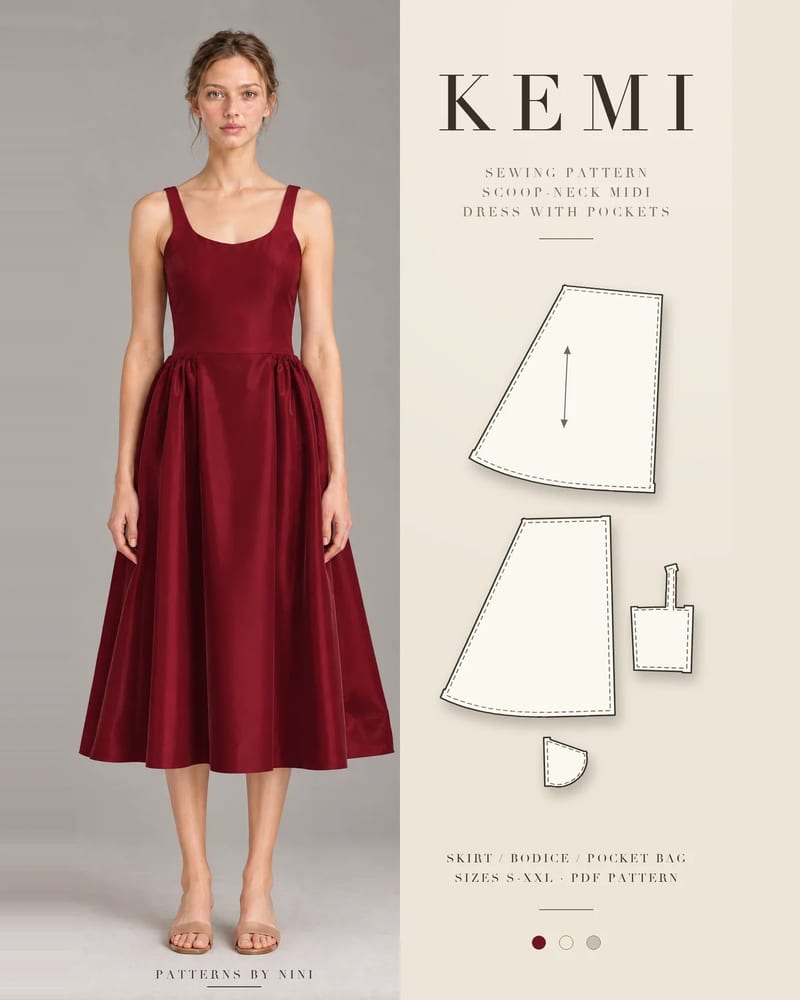
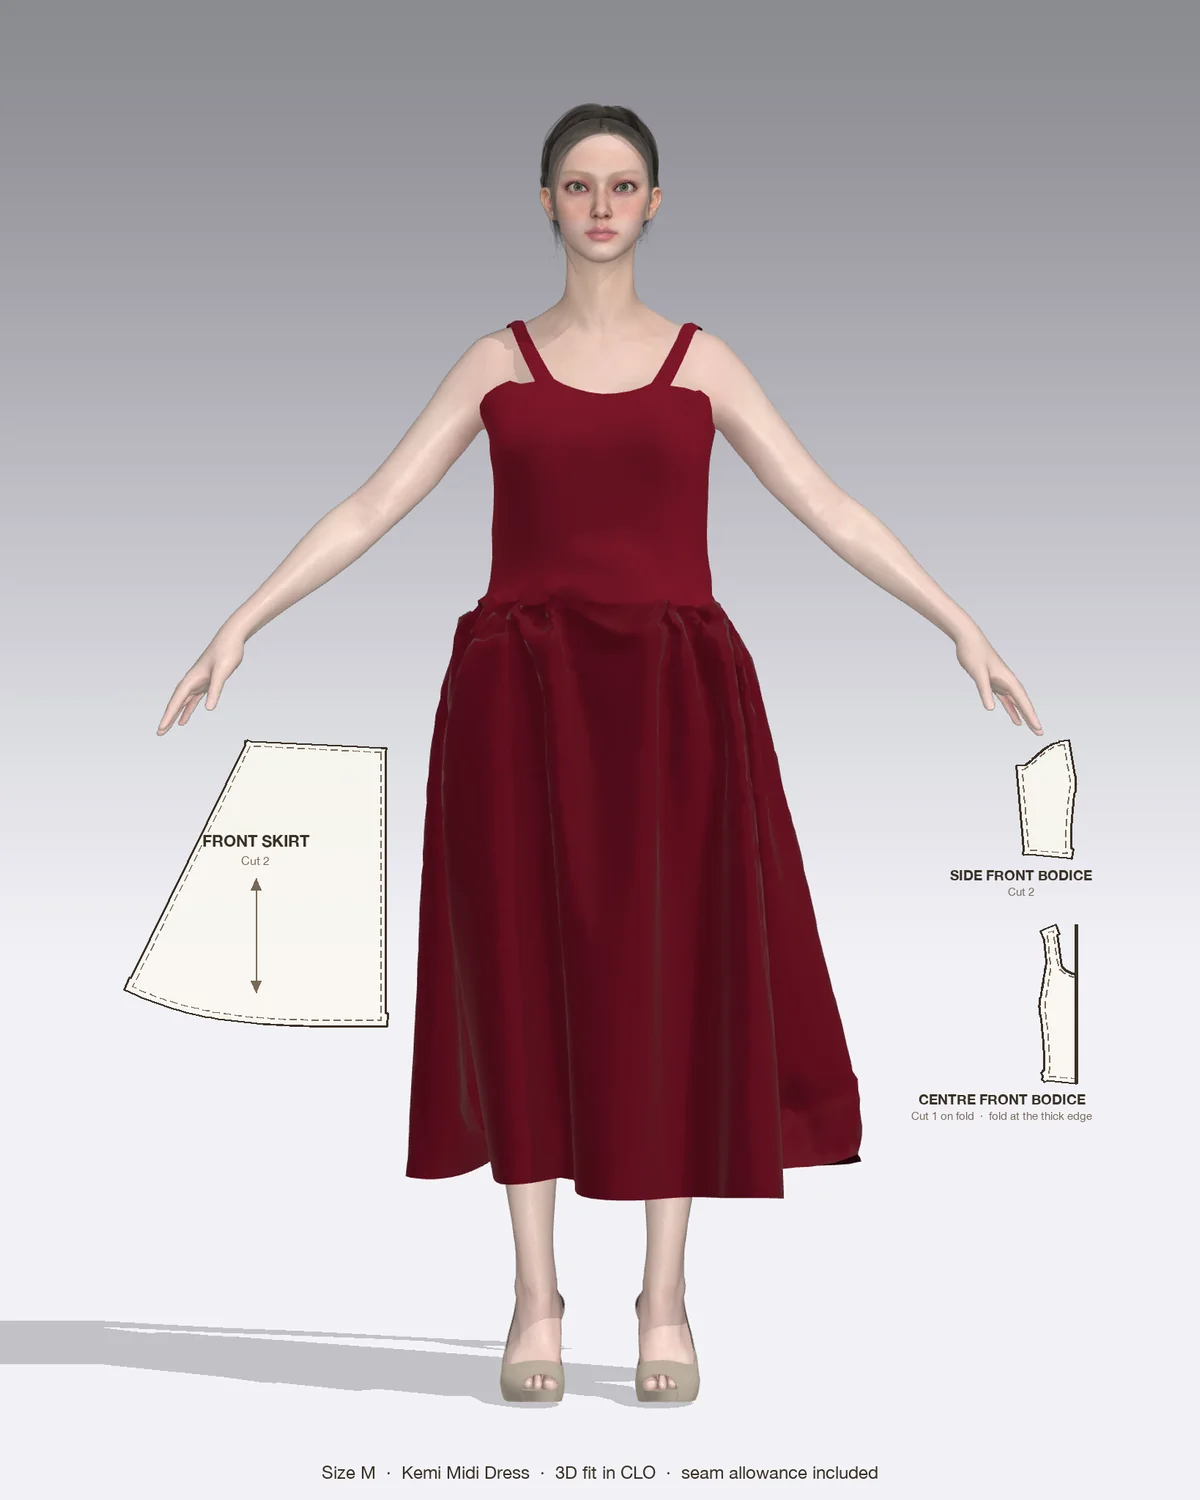
The Kemi midi dress shows how the steps work on a real pattern. Its fully lined bodice has front princess seams and back waist darts and sits on slim straps, so the bust and waist are the fitted areas. Its tea-length skirt is flat at the center front and back and gathered at the sides, which leaves plenty of room at the hip.
Kemi comes in sizes S–XXL. Like every Patterns by Nini PDF, it includes a size chart and finished measurements in inches and centimeters. The same approach works for its floor-length sister, the Nneka maxi dress. For pants such as the Tolu pleated pants, with a flat interfaced waistband at the natural waist, choose by the hip and grade the waist if it falls in a different size. Each product page also offers a pattern drafted to your measurements if you would rather skip the blending.
| Mistake | What happens | Fix |
|---|---|---|
| Choosing your store size | Garment is too tight | Use your measurements and the body chart |
| Reading the finished measurements as body measurements | Garment comes out a size too small | Find your size on the body chart first, then check ease |
| Choosing by full bust with a large cup | Shoulders and neckline gape | Choose by high bust and do a full bust adjustment |
| Choosing pants by the waist | Hips and seat are too tight | Choose by the hip, then grade or adjust the waist |
| Measuring over bulky clothes | Size comes out too big | Measure over fitted underwear |
| Skipping the test square on a PDF | Every piece prints the wrong size | Check the test square before cutting |
For a fitted style, or if you blended across more than one size, make a muslin in inexpensive fabric before cutting your real fabric. It costs an evening and shows any fit problem while it’s still easy to change.
How to take body measurements for sewing: what to wear, where to place the tape for bust, waist, hip and rise, and how to pick a pattern size.
How to hem a dress at home: mark the length on the body, pick the hem depth for a straight, flared or bias-cut skirt, then press and stitch by machine or hand.
How a princess seam dress sewing pattern shapes the bodice, how to sew the curved seams smoothly, and how to fit the bust before you cut your fabric.
May we use Pinterest cookies to measure visits and purchases and improve our advertising? You can shop either way and change your choice in Cookie settings. Privacy policy