A note on measurements: this guide is written for US sewists, so it uses US units first: inches, yards
and US paper sizes (Letter, 36 × 48 in). Metric equivalents are in brackets where they matter. If you're not used to US
measurements, convert them before you cut: 1 in = 2.54 cm, 1 yd = 91.4 cm.
To sew a button by hand, double a length of thread, knot it, mark the button position, then stitch through the holes four to six times over a spacer such as a toothpick. Remove the spacer, wrap the thread around the stitches under the button to form a shank, and knot it off on the inside. That shank is the step most quick guides skip, and it is the reason a button sewn this way stays on and buttons smoothly.
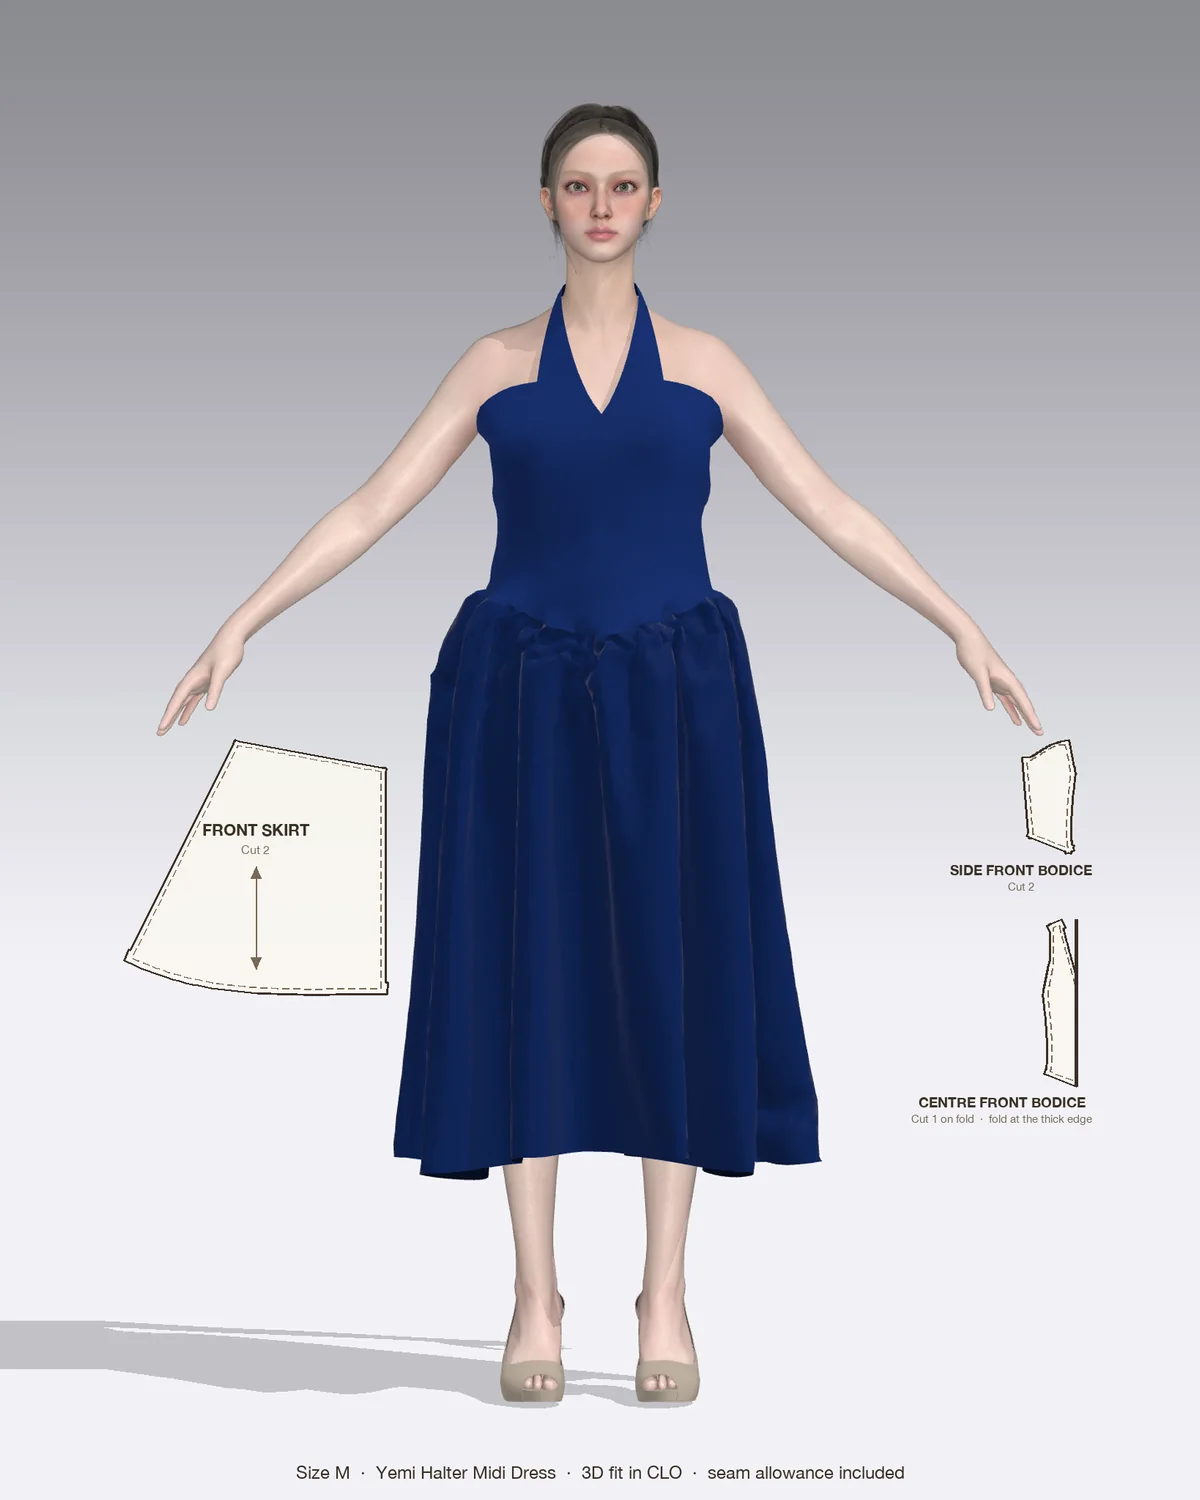
Draped in CLO 3D: the Yemi with its pattern pieces, drawn to scale.
This guide covers how to sew a button of every common type: flat two-hole and four-hole buttons, shank buttons, and the stay buttons used on coats and heavy fabrics, plus where to place a button so the opening doesn’t gape.
What you need
Needle: a hand sewing sharp, size 7 to 9. The needle has to pass through the button holes twice with doubled thread, so don’t use a very fine one.
Thread: all-purpose polyester thread matched to the button or the fabric. For coats, jackets and heavy denim, button and craft thread or topstitching thread is stronger.
Beeswax (optional): running the thread over beeswax reduces tangling and helps it glide through the button holes.
Spacer: a toothpick, a pin, a matchstick or a second needle. A thicker spacer gives a longer shank.
Marking tool: a water-soluble pen, chalk or a pin.
Small scissors or thread snips.
Cut 16 to 24 in (40 to 60 cm) of thread, thread the needle, pull the two ends even and knot them together. You now sew with a doubled strand, so each pass puts two strands through the button.
How to sew a flat button with a thread shank
Flat buttons, also called sew-through buttons, have two or four holes. This method works for both.
Mark the position. On a garment you are making, mark where the pattern shows the button. When replacing a lost button, look for the old needle holes or button the garment and push a pin through the center of the buttonhole into the layer underneath.
Anchor the thread. Start on the right side, exactly on the mark, where the button will hide it. Take a small stitch, then a second small stitch over the first. Starting on the right side hides the knot under the button and stops it pulling through loose weaves.
Add the button. Bring the needle up through one hole of the button and slide the button down the thread onto the mark.
Place the spacer. Lay a toothpick or pin across the top of the button, between the holes. Your stitches will pass over it.
Stitch through the holes. Go down through the opposite hole and the fabric, then come back up through the first hole. Make four to six passes. Keep the stitches inside the button’s outline on the underside so they don’t show on the facing.
For a four-hole button, sew one pair of holes, then the other. You can make two parallel bars or cross them in an X. Parallel bars look tidier on shirts; an X holds slightly better under strain.
Remove the spacer. On the last pass, bring the needle up between the button and the fabric instead of through a hole. Take out the toothpick and pull the button up so the loose stitches lift it.
Form the shank. Wrap the thread tightly around the stitches under the button three to six times. This makes a firm stem of thread.
Finish. Push the needle to the wrong side, take two or three small backstitches through the stitches under the button, then run the needle between the fabric layers for about 1 in (2.5 cm), bring it out and trim the thread close.
How long should the shank be?
The shank should be as long as the buttonhole layer is thick, plus about 1/16 in (2 mm) so the button can move. On a cotton shirt that is barely more than a toothpick’s thickness. On a wool coat front with interfacing, it can be 1/8 to 1/4 in (3 to 6 mm), so use a thicker spacer such as a matchstick, or hold the button above the fabric with a finger as you sew.
How to sew a shank button
A shank button has a loop or post underneath instead of holes on top. The shank lifts the button, so you don’t need a spacer for light and medium fabrics.
Mark the position and anchor a doubled thread on the right side, as above.
Turn the button so the shank loop lines up with the direction of the buttonhole. For a vertical buttonhole, the loop runs up and down; for a horizontal one, side to side. This stops the shank twisting the buttonhole open.
Pass the needle through the shank, then take a small stitch into the fabric directly under it. Keep the stitch small so it hides under the shank.
Repeat five or six times.
On thick coat fabrics, leave a little slack in the stitches and wrap the thread around them two or three times to extend the shank.
Knot off on the wrong side with small backstitches.
Shank buttons have to be sewn on by hand. Check them now and then, because a metal shank can slowly cut through thread.
Stay buttons for coats and heavy fabric
On coats, jackets and heavy fabrics, a small flat stay button (or reinforcement button) sits on the inside, directly under the outer button. You sew through both at once. The stay button takes the strain, so the outer button can’t tear a hole in the fabric when it is pulled.
Hold a small two-hole or four-hole button on the inside, behind the mark.
Sew through the outer button, the fabric and the stay button together, using a spacer on the outside to form the shank.
Wrap the shank on the outside and knot off between the stay button and the fabric.
If you are making the garment yourself, a patch of fusible interfacing under each button position does a similar job on lighter fabrics.
Where to place the button
Buttons only line up if you place them after the buttonholes are sewn and cut.
Vertical buttonholes: place the button on the center front line, directly under the buttonhole.
Horizontal buttonholes: the buttonhole starts about 1/8 in (3 mm) past center front toward the garment edge, and the button sits on center front. Close the garment, pin through the outer end of each buttonhole and mark there.
Which side: women’s garments usually have buttons on the left and buttonholes on the right as worn; men’s are the reverse. Follow the pattern.
On pants and skirt waistbands: mark through the buttonhole with the waistband overlapped as it will be worn, then add a longer shank, since waistbands are thick and take a lot of strain.
Buttons in Patterns by Nini designs
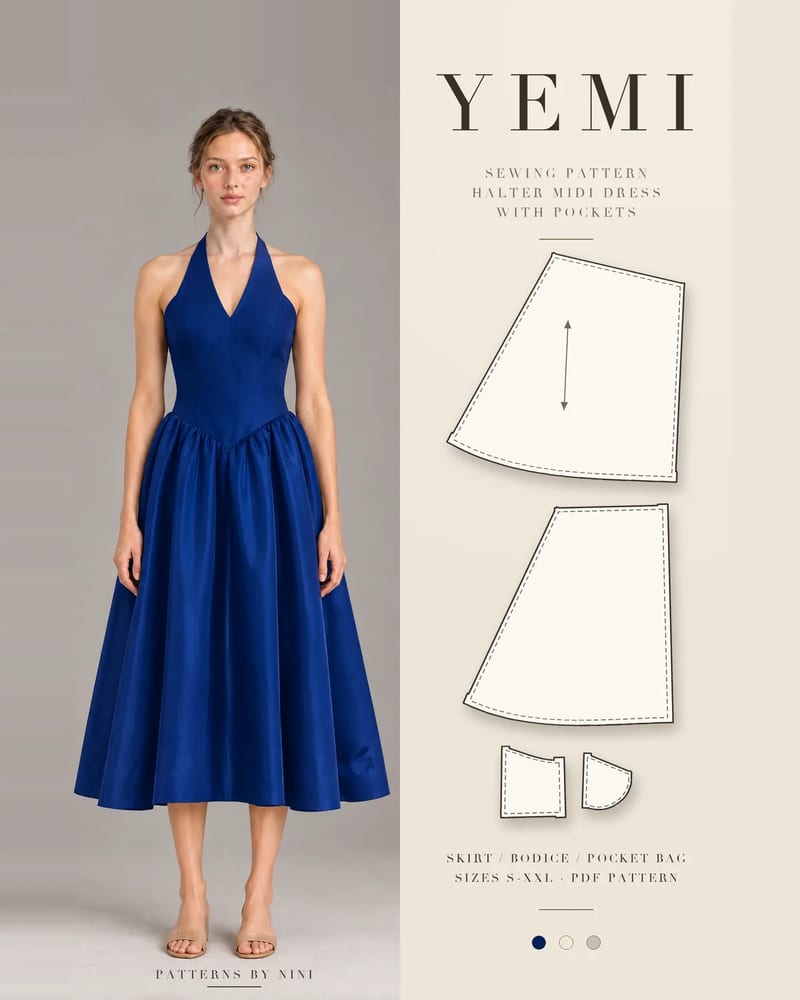
The Yemi halter midi dress has a separate neck band that fastens with one button at the center back, and the notions list asks for just that one button. Because it holds the halter, use a doubled thread and a short thread shank so the band closes flat against the neck without gaping.
The Dara wide-leg overalls give you a choice at the left side: an invisible zipper or two buttons. Buttons there pass through the waistband and bib layers, so they need a longer shank than a shirt button. The Ola pajama pants use two front buttonholes as exits for the drawstring rather than for buttons.
Common mistakes and how to fix them
Problem
Likely cause
Fix
The button is hard to fasten and the buttonhole puckers
No shank, or too short a shank
Resew over a thicker spacer and wrap the shank
The button droops or flops
Shank too long or stitches too loose
Use a thinner spacer; pull each pass snug
The thread breaks within weeks
Single strand, or thread rubbed through on a sharp button hole edge
Use doubled thread or button and craft thread; wax it
Fabric tears around the button
Heavy coat or a lot of strain on one layer
Add a stay button inside or interfacing under the spot
Stitches show on the inside facing
Needle traveling outside the button’s footprint
Keep every stitch under the button
The opening gapes between buttons
Buttons too far apart, or none at the fullest point
Put a button at the bust or waist and space the rest evenly
For the small backstitches that start and finish the thread, and for other stitches you will use on hems and linings, see the guide to hand sewing stitches. If your buttons sit on a faced neckline or a front opening, the facing guide explains how those edges are built.
Frequently asked questions
How many times should you sew through a button?
Make four to six passes through each pair of holes with a doubled thread, which gives eight to twelve strands holding the button. A four-hole button sewn this way takes twice as many strands as a two-hole button and holds better on garments that get heavy wear. More passes than that rarely add strength; they just crowd the holes and make the shank bulky.
Should you use single or double thread to sew on a button?
Use a doubled thread. Cut about 16 to 24 in (40 to 60 cm), thread the needle, pull the ends even and knot them together. A single strand of all-purpose thread is usually too weak for a button unless the thread itself is heavy, such as button and craft thread, which some sewists use single on coats.
Why does a button need a thread shank?
The shank is a short stem of thread between the button and the fabric. It leaves room for the layer with the buttonhole to sit under the button. Without it, the button pulls tight against the fabric, the buttonhole puckers and the thread wears through faster. Make the shank as long as the buttonhole layer is thick, plus about 1/16 in (2 mm).
Which side do buttons go on women's clothes?
On women's garments the buttons usually go on the left side as you wear it and the buttonholes on the right, so the right side laps over the left. Men's garments are the reverse. This is a convention rather than a rule, so follow the markings on your pattern, or choose whichever side you find easier to fasten.
Can you sew a button on with a sewing machine?
Yes, flat two-hole and four-hole buttons can be sewn on by machine with a button sewing foot. Lower or cover the feed dogs, set the stitch length to 0, choose a zigzag and turn the handwheel by hand to check the needle clears both holes before you sew. Shank buttons must be sewn on by hand.
How to sew a buttonhole that fits: sizing it to the button, interfacing, one-step and four-step machine buttonholes, cutting it open and hand stitching.
How to finish seams without a serger: zigzag, overcast, pinked, turned and stitched, French, flat-felled, bound and hand overcast, with settings for each.
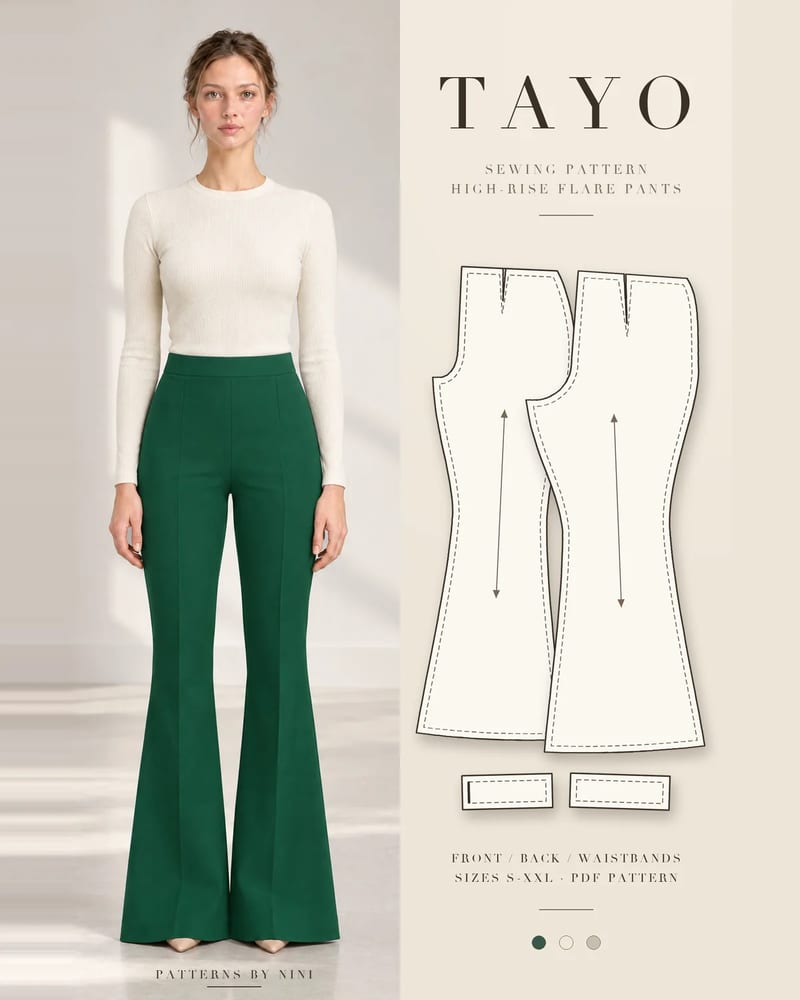
How to sew bell bottom pants step by step: pick a flare pattern or add flare to one you own, then fit the knee, sew the legs and hem the wide flare neatly.
Help us understand what inspires you
May we use Pinterest cookies to measure visits and purchases and improve our advertising? You can shop either way and change your choice in Cookie settings. Privacy policy
 Patterns