Patterns
How to finish seams without a serger: 8 neat methods
How to finish seams without a serger: zigzag, overcast, pinked, turned and stitched, French, flat-felled, bound and hand overcast, with settings for each.
A note on measurements: this guide is written for US sewists, so it uses US units first: inches, yards and US paper sizes (Letter, 36 × 48 in). Metric equivalents are in brackets where they matter. If you're not used to US measurements, convert them before you cut: 1 in = 2.54 cm, 1 yd = 91.4 cm.
Bias binding sewing means wrapping a raw edge in a strip of fabric cut on the bias, so the strip shows as a narrow band on both sides and the edge is fully enclosed. You sew the binding to one side, fold it over the edge, and stitch it down on the other side, either by machine or by hand. The bias cut lets the strip bend around necklines and armholes without rippling.
This guide covers applying binding. For the difference between single fold and double fold tape, see the guide to bias tape.
Measure the edge with a tape measure standing on its side and cut the binding about 2 in (5 cm) longer than the edge, plus extra for any joins.
| Method | Finish on the outside | Best for |
|---|---|---|
| Two-pass, stitch in the ditch | Band with no stitching visible | Necklines and armholes in cotton, linen, poplin |
| French (double) binding | Band with no stitching visible, softer | Lawn, voile, viscose, sheers |
| Topstitched | Band with one visible line of stitching | Casual garments, quick finishes, bound seams |
| Hand-finished | Invisible | Silky fabrics, couture finishes, tricky curves |
Because the strip is folded before it goes on, French binding is easier to control on lightweight fabric.
For the most reliable topstitched finish, sew the first pass to the wrong side of the garment, wrap the binding to the right side, and edgestitch it 1/16 in (2 mm) from its fold. You stitch where you can see, so the line stays even.
The one-pass shortcut slips the raw edge into double fold tape, narrower side on top, and edgestitches through everything. It is fast but easily misses the underside on curves, so baste first or use a binding foot.
Sew the first pass by machine as in Method 1, wrap the binding to the inside, and slip stitch its fold to the line of machine stitching with stitches about 1/4 in (6 mm) apart. Nothing shows on the outside. The guide to hand sewing stitches shows the slip stitch step by step.
On an inside curve (a neckline or armhole), stretch the binding very slightly as you sew so it hugs the body. On an outside curve (a curved hem or pocket), ease the binding on without stretching. On tight curves, sew the first pass, then clip the garment edge every 1/2 in (1.3 cm) inside the stitching so it wraps without pleats.
Stitch to the center front point, stop with the needle down, pivot and continue, letting the binding fold into a small pleat at the point. After wrapping, fold the pleat into a miter on both sides and secure it with a few hand stitches.
On a neckline with a center-back zipper, sew the zipper first. Leave 1/2 in (1.3 cm) of binding past each side of the opening, fold it in over the zipper tape before wrapping, and stitch it down. The ends finish flush with the zipper teeth and nothing needs joining. The guide on how to sew an invisible zipper covers that step.
For an armhole or a neckline with no opening, leave about 2 in (5 cm) unstitched at each end. Open both ends, lay them right sides together at a right angle and sew diagonally across, check the fit, then trim to 1/4 in (6 mm) and press open before finishing the stitching. A diagonal join spreads the bulk; a straight join makes a lump. Start the loop at a side or shoulder seam, where the join is least visible.
A fully bound seam wraps each seam allowance separately with double fold tape, which gives unlined jackets a clean inside. A Hong Kong finish is lighter: sew the binding to the edge of the allowance, wrap it under, and stitch in the ditch, leaving the underside raw. On curved or heavy hems, bind the raw edge and turn it up once for a flat, low-bulk finish. The guide to types of seams compares these with other finishes.
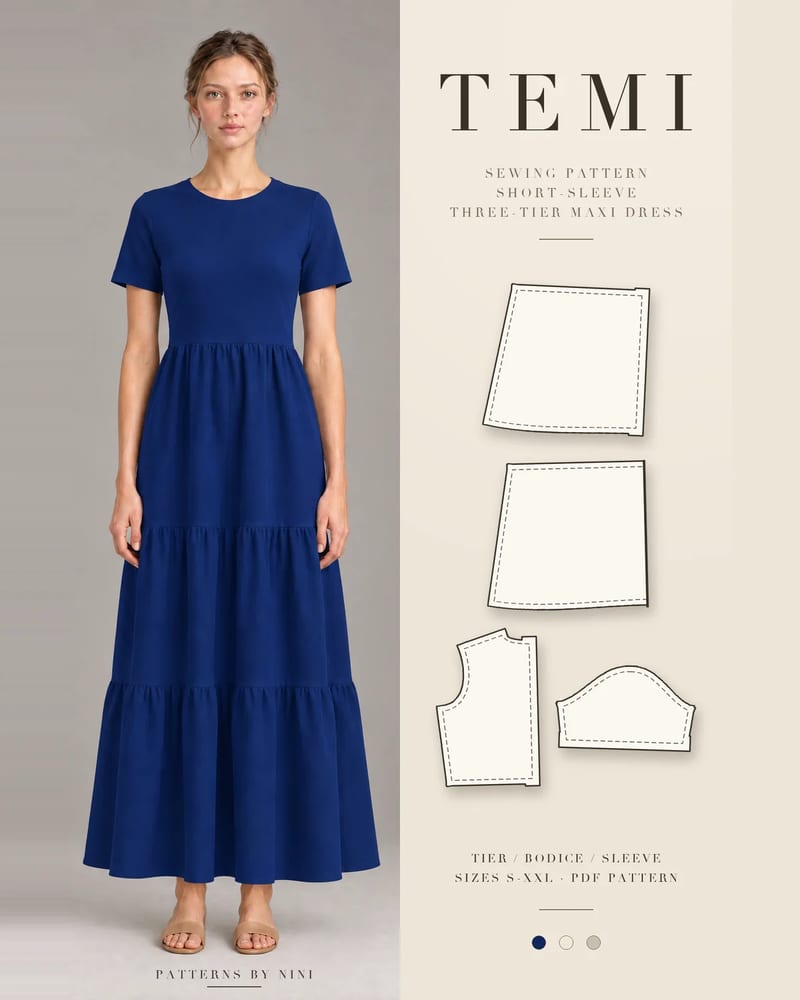
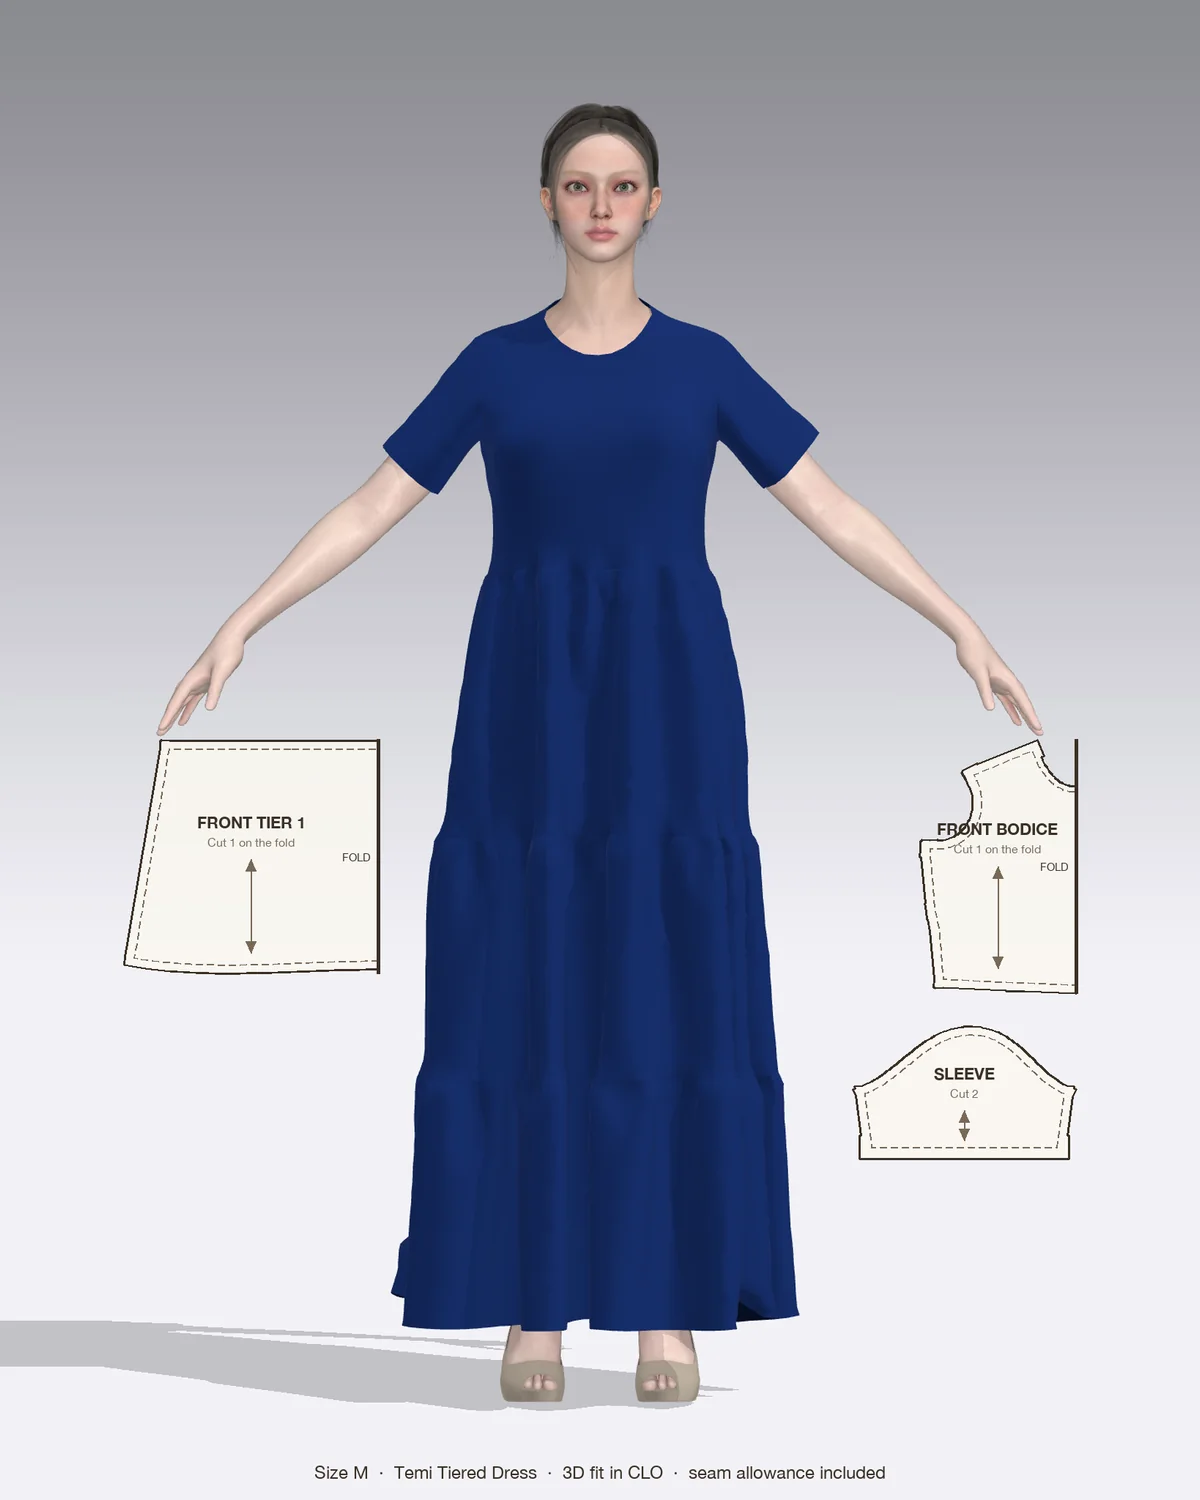
The Temi tiered dress is a good place to use Method 1 or 2: its crew neckline is bound with bias, the notions call for bias binding or self-fabric bias strips, and it closes with a center-back invisible zipper, so the binding ends at the zipper rather than being joined in a loop. Temi is made in cotton poplin, lawn, linen or viscose; French binding is the easier choice in lawn and viscose.
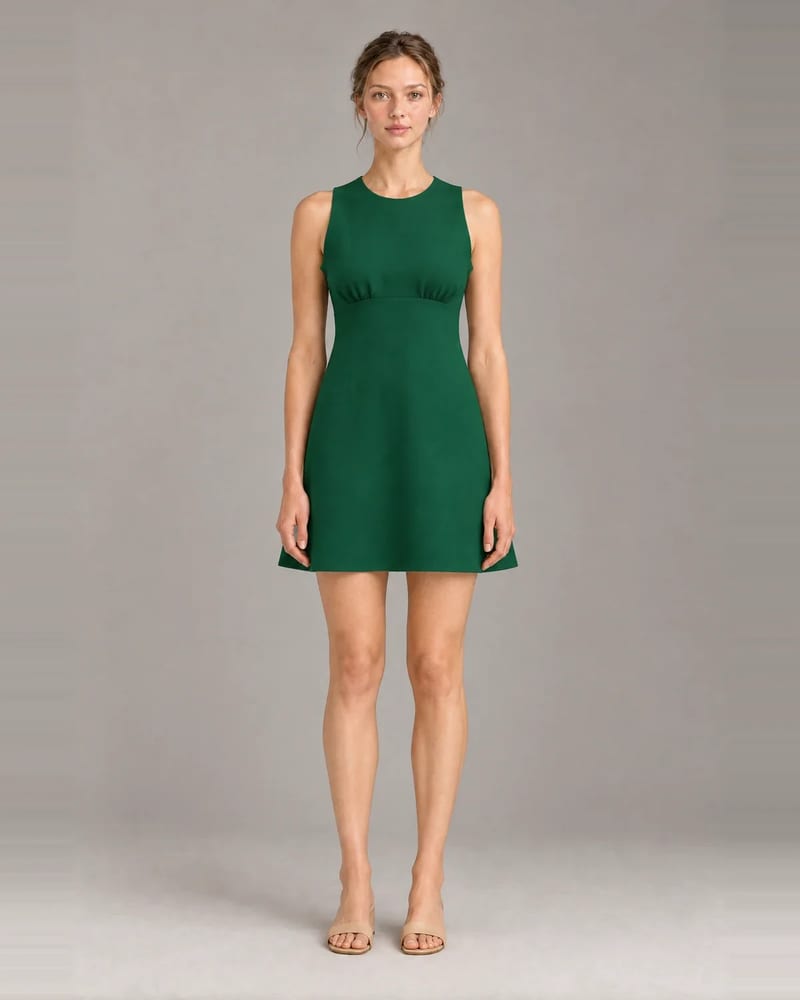
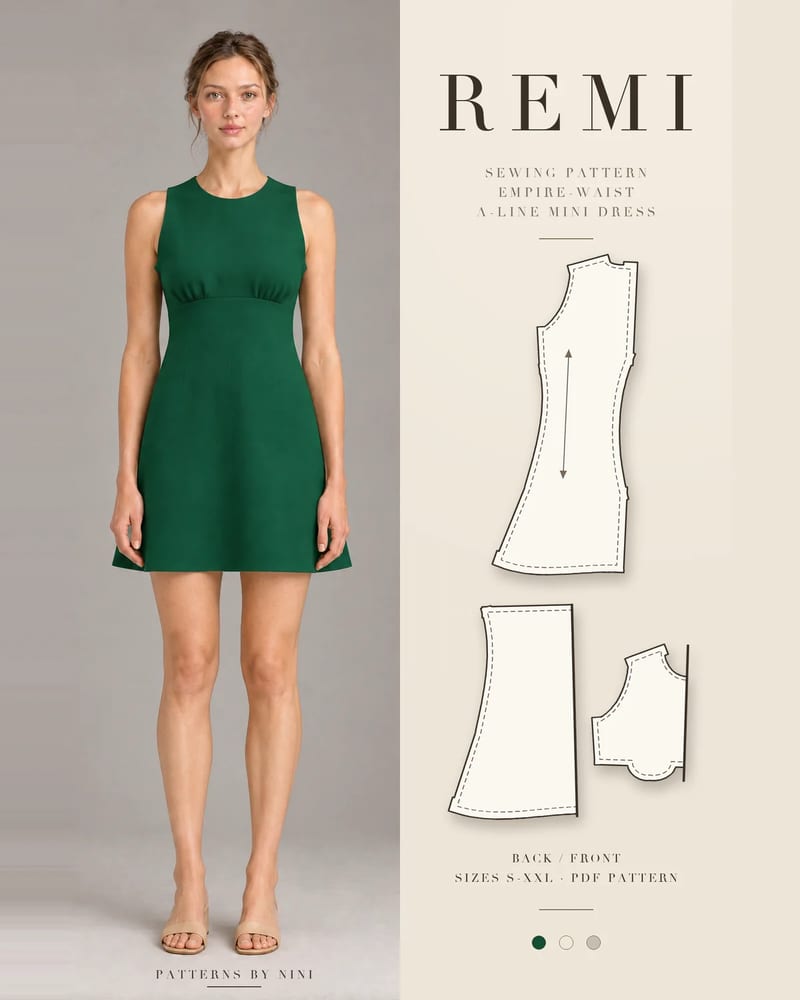
The Bola flounce maxi dress has the same bias-bound crew neckline. The Remi mini dress and the Morayo skater dress bind the neckline and armholes, so you will join the armhole binding in a loop. The Bear teddy jacket is unlined, with its inside seams bound in twill tape or bias binding.
| Problem | Likely cause | Fix |
|---|---|---|
| Neckline gapes | Edge stretched before binding, or binding not stretched at all | Staystitch first; stretch the binding slightly on inside curves |
| Neckline too small or high | Seam allowance left on | Trim the allowance off before binding |
| Stitch in the ditch misses the inside | Inside fold doesn’t reach past the first stitching | Fold so it overlaps the stitching by 1/16 in (2 mm); pin from the right side |
| Binding twists or ripples | Strip not on the true bias, or not pre-shaped | Cut at 45 degrees; shape the strip with steam before sewing |
| Binding too narrow to wrap | First seam sewn too far from the edge | Sew a scant 1/4 in (6 mm), just inside the fold |
| Puckered corners | Stopped too late before the corner | Stop exactly the finished width from the corner, then miter |
How to finish seams without a serger: zigzag, overcast, pinked, turned and stitched, French, flat-felled, bound and hand overcast, with settings for each.
How to sew bell bottom pants step by step: pick a flare pattern or add flare to one you own, then fit the knee, sew the legs and hem the wide flare neatly.
How to sew a strap on a dress step by step: make spaghetti or wide straps, set them into a lined bodice, fit the length and reattach a strap that came loose.
May we use Pinterest cookies to measure visits and purchases and improve our advertising? You can shop either way and change your choice in Cookie settings. Privacy policy