Patterns
How to finish seams without a serger: 8 neat methods
How to finish seams without a serger: zigzag, overcast, pinked, turned and stitched, French, flat-felled, bound and hand overcast, with settings for each.
A note on measurements: this guide is written for US sewists, so it uses US units first: inches, yards and US paper sizes (Letter, 36 × 48 in). Metric equivalents are in brackets where they matter. If you're not used to US measurements, convert them before you cut: 1 in = 2.54 cm, 1 yd = 91.4 cm.
Bias tape is a narrow strip of fabric cut at 45 degrees to the grain, with its long edges pressed under, used to finish raw edges such as necklines, armholes, hems and seams. Because it is cut on the bias it stretches slightly, so it follows curves without puckering. It comes in two main forms: single fold, which is sewn on the inside as a hidden facing, and double fold, which wraps around an edge and shows on both sides.
Woven fabric has threads running lengthwise and crosswise. Any diagonal line across them is the bias, and the true bias at 45 degrees has the most stretch and the softest drape. The guide to fabric grain explains why. A strip cut along the bias can bend into a curve; a strip cut on the straight grain can’t, which is why straight tape ripples when you sew it around a neckline.
Bias tape takes that strip and presses its edges in, so there are no raw edges left to fray. Buy it in packs or make it from your own fabric.
In the US the product is usually called bias tape. In the UK it is more often called bias binding. Both names describe the same strip, and “binding” also describes the job of wrapping a raw edge.
The size on a package is the finished, folded width, not the width of the strip before folding.
| Type | Finished width | How it is folded | Typical use |
|---|---|---|---|
| Single fold | 1/2 in (1.3 cm) | Both edges pressed to the center | Facings, casings, Hong Kong seams |
| Extra wide single fold | 7/8 in (2.2 cm) | Both edges pressed to the center | Deeper facings, hem facings |
| Double fold | 1/4 in (6 mm) | Single fold folded in half | Binding lightweight necklines and armholes |
| Extra wide double fold | 1/2 in (1.3 cm) | Extra wide single fold folded in half | Binding thicker fabrics, aprons, bags |
| Quilt binding | 7/8 in (2.2 cm) | Double fold, wider | Quilts and blankets |
Double fold tape is not folded exactly in half: one side is slightly wider than the other. Sew with the narrower side on the outside and the wider side underneath, so your stitching catches the back in one pass.
Which to choose: double fold for a visible narrow band; single fold for a clean edge with nothing showing outside.
As a guide, a sleeveless dress with a round neck usually needs about 1 1/2 to 2 1/2 yd (1.4 to 2.3 m) to bind the neck and both armholes, depending on size. Check the notions list on your pattern; it gives the amount for each size or the largest size.
This is the most common way to bind a neckline or armhole so the tape shows as a neat band on both sides.
A diagonal join spreads the bulk out, so it doesn’t leave a lump. On a neckline with a center-back zipper, you don’t need to join the ends: fold them in by 1/2 in (1.3 cm) at the zipper teeth instead.
Making tape lets you match the garment fabric exactly. Cut strips twice the finished width for single fold and four times the finished width for double fold: a 1/2 in (1.3 cm) double fold needs 2 in (5 cm) strips. Cut at 45 degrees to the selvage, join the strips on the diagonal as above, then fold the edges to the center with an iron or a bias tape maker. The guide on how to make bias tape covers each step, including continuous bias from one square and how much fabric to buy.
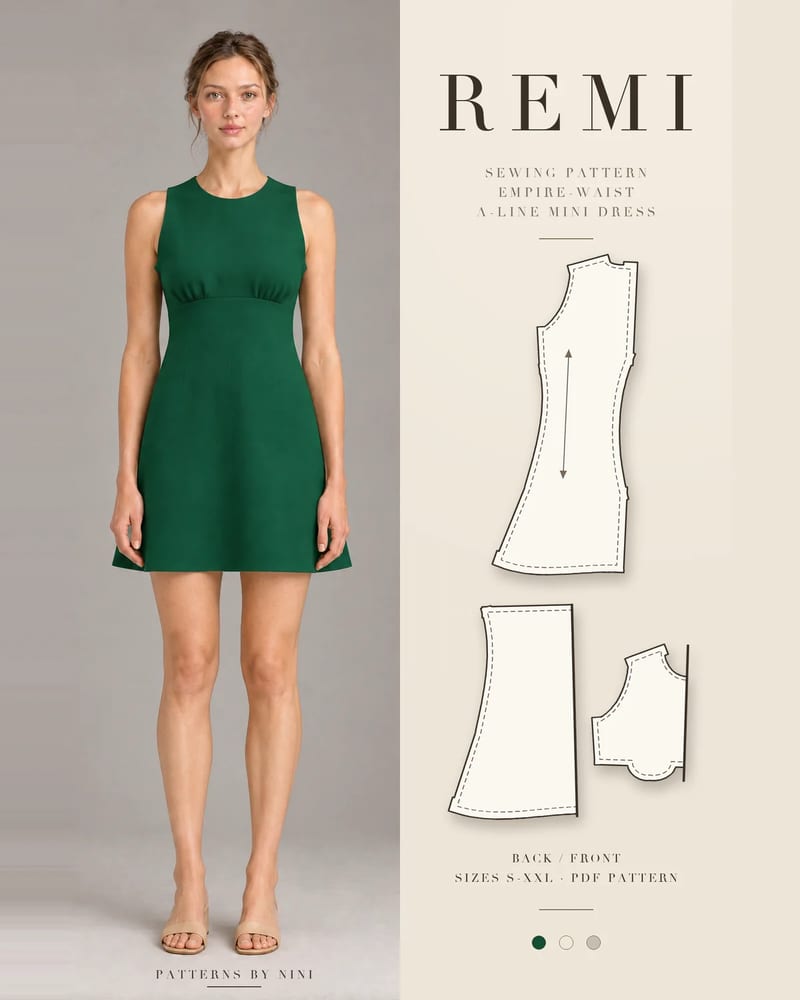
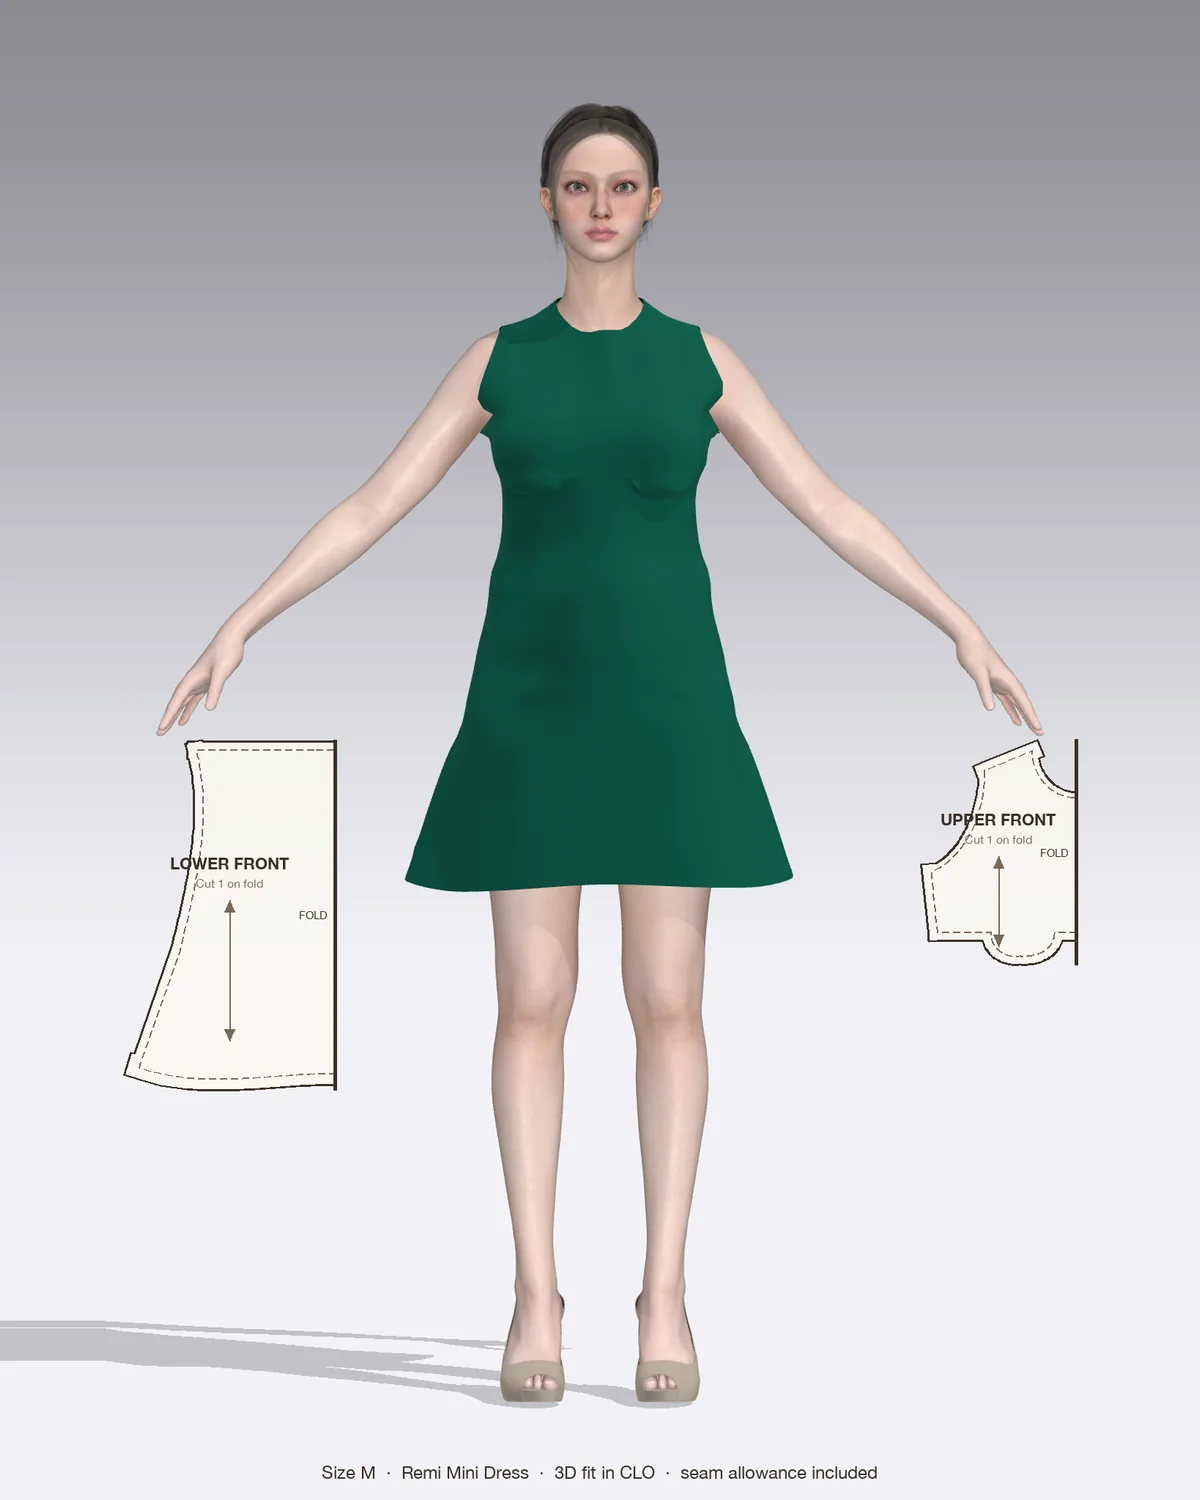
The Remi empire-waist mini dress is a good first project for bias tape: its high round neck and cut-in armholes are bound with bias, and the notions list calls for bias binding or self-fabric bias strips. Remi is made in light to mid-weight wovens such as cotton poplin, linen or sateen, which take a crisp, flat binding, and it closes with a center-back invisible zipper, so the neck binding ends at the zipper rather than being joined in a loop.
The Temi tiered dress, the Bola tiered dress and the Morayo skater dress also have bias-bound necklines. The Ada wrap maxi dress and the Teal wrap midi dress turn the bias to the inside as a bias facing on the V neck and wrap edges. The Bear teddy jacket is unlined with bound inside seams, using twill tape or bias binding.
| Problem | Likely cause | Fix |
|---|---|---|
| Neckline gapes or stands away from the body | Tape stretched too much, or the neckline stretched before binding | Staystitch first; stretch the tape only slightly on inside curves |
| Binding ripples or twists | Tape cut on the straight grain, or not shaped before sewing | Use true bias; press the tape into a curve first |
| Stitching misses the tape on the inside | Tape folded exactly in half, or wrapped too loosely | Put the wider side underneath; wrap so it covers the first stitching |
| Lump where the ends meet | Ends overlapped flat | Join on the diagonal and press the seam open |
| Facing rolls to the outside | No understitching | Understitch, then press with the tape slightly to the inside |
| Tape puckers after washing | Cotton tape shrank | Prewash or steam-press the tape before sewing |
How to finish seams without a serger: zigzag, overcast, pinked, turned and stitched, French, flat-felled, bound and hand overcast, with settings for each.
How to sew bell bottom pants step by step: pick a flare pattern or add flare to one you own, then fit the knee, sew the legs and hem the wide flare neatly.
How to sew a strap on a dress step by step: make spaghetti or wide straps, set them into a lined bodice, fit the length and reattach a strap that came loose.
May we use Pinterest cookies to measure visits and purchases and improve our advertising? You can shop either way and change your choice in Cookie settings. Privacy policy