Patterns

How to finish seams without a serger: 8 neat methods
How to finish seams without a serger: zigzag, overcast, pinked, turned and stitched, French, flat-felled, bound and hand overcast, with settings for each.
A note on measurements: this guide is written for US sewists, so it uses US units first: inches, yards and US paper sizes (Letter, 36 × 48 in). Metric equivalents are in brackets where they matter. If you're not used to US measurements, convert them before you cut: 1 in = 2.54 cm, 1 yd = 91.4 cm.
To sew sleeves, match the sleeve’s notches to the armhole, ease any extra fullness at the top of the cap with rows of long basting stitches, and stitch the seam at the allowance your pattern gives, usually 5/8 in (1.5 cm). Knowing how to sew sleeves mostly means choosing the right order: set-in sleeves go into a finished armhole, while flat sleeves are stitched on before the side seams are closed. Both methods use the same markings, and neither is hard once the notches are matched.
Both methods join the same two curves. The difference is when you close the side seam.
| Set-in (in the round) | Flat | |
|---|---|---|
| Order | Sew the side seam and the sleeve seam first, then fit the tube into the armhole | Sew the sleeve to the open armhole, then close the side and sleeve in one seam |
| Best for | Woven dresses, jackets and coats with a shaped cap | Knits, T-shirts, casual shirts, sleeves with little ease |
| Ease control | High | Lower |
| Speed | Slower | Faster |
Sleeves cut in one with the bodice, such as the flutter sleeves on the Ada wrap maxi dress, don’t need either method, because there is no armhole seam to sew.
Notches tell you which sleeve goes where, and a sleeve set in backward will twist on the arm. Transfer every mark before you unpin the pattern.
Check the key on your pattern, because a few use their own system. Cut sleeves in mirror image so that you get one left and one right, and keep the grainline straight down the center of the sleeve.
These steps suit a woven dress or jacket with a 5/8 in (1.5 cm) seam allowance. If your allowance is different, move the basting rows to match.
Use this order for knits, for T-shirts (the whole tee is covered in how to sew a T-shirt), and for shirts with a shallow cap.
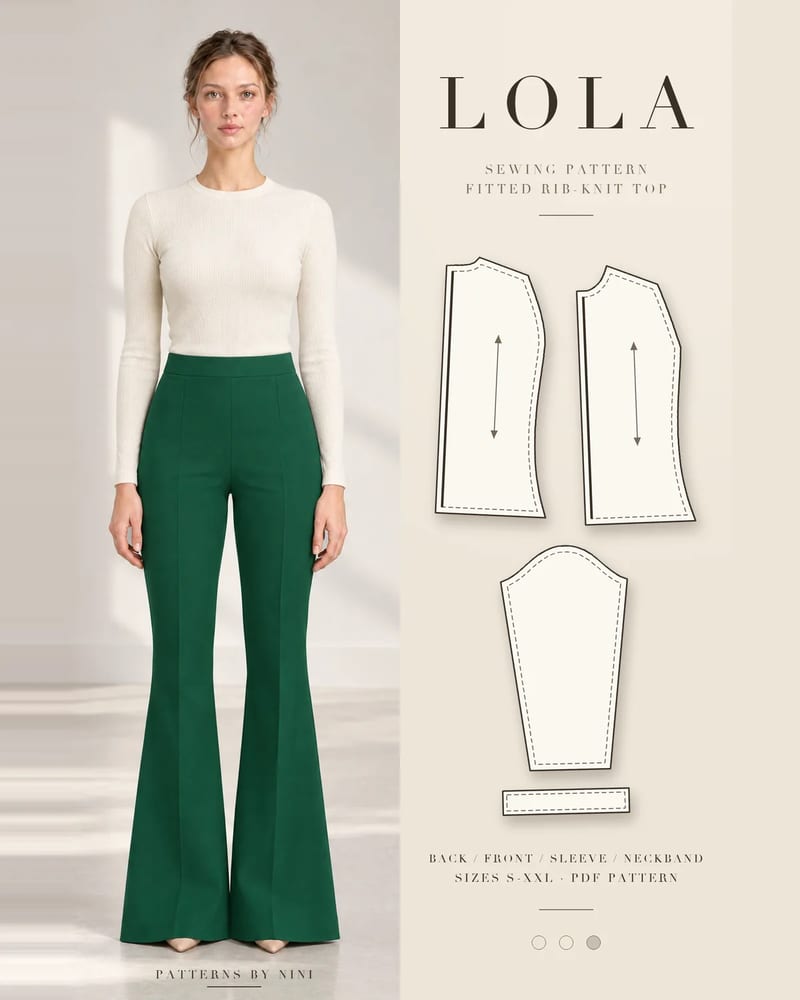
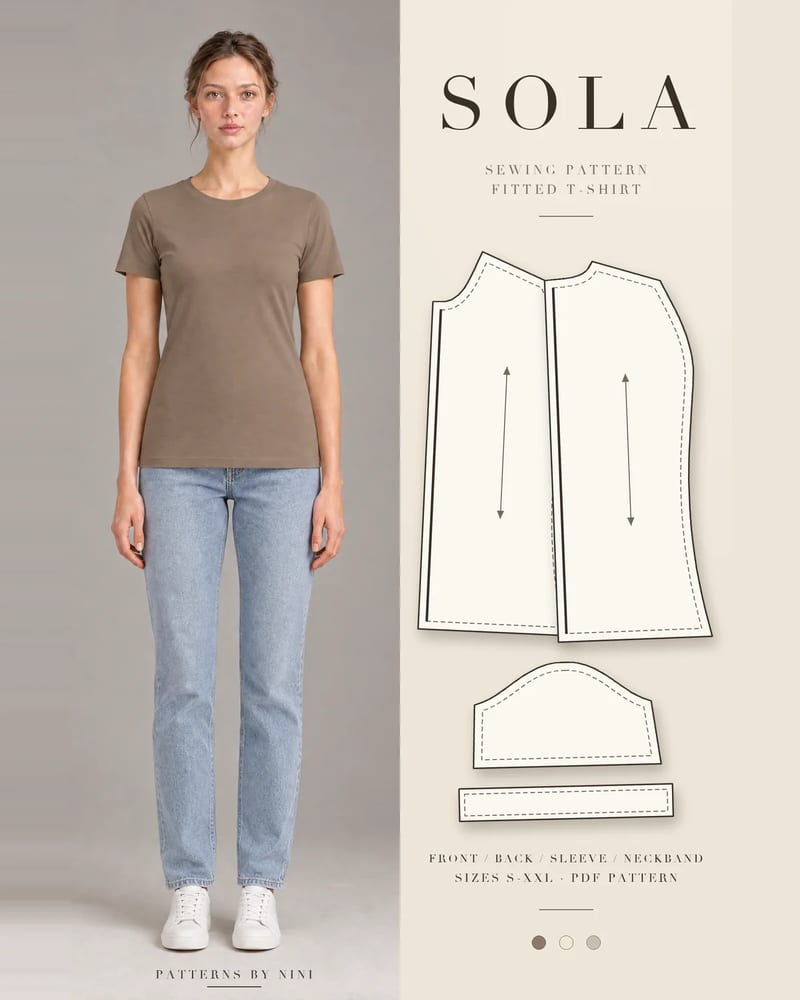
On knits, use a ballpoint or stretch needle with a narrow zigzag, a stretch stitch or an overlocker, and skip the basting rows, since knit fabric will ease in with just the pins. The Sola fitted tee, Tade boat-neck tee and Lola rib top all set their sleeves in flat, so any of them is an easy place to start.
The armhole seam needs less pressing than most seams. Press too hard and the rounded cap goes flat.
If you want to enclose the seam, a French seam can work on a shallow armhole, but tight curves are usually better bound.
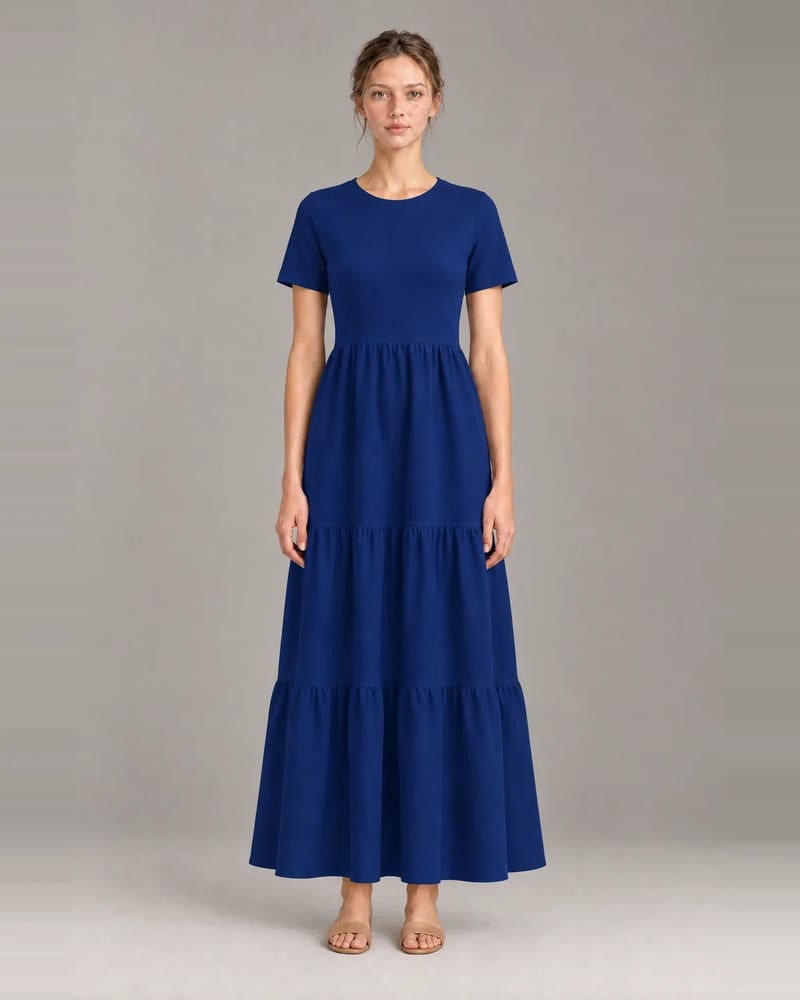
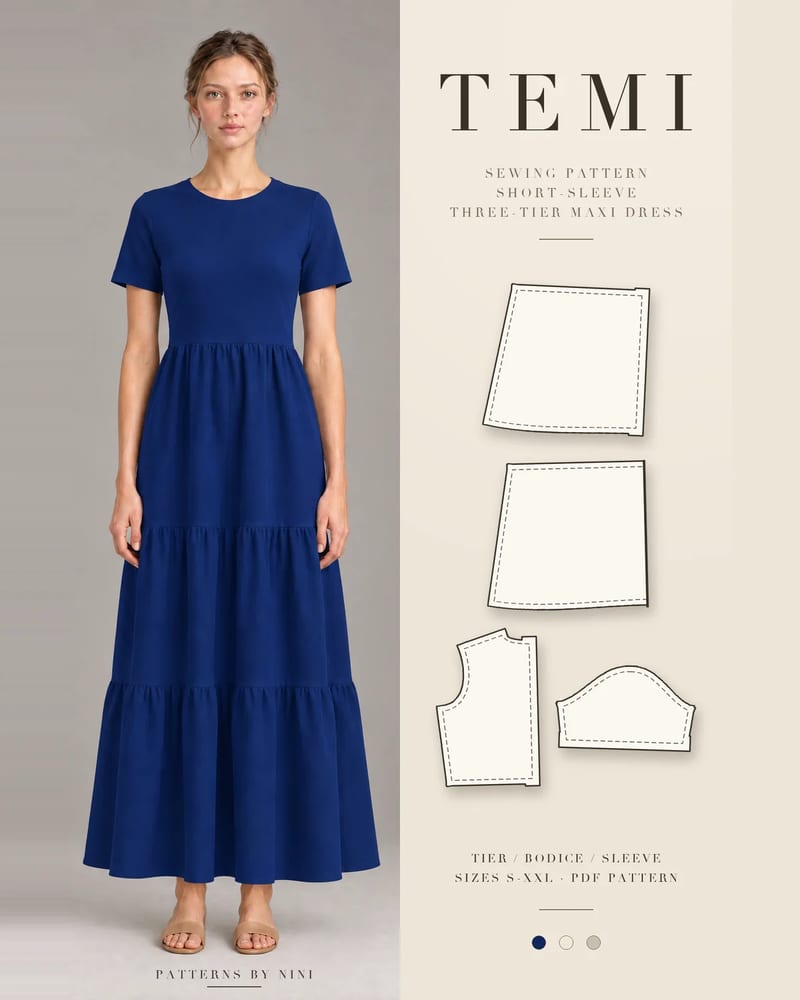
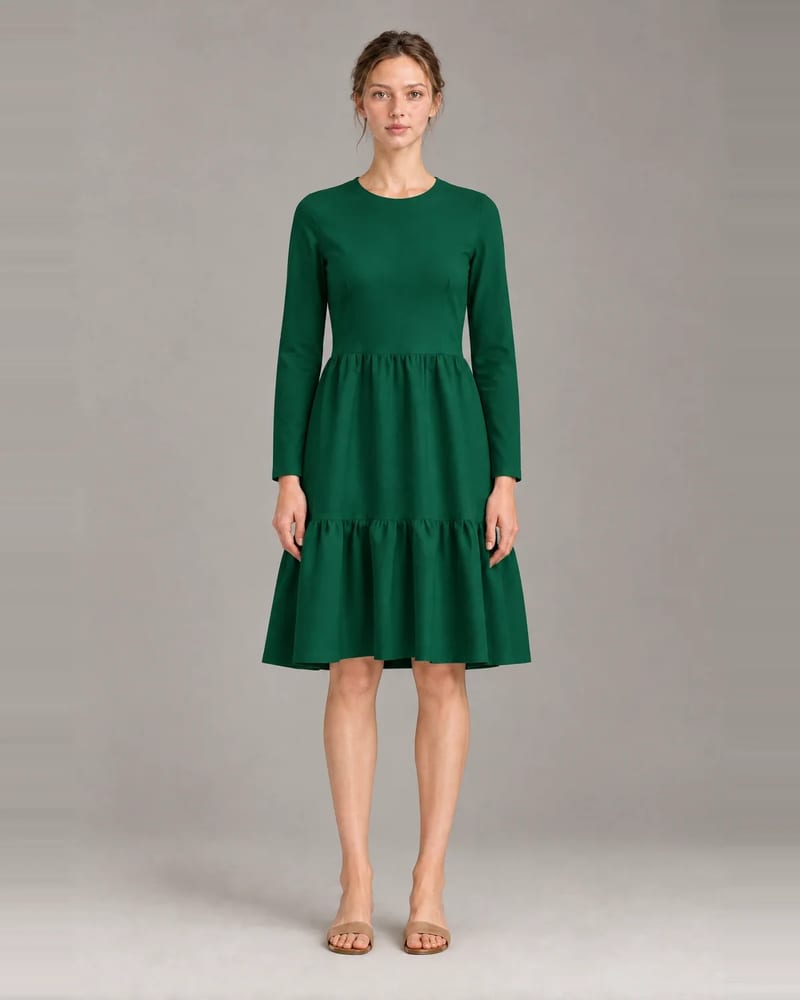
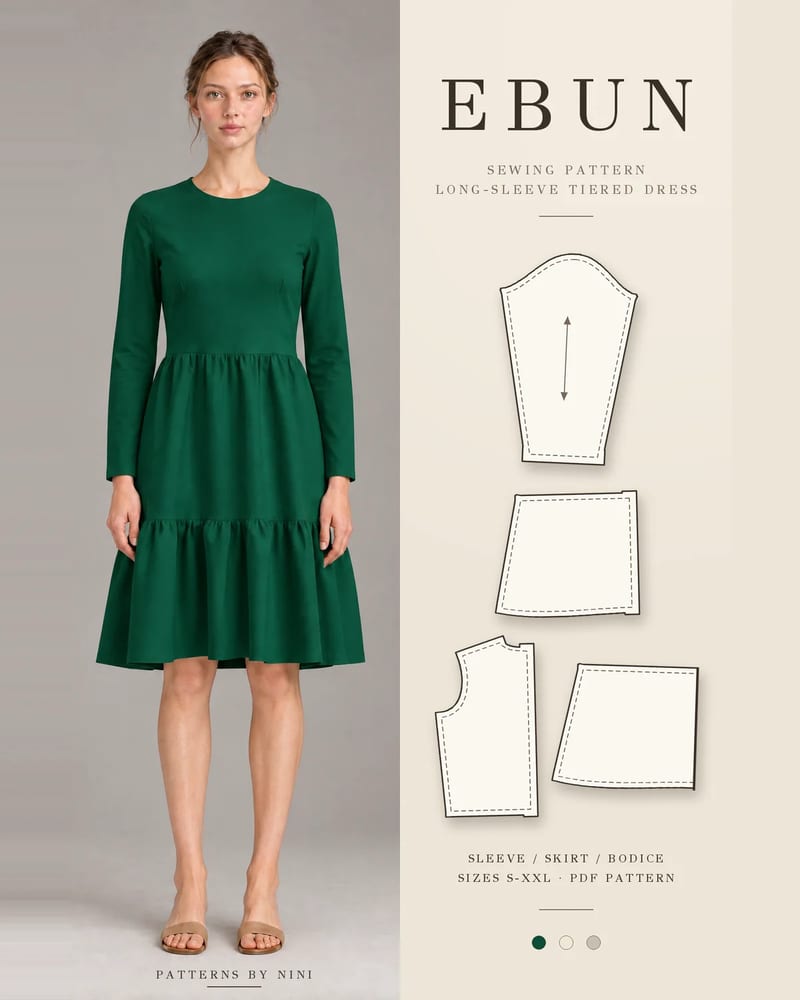
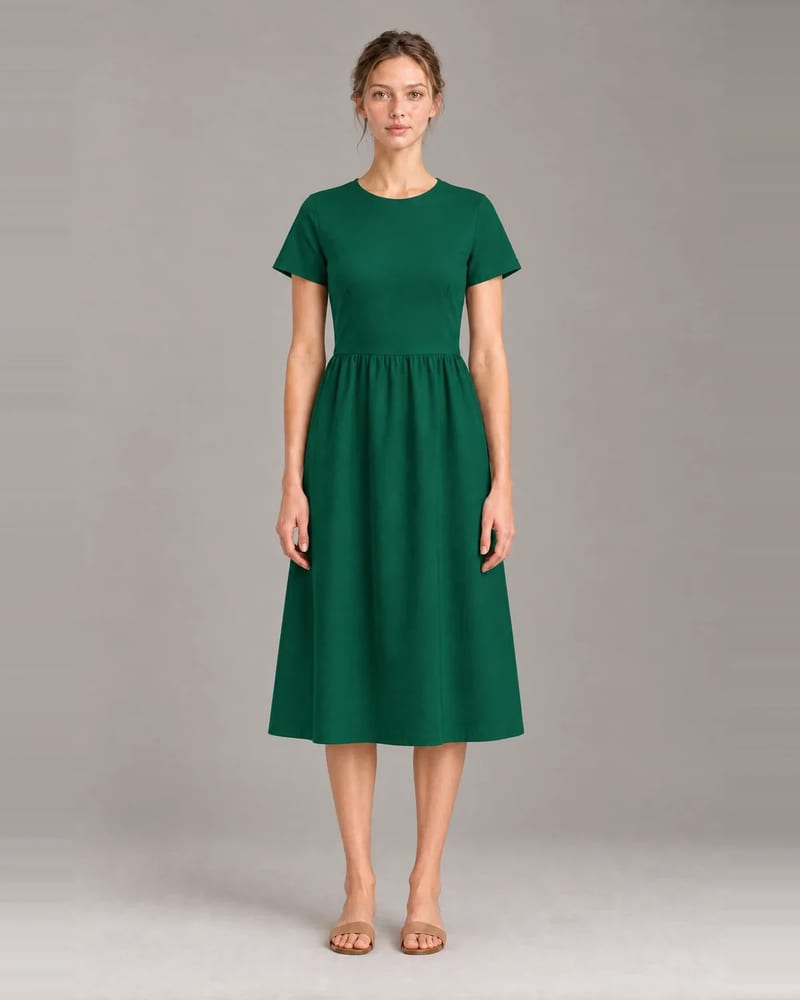
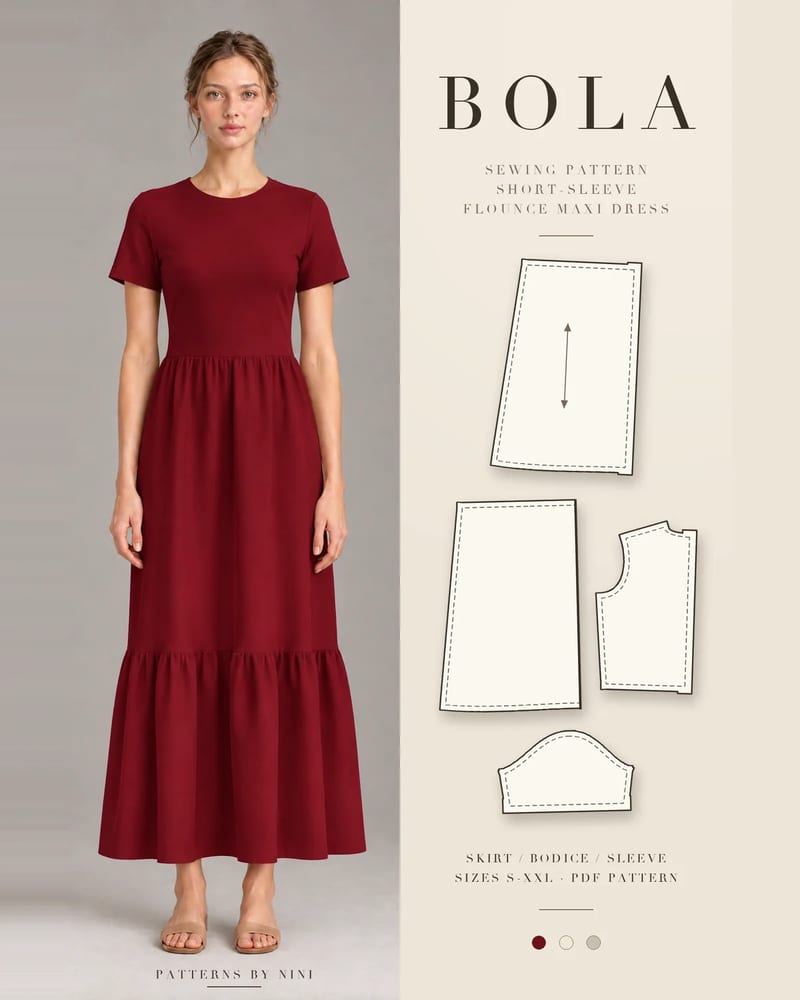
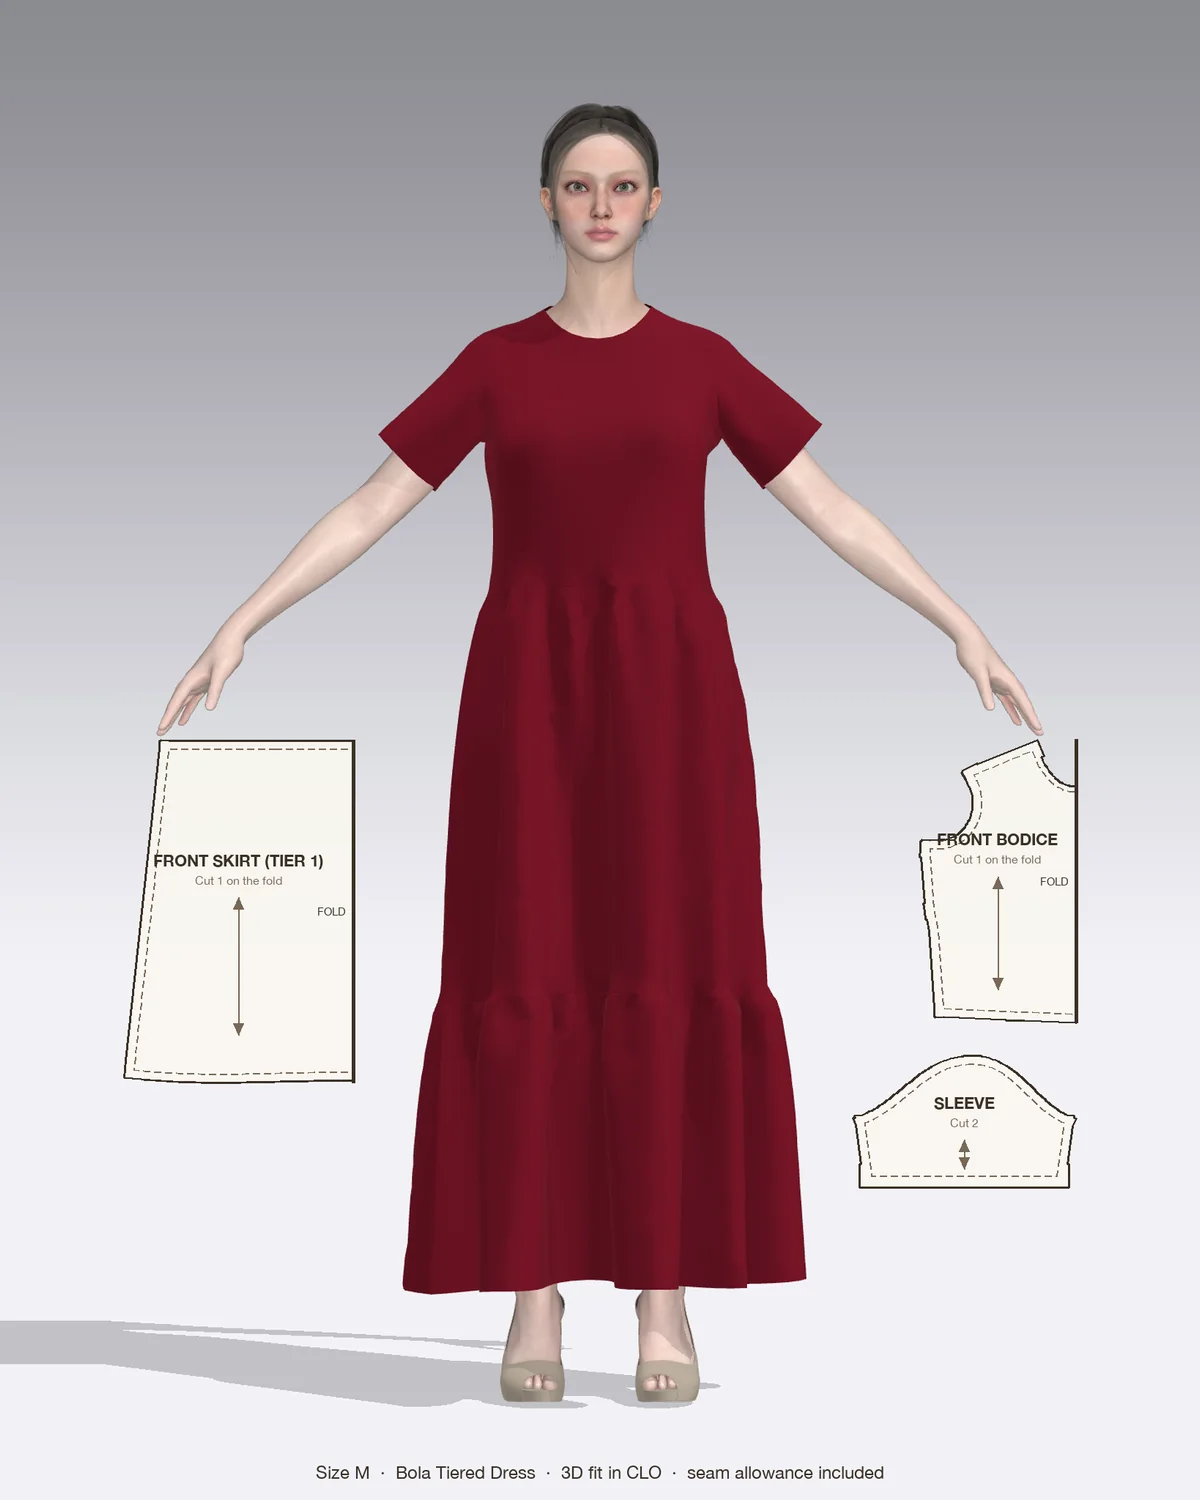
The Bola flounce maxi dress has short set-in sleeves on a darted bodice, which makes a good first sleeve: the short length is easy to handle, and a woven such as cotton poplin takes ease well. The Temi three-tier maxi and Alice midi also have short set-in sleeves, and the Ebun tiered dress is the one to choose for a long set-in sleeve. A gathered sleeve uses the same order with far more fullness in the cap: see how to sew a puff sleeve. For the order of the whole garment, see how to sew a dress.
Sleeve caps are one of the harder places to change after cutting, so check the shoulder and bicep fit in a muslin first if you are unsure.
| Problem | Likely cause | Fix |
|---|---|---|
| Puckers at the cap | Ease bunched in one spot | Unpick a couple of inches, spread the fullness, baste and restitch |
| Tucks caught in the seam | Fabric folded under the foot | Stitch slowly with the sleeve on top and feel underneath as you go |
| Sleeve twists on the arm | Left and right swapped, or notches mismatched | Unpick and match single notch to single, double to double |
| Cap won’t fit the armhole | Not enough easing, or armhole stretched | Pull the threads a little more; staystitch the armhole next time |
| Cap looks gathered | Too much pull in a small area | Ease over the full distance between the notches |
| Underarm seam splits | No reinforcement | Add a second row of stitching at the underarm |
| Cap looks flat and square | Cap pressed from the outside | Steam over a ham and reshape with your hands |
How to finish seams without a serger: zigzag, overcast, pinked, turned and stitched, French, flat-felled, bound and hand overcast, with settings for each.
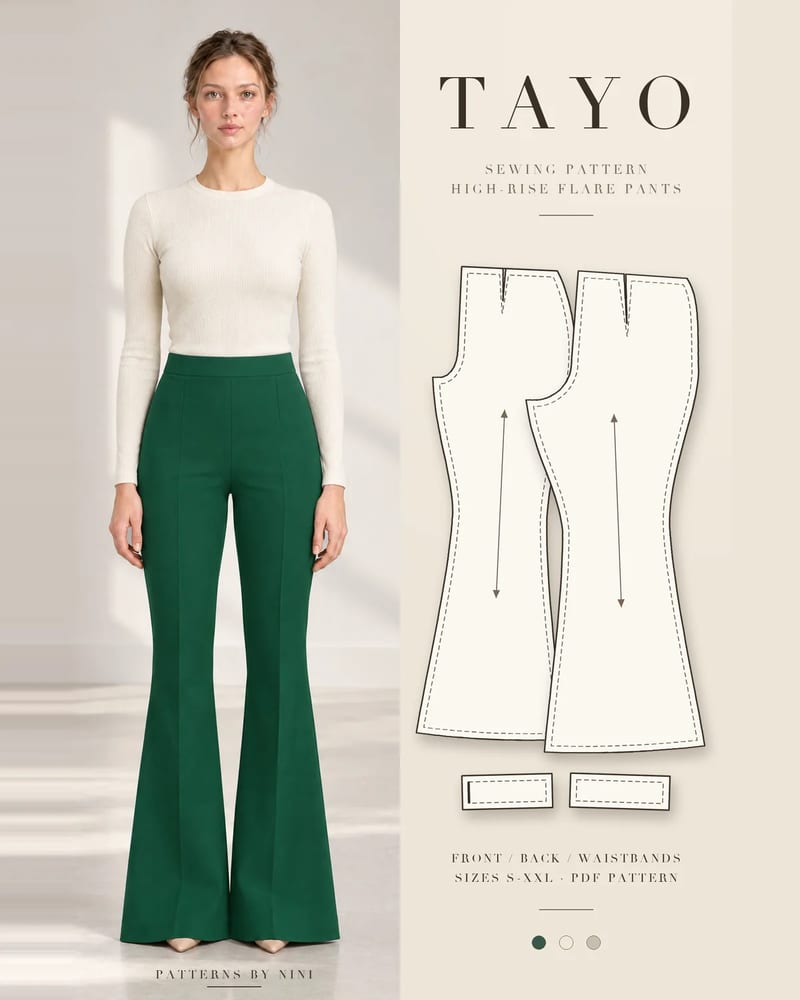
How to sew bell bottom pants step by step: pick a flare pattern or add flare to one you own, then fit the knee, sew the legs and hem the wide flare neatly.
How to sew a strap on a dress step by step: make spaghetti or wide straps, set them into a lined bodice, fit the length and reattach a strap that came loose.
May we use Pinterest cookies to measure visits and purchases and improve our advertising? You can shop either way and change your choice in Cookie settings. Privacy policy