 Patterns
How to sew a collar: shirt, stand and Peter Pan collars
How to sew a collar that sits crisp: interface the upper collar, trim the under collar, turn sharp points and attach it with a stand, facing or binding.
A note on measurements: this guide is written for US sewists, so it uses US units first: inches, yards and US paper sizes (Letter, 36 × 48 in). Metric equivalents are in brackets where they matter. If you're not used to US measurements, convert them before you cut: 1 in = 2.54 cm, 1 yd = 91.4 cm.
To hem jacket sleeves, mark the new length with the jacket on, open the old hem (and the lining, if there is one), cut away the extra while keeping a hem allowance, then turn the hem up and stitch it, by machine on a casual jacket or by hand on a tailored one. How to hem jacket sleeves depends mostly on what is inside the sleeve: an unlined sleeve is a simple turned hem, a lined sleeve needs the lining reattached with a little ease, and a suit sleeve with a vent and buttons adds a few more steps. This guide covers all three, for a jacket you are making or one you are shortening.
Work on one sleeve at a time and leave the other as your reference for length, vent and button positions.
Before you cut, check the cuff. If it has working buttonholes, shortening from the cuff will cut through them or leave the buttons too close to the edge. The sleeve then has to be shortened at the shoulder, which means taking the sleeve out and recutting the cap. That is a tailoring job, beyond this guide.
This is the method for casual jackets in denim, twill, canvas, fleece or sherpa, and for any jacket you are sewing that has no lining.
On heavy fabrics, turn the hem up once rather than twice, because a double fold through four layers of coating or pile is hard to stitch evenly and stands out from the sleeve. Trim the seam allowances inside the hem to half their width to reduce bulk at the seam. A walking foot helps the layers feed together, and a ballpoint needle suits sherpa, which is a knit. Don’t press sherpa hard: finger-press the fold, or use low heat with a press cloth, so the pile isn’t crushed.
If you don’t want topstitching to show, finish the raw edge, turn the hem up and sew it with a blind catch stitch, picking up one or two threads of the sleeve with each stitch. The guide to hand sewing stitches shows the stitch. Keep the thread a little loose, because a tight hand hem shows as dimples on the right side.
A lined sleeve has two layers, the outer sleeve and the lining, joined at the hem. Ready-to-wear jackets are often sewn by machine and turned through a gap in a lining seam. Tailored jackets are usually finished by hand at the cuff.
Suit sleeves usually have a vent with buttons at the cuff. Remove the buttons and note their spacing before you start. If you are taking off more than about 2 in (5 cm), the vent usually has to be sewn closed or recut, because there won’t be enough of it left to fold back. Remove the excess from the vent facings so they are level with the cut edge, then finish the hem and lining as above. Sew the buttons back in the same spacing, measured up from the new finished edge, and copy the untouched sleeve.
On wool, press from the wrong side with a press cloth and the wool setting, and use a sleeve roll rather than pressing the sleeve flat.
Coat sleeves follow the same steps as a lined jacket, but the fabric is thicker. Grade the seam allowances inside the hem, use a longer stitch of about 3.5 mm on the machine, and fuse a strip of interfacing at the fold so the heavy hem doesn’t sag.
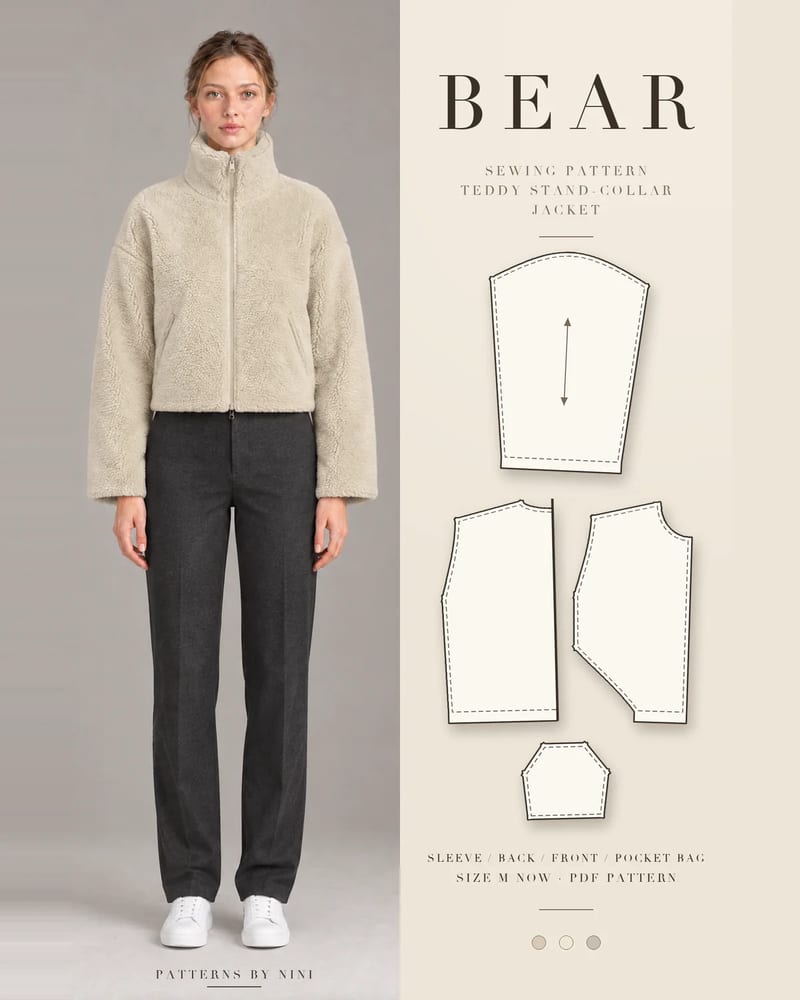
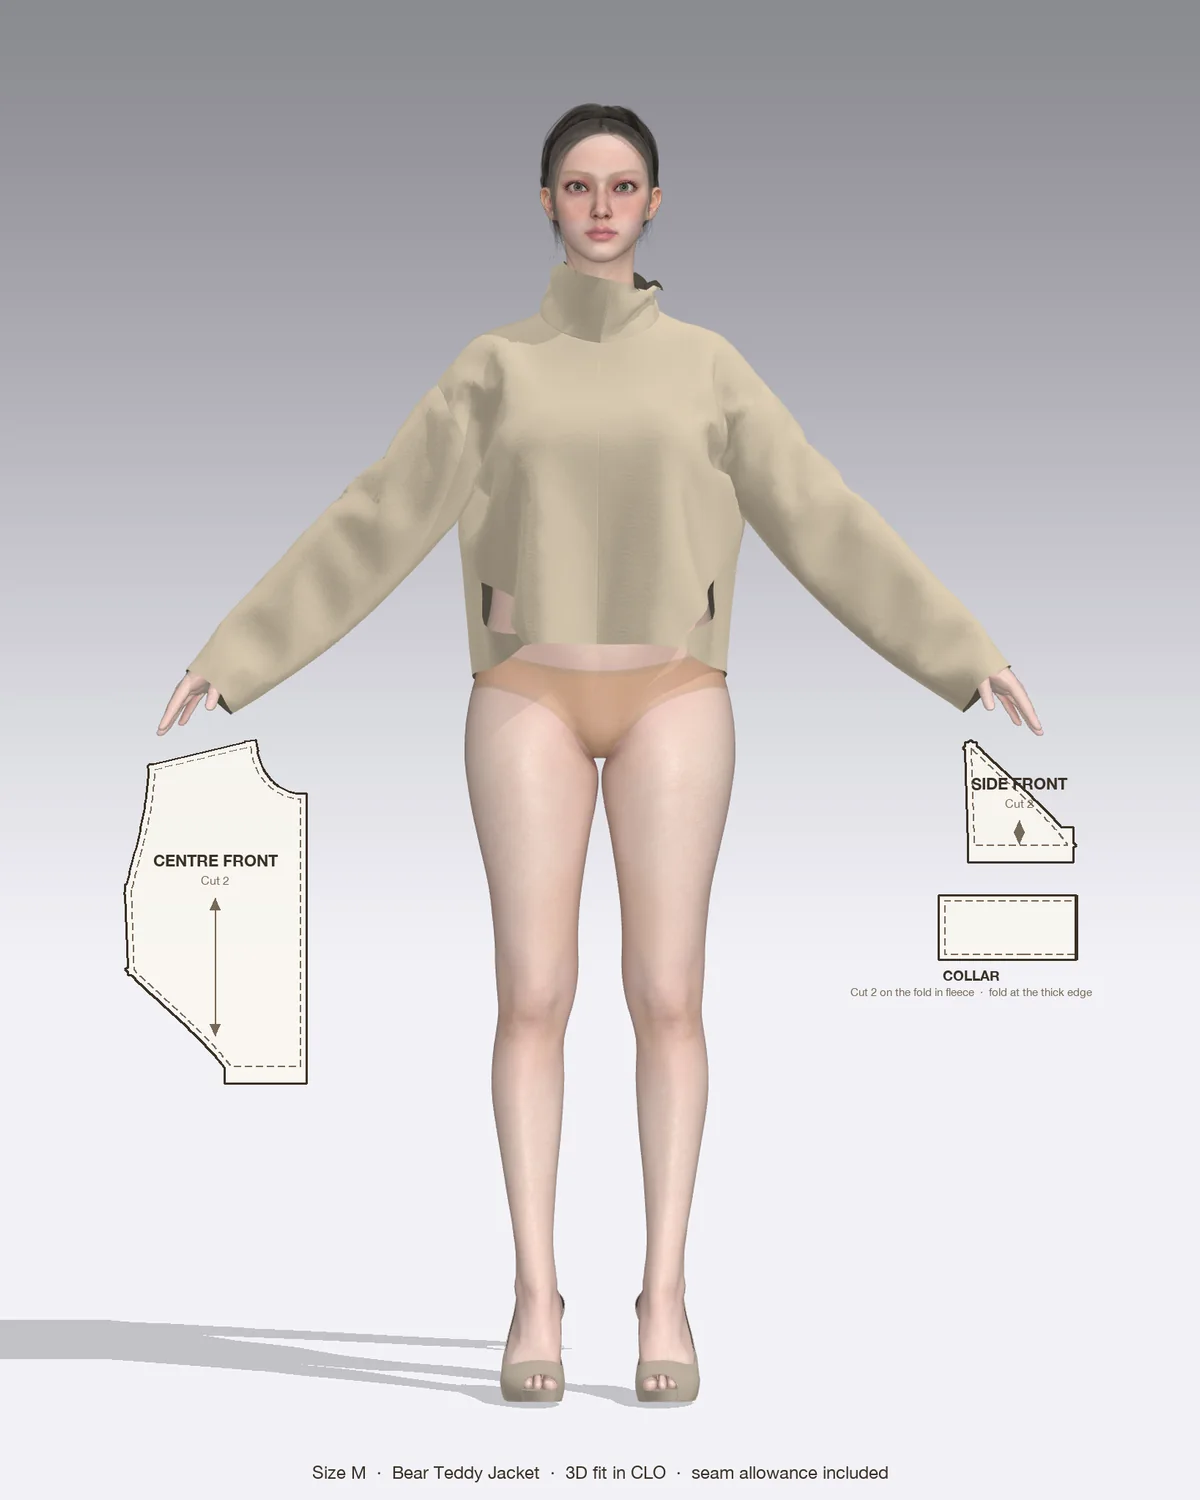
If you are sewing a jacket from scratch rather than altering one, the Bear teddy jacket is a good place to use the unlined method. It is a cropped sherpa jacket with dropped shoulders and roomy sleeves, unlined, with bound inside seams, and its notions list includes 2¼ yd (2 m) of 3/4 in (2 cm) twill tape or bias binding plus a recommended walking foot. Hem its sleeves the way the pattern instructions describe, and use the sherpa tips above for pressing and bulk. It is sold in size M only, so try the sleeve length on your muslin or the cut pieces before you hem.
The full construction order, including when the sleeve hems go in, is in the guide on how to sew a jacket. For pants rather than sleeves, the same turned and hand-finished hems appear in the guide on how to hem pants.
| Problem | Likely cause | Fix |
|---|---|---|
| Sleeves end at different lengths | One arm measured and copied | Measure each arm with the jacket on |
| Lining pulls the hem up | No ease left in the lining | Leave a 1/4 to 1/2 in fold above the stitching |
| Lining shows below the sleeve | Lining cut too long or folded too low | Trim it and fold it 1/2 in above the finished edge |
| Dimples on the right side | Hand stitches pulled tight | Pick up fewer threads and keep the stitches loose |
| Wavy machine hem on thick fabric | Layers feeding unevenly | Use a walking foot and a longer stitch |
| Crushed pile on sherpa | Iron too hot | Finger press, or use low heat with a press cloth |
| Vent too short to fold | Too much taken off the cuff | Close the vent, or shorten from the shoulder |
How to sew a collar that sits crisp: interface the upper collar, trim the under collar, turn sharp points and attach it with a stand, facing or binding.
How to sew a jacket from a pattern: choose fabric, interface the fronts, work in the right order, add pockets and a zipper, then line it or bind the seams.
How to sew a zipper in a skirt, dress or jacket: choose the right type and length, then sew a centered, lapped or exposed separating zipper step by step.
May we use Pinterest cookies to measure visits and purchases and improve our advertising? You can shop either way and change your choice in Cookie settings. Privacy policy