A note on measurements: this guide is written for US sewists, so it uses US units first: inches, yards
and US paper sizes (Letter, 36 × 48 in). Metric equivalents are in brackets where they matter. If you're not used to US
measurements, convert them before you cut: 1 in = 2.54 cm, 1 yd = 91.4 cm.
To hem jeans with the original hem, fold the leg up on the outside by half the length you want to remove, stitch right beside the factory topstitching with a zipper foot, then trim the excess and press the original hem back down. The faded edge and the gold stitching stay exactly as they came, and the new seam hides on the inside. This guide covers how to hem jeans with original hem by machine and by hand, plus what to do when the leg isn’t straight.
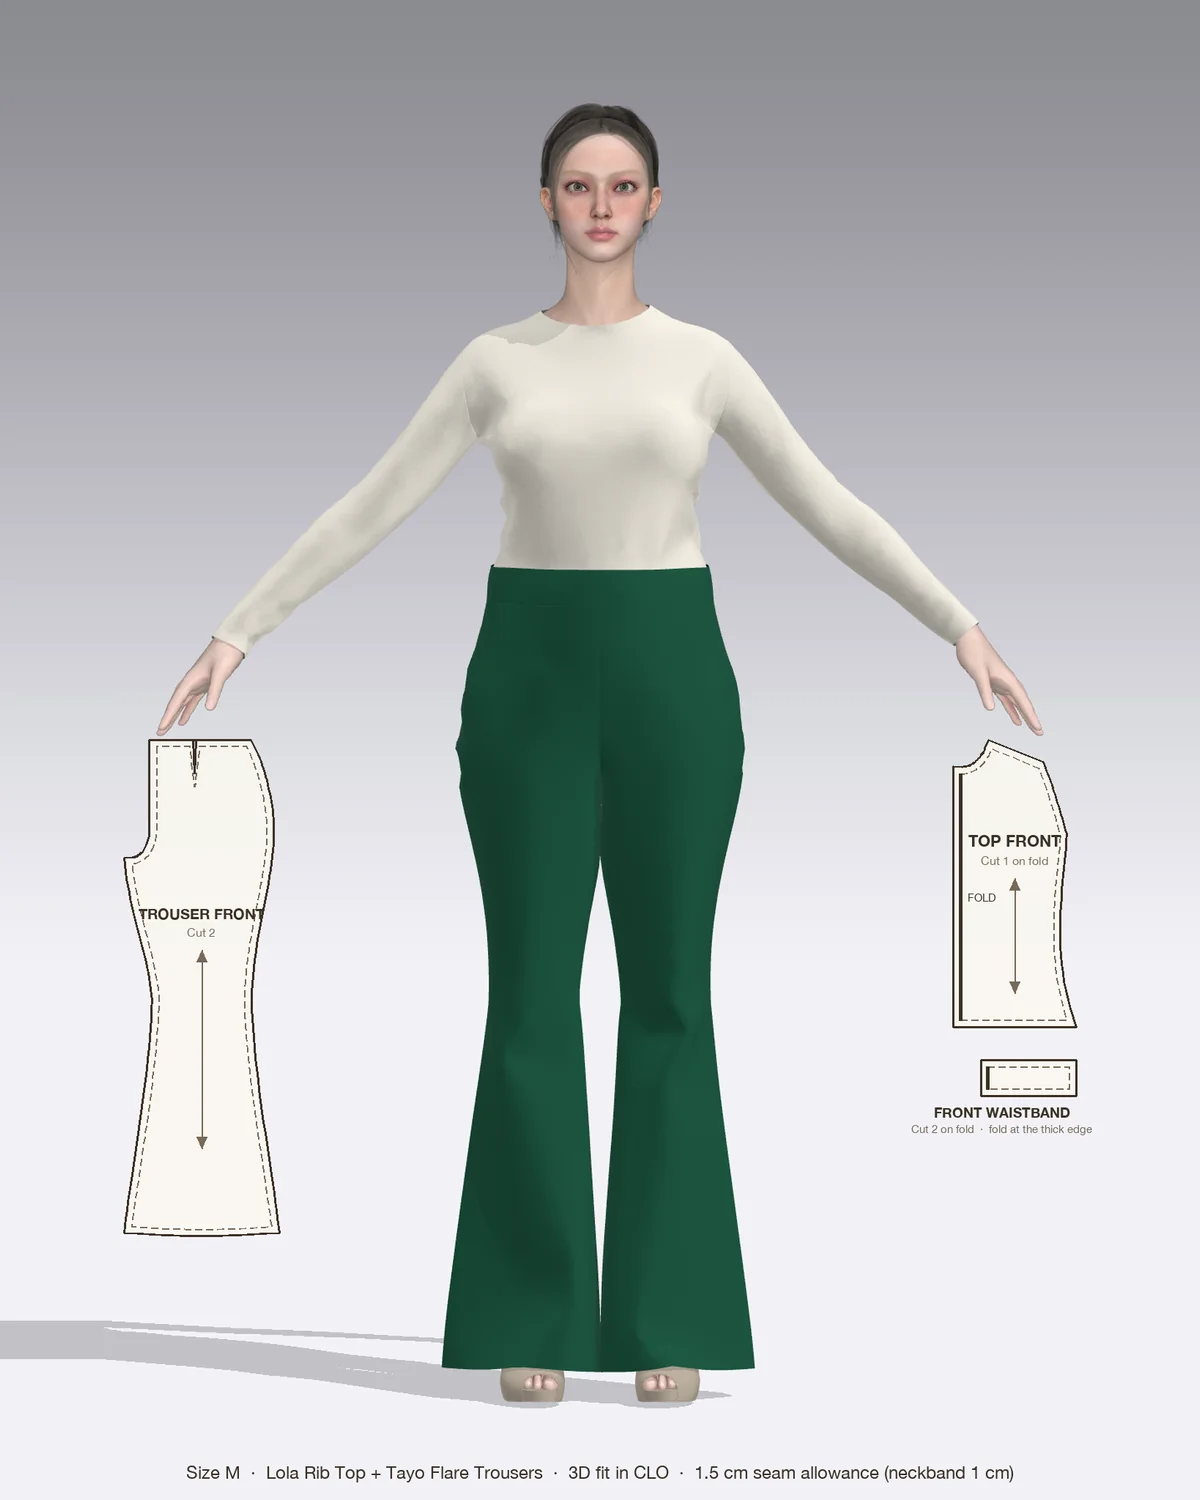
Draped in CLO 3D: the Tayo with its pattern pieces, drawn to scale.
Tailors often call this a euro hem. It is the method to use when you love the worn look of store-bought jeans, because a new double-fold hem can never copy that fading.
Before you start: is your pair a good candidate?
Two things decide whether the original hem will sit flat.
How much you are shortening. Up to about 4 in (10 cm) is easy. Beyond that the leg is noticeably narrower or wider where the new seam goes, and the hem starts to look out of proportion.
The leg shape. Lay the jeans flat. Measure straight across the leg at the original hem, then straight across at your new hemline. On a straight leg the two numbers are the same, or within 1/2 in (1.3 cm) flat (1 in or 2.5 cm around). That is the ideal case.
If the leg tapers or flares more than that, see the section on tapered and flared jeans below before you cut anything.
What you need
Tape measure, hem gauge and chalk or an erasable marker
Pins or sewing clips
Zipper foot, so the needle can run close to the thick ridge of the old hem
Jeans needle, 90/14 for light and medium denim or 100/16 for heavy denim
Strong all-purpose polyester thread in a color that matches the denim (not the gold topstitching)
Iron with steam, and a hammer or hump jumper for the side seams
Serger, or a zigzag stitch, or pinking shears for the raw edge
How to hem jeans with original hem: the fold-and-stitch method
Mark the length
Try the jeans on with the shoes you will wear most. Pin up the extra length so the back of the hem just clears the floor, or where you like it. Pin each leg separately; legs are often slightly different.
Measure how much to remove. Take the jeans off and measure from the bottom of the original hem to your pinned fold. Write this down. Example: 2 in (5 cm).
Halve it. This is your tuck depth. For 2 in (5 cm), the tuck depth is 1 in (2.5 cm).
Fold and pin
Keep the jeans right side out. Fold the hem up over the outside of the leg, like a cuff.
Adjust the cuff so the distance from the new fold to the original hem’s topstitching line is your tuck depth, 1 in (2.5 cm) in the example. Check this at the inseam, outseam and front and back.
Match the side seams in the cuff to the side seams on the leg, then pin or clip all the way around.
Try the jeans on again with the cuffs pinned up. This is the length you will get, so fix it now rather than after sewing.
Sew
Fit the zipper foot with the needle on the side next to the old hem, and set a stitch length of 3 to 3.5 mm.
Remove the extension table and slide the leg over the free arm, so you only sew one layer of leg.
Stitch around the leg about 1/16 to 1/8 in (2 to 3 mm) from the original topstitching, on the side nearest the fold. Run the edge of the foot against the ridge of the old hem. Sewing just next to the old stitching, not on top of it, keeps the factory stitches visible.
Go slowly over the side seams. Flatten them with a hammer first, or use a hump jumper, and turn the handwheel by hand for the thickest stitches.
Overlap the start by 1/2 in (1.3 cm) and backstitch, or tie the threads off on the inside.
Finish
Turn the cuff down and try the jeans on. Only cut once you are happy with the length.
Trim the excess to 3/8 in (1 cm) from the new seam, on the inside of the leg.
Finish the raw edge with a serger, a zigzag stitch or pinking shears.
Press the seam allowance up toward the leg and the original hem down, with plenty of steam on the cotton setting. A clapper or a flat block held on the hot fabric for a few seconds sets a crisp fold.
Optional: topstitch about 1/8 in (3 mm) above the seam on the outside, in thread that matches the denim, to hold the allowance up. Without it, the allowance can flip down in the wash. A few hand tacks at the inseam and outseam do the same job less visibly; the hand sewing stitches guide covers them.
Repeat on the second leg, measuring it from its own pin, not copying the first.
Hand-sewn version: cut off and reattach
This version is useful when you are sewing by hand or want to see exactly where everything goes.
Mark the new finished length on the leg with chalk.
Cut the original hem off 1/2 in (1.3 cm) above its topstitching. Keep it in one piece.
Cut the leg at your new length line, plus the height of the original hem band (bottom edge to just above the stitching), minus 1/2 in (1.3 cm). Measure the hem band before you cut, because it varies from about 3/8 in to 5/8 in (1 to 1.6 cm).
Turn the leg inside out and the hem band inside out. Slide the band over the leg so the right sides face, match the side seams and pin.
Backstitch around with a 1/2 in (1.3 cm) seam allowance, so the stitch line runs just above the old topstitching. Use doubled, strong thread and stitches about 1/8 in (3 mm) long.
Finish and press as in the machine method: allowance pressed up, edges pinked or whipstitched.
Tapered and flared jeans
The fold method relies on the hem and the leg being the same width where they join.
Tapered or skinny jeans: the leg is wider at the new seam than the original hem. Unpick or take in the inseam over the bottom 4 to 6 in (10 to 15 cm) so the leg narrows gradually to match the hem width, then fold and sew. The guide on how to hem pants explains why tapered legs need a narrower hem.
Flared and bootcut jeans: the original hem is wider than the leg higher up. Open the inseam above the hem, take a little out of the hem band at that seam so it matches the leg, restitch and then attach. The darker unfaded denim inside the seam may show, so the change is less invisible than on a straight leg.
If you need to change the width by more than about 1 in (2.5 cm) around, a new double-fold hem usually looks better.
Common mistakes
Problem
Likely cause
Fix
Jeans end up too long or too short
Folded the full amount instead of half
Fold up half the length to remove, measured from the fold to the topstitching
Hem puckers or pleats
Leg and hem are different widths
Take in or let out the inseam above the hem first
Factory stitching hidden
Stitched on top of the old topstitching
Sew 1/16 to 1/8 in (2 to 3 mm) beside it with a zipper foot
Seam shows as a white ridge
Allowance pressed down or too bulky
Trim to 3/8 in (1 cm), press it up and topstitch
Needle breaks at the side seam
Too thick, sewn too fast
Hammer the seam, use a 100/16 needle, handwheel over the bulk
One leg shorter
Both legs marked from one pin
Pin and measure each leg separately
Sewing your own pants
The original hem method is for ready-to-wear jeans, but the lesson behind it applies to anything you sew: decide the length with the right shoes before you cut. The Tayo flare pants are drafted floor length when worn with 2 to 3 in (5 to 8 cm) heels and flare from the knee, so mark the hem wearing those heels, and keep the hem shallow, as the flared-leg advice above explains. Tayo is made in stretch suiting, crepe or ponte-weight wovens, so use a universal or stretch needle rather than a jeans needle. For a straight leg that hems easily in any length, the Femi wide-leg pants keep the same width from knee to hem.
Frequently asked questions
How much can you shorten jeans and keep the original hem?
Up to about 4 in (10 cm) works well on straight and slim legs. The limit is the leg width: if the leg where the new seam goes is more than about 1 in (2.5 cm) wider or narrower around than the original hem, the hem puckers or pulls. For bigger changes, narrow the leg seams first or use a new double-fold hem.
Can you see the seam when you keep the original hem?
A thin line shows just above the original topstitching, where the new seam sits. On faded or distressed denim it is hard to spot, because the faded edge and the factory stitching stay. Stitching close to the old stitching, pressing the allowance up firmly and topstitching it in place all make the join less visible.
Can you hem jeans with the original hem by hand?
Yes. Cut the hem off with a seam allowance, pin it to the shortened leg right sides together and backstitch along the seam line with doubled, strong thread, keeping close to the original stitching. Use a thimble at the side seams. Press the allowance up toward the leg and finish the raw edges with a whipstitch or pinking shears.
Does the original hem method work on flared or tapered jeans?
Not directly. On a flare the original hem is wider than the leg higher up, and on a tapered leg it is narrower, so the two edges don't match. Take the inseam in or let it out over the bottom 4 to 6 in (10 to 15 cm) so the leg width matches the hem, or choose a new hem instead.
How to sew bell bottom pants step by step: pick a flare pattern or add flare to one you own, then fit the knee, sew the legs and hem the wide flare neatly.
What is interfacing in sewing? The hidden layer that firms facings, collars and zipper openings. Learn the types, how to pick a weight and how to fuse it well.
How to finish seams without a serger: zigzag, overcast, pinked, turned and stitched, French, flat-felled, bound and hand overcast, with settings for each.
Help us understand what inspires you
May we use Pinterest cookies to measure visits and purchases and improve our advertising? You can shop either way and change your choice in Cookie settings. Privacy policy
 Patterns