A note on measurements: this guide is written for US sewists, so it uses US units first: inches, yards
and US paper sizes (Letter, 36 × 48 in). Metric equivalents are in brackets where they matter. If you're not used to US
measurements, convert them before you cut: 1 in = 2.54 cm, 1 yd = 91.4 cm.
To sew a dart, you mark its two legs and point on the wrong side of the fabric, fold it right sides together so the legs match, and stitch a straight line from the wide end to the point, tapering off the fold so the point fades smoothly. Then you tie off the threads instead of backstitching and press the dart over a curved surface. This guide covers how to sew darts from marking to pressing, how to get a point without a bubble, and how to check that bust darts sit in the right place on your body.
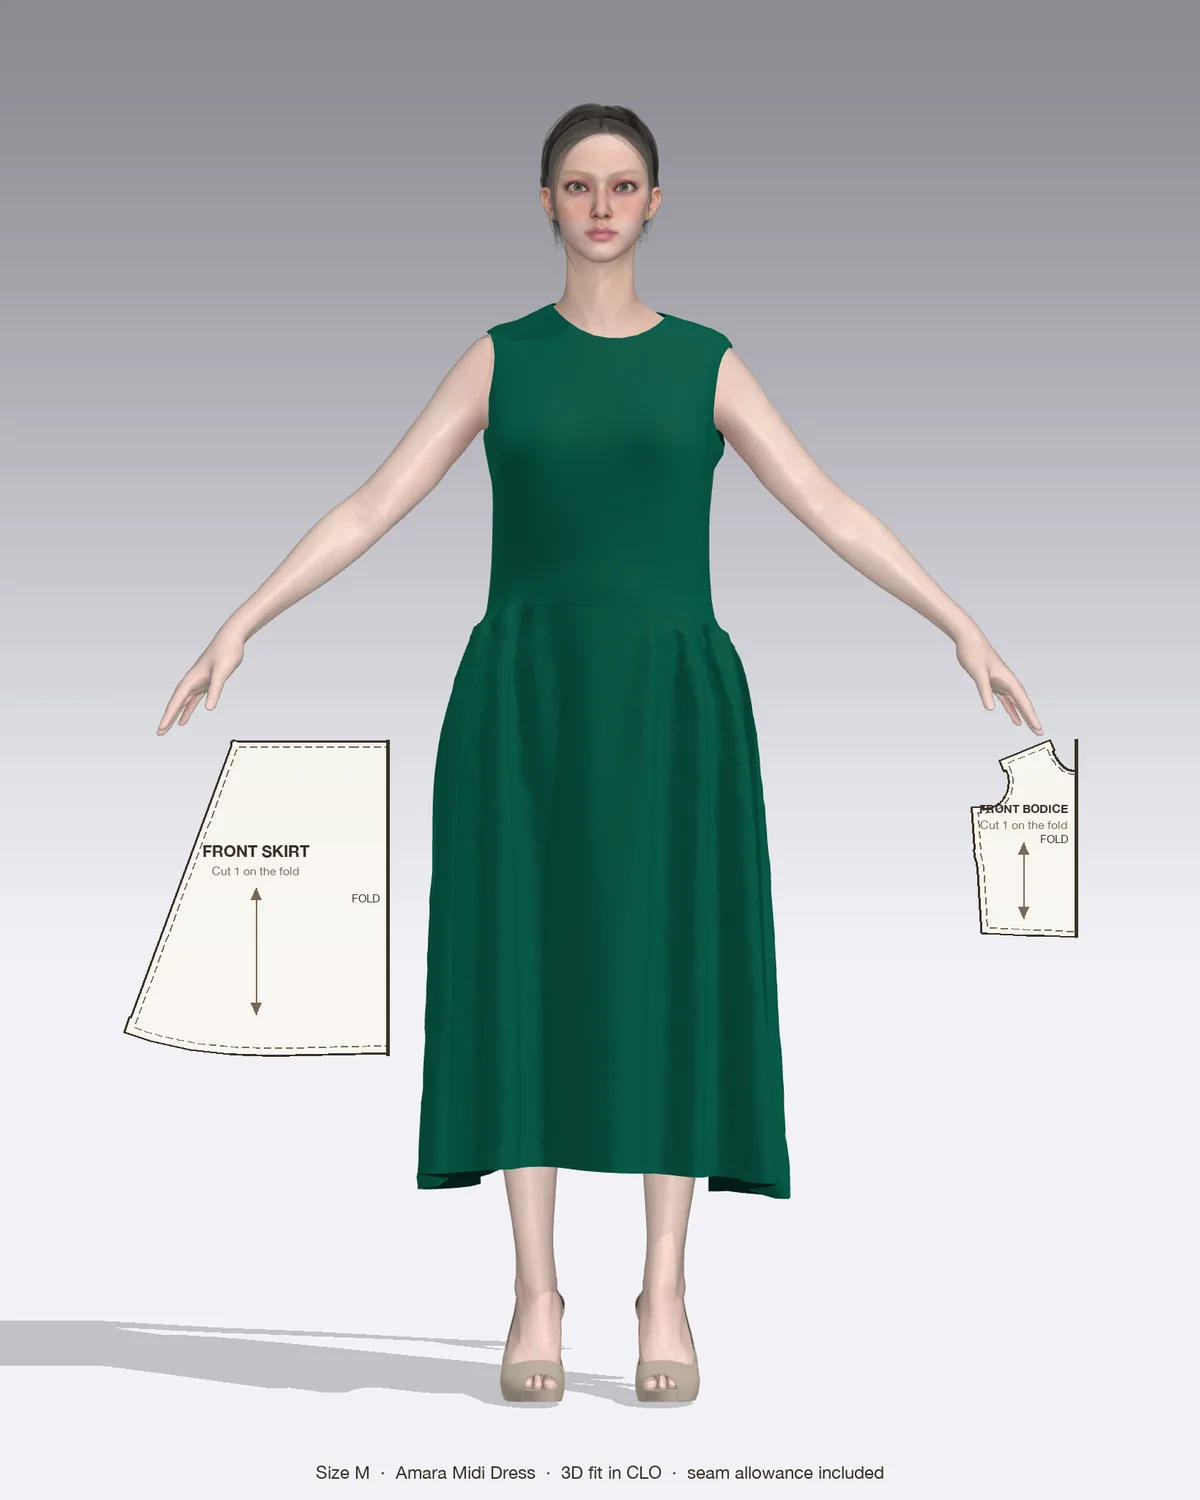
Draped in CLO 3D: the Amara with its pattern pieces, drawn to scale.
What a dart does
A dart is a wedge of fabric folded out and stitched so a flat piece of cloth curves around the body. The wide end sits in a seam (a side seam, waist seam or shoulder seam) and the narrow end, the point, finishes just short of the fullest part of the curve: the bust, the shoulder blades, the hip or the seat.
The common types:
Bust darts run roughly horizontally from the side seam toward the bust.
Waist darts run vertically from the waist seam, up toward the bust on a bodice or down toward the hip on a skirt or pants.
Back darts shape the back of a bodice, skirt or pants around the shoulder blades or seat.
Double-pointed (contour) darts are diamond shaped, with a point at each end, and shape a dress or top through the waist without a waist seam.
All of these are sewn the same way. Double-pointed darts are stitched in two halves, from the middle out to each point.
What you need
Tailor’s chalk, a water-soluble marker or a tracing wheel with dressmaker’s tracing paper
A ruler for joining the marks into straight lines
Pins and matching thread
A tailor’s ham, or a tightly rolled towel, for pressing
A pressing cloth, especially for dark fabric or synthetics that can go shiny
How to mark a dart
Accurate marks decide the shape of the finished dart, so take care here.
Mark on the wrong side. If you cut on the fold or in a double layer, mark both pieces so the darts mirror each other.
Mark the legs at the cut edge. Snip a small notch, no deeper than 1/4 in (6 mm), where each leg meets the edge, or mark them with chalk.
Mark the point. Push a pin straight down through the pattern at the point and mark where it comes out on the fabric.
Join the marks. Lift the pattern and use a ruler to draw each leg from the notch to the point, forming a long, narrow V.
Add a guide mark near the point. A short cross mark about 3/8 to 1/2 in (1 to 1.3 cm) before the point shows where to start shortening your stitches.
If you’re working from a PDF pattern, check that your printout is at the right scale before cutting; small scale errors move dart points. The guide to printing PDF sewing patterns shows how to check the test square.
How to sew darts, step by step
Set your machine to a straight stitch of about 2.5 mm (10 to 11 stitches per inch).
Fold and pin
Fold the dart right sides together through the center of the V, so the two legs lie exactly on top of each other.
Pin along the stitching line, pushing each pin through the top line and checking it comes out on the line underneath. Place one pin at the point.
Press the fold lightly if your fabric is slippery. It gives you a crisp edge to aim at.
Stitch from the wide end to the point
Start at the cut edge, on the stitching line, and backstitch two or three stitches. This end is hidden in a seam, so a backstitch here is fine.
Sew along the marked line toward the point, removing pins before the needle reaches them.
At the cross mark, shorten the stitch to about 1.5 mm.
Angle gradually onto the fold. The last two or three stitches should run almost parallel to the fold, right at its edge, so the stitching slides off rather than hitting the fold at an angle.
Sew off the fabric at the point. Don’t backstitch.
Tie off the point
Pull out thread tails of about 4 in (10 cm) before cutting.
Tie the two threads together in a double knot, easing the knot down to the point without pulling so hard that the point puckers.
Trim the tails to about 3/8 in (1 cm).
Some sewists start at the point instead and sew toward the edge, which keeps the point angle exact; any drift ends up at the wide end, inside the seam allowance. Either method works if you’re consistent.
How to press a dart
Pressing is what turns a stitched fold into a smooth curve, so don’t skip it or press it flat on the board.
Press the stitching line flat first, as sewn, to set the stitches. Stop at the point.
Open the piece and place the dart over a tailor’s ham, with the point on the rounded part, wrong side up.
Press the fold to one side: vertical darts (waist and back darts) toward the center of the garment, horizontal darts (bust darts) downward, unless your pattern says otherwise.
Press with the tip of the iron from the wide end toward the point, using steam if the fabric allows. Use the setting for your fiber: a high setting for cotton and linen, a lower one for viscose, rayon and polyester, with a pressing cloth.
Turn it over and press lightly from the right side through a pressing cloth to set the shape.
On deep darts or thick fabric, reduce the bulk first: trim the fold to about 5/8 in (1.5 cm), or slash it along the fold to about 1 in (2.5 cm) from the point and press it open.
Check where your bust darts point
A well-sewn dart in the wrong place still fits badly. A bust dart should point at the bust apex (the fullest point) and stop just short of it. Threads Magazine notes a common guideline of about 1 in (2.5 cm) from the apex for a smaller bust, up to 2 1/2 in (6.5 cm) or more for a larger cup. If you make a muslin, try it on wearing the bra you’ll wear with the finished garment, mark your apex and measure how far the dart point is from it. If the dart sits too high or too low, move it up or down on the pattern by that amount before cutting your real fabric.
Darts in the Amara midi dress
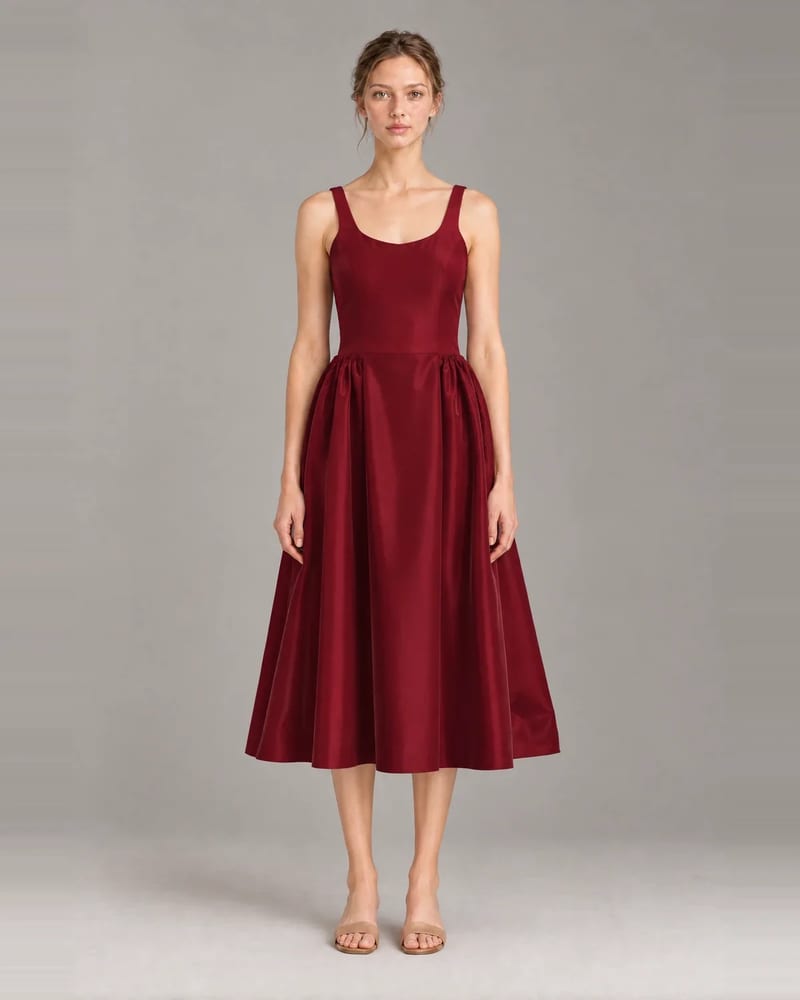
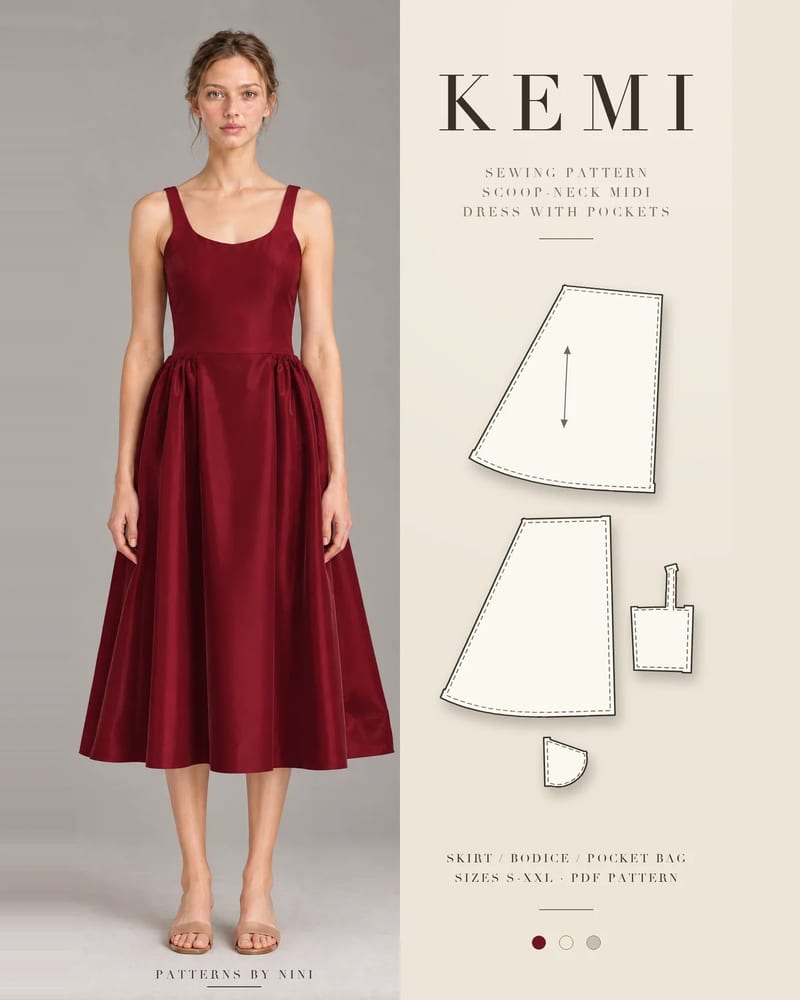
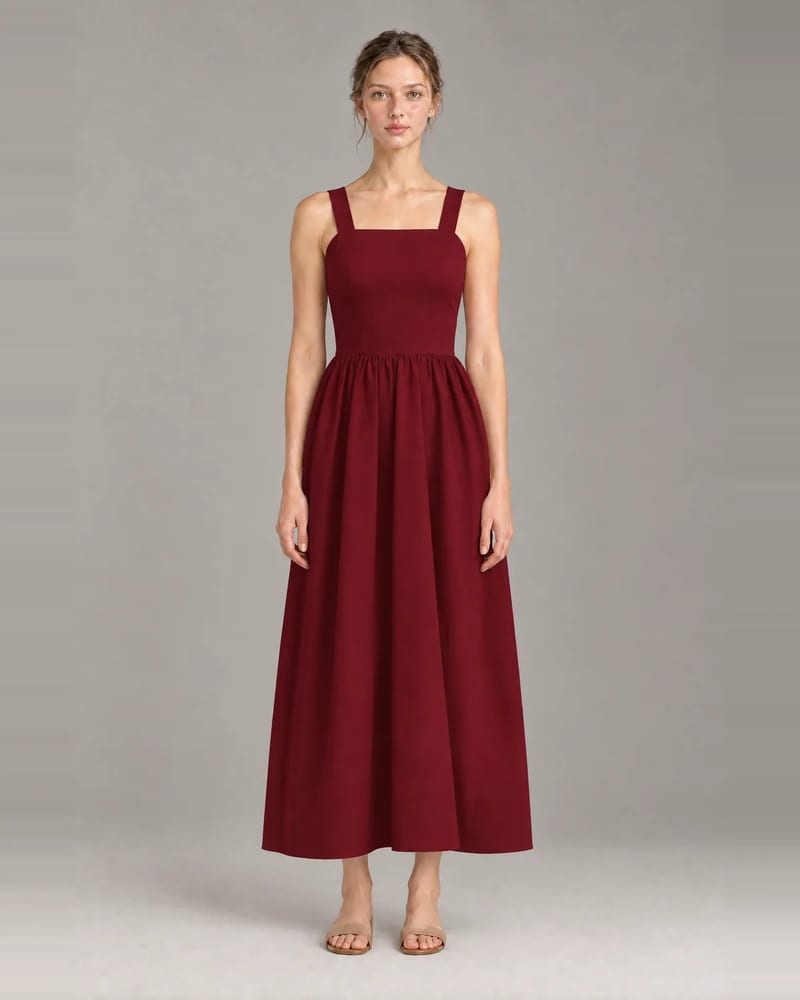
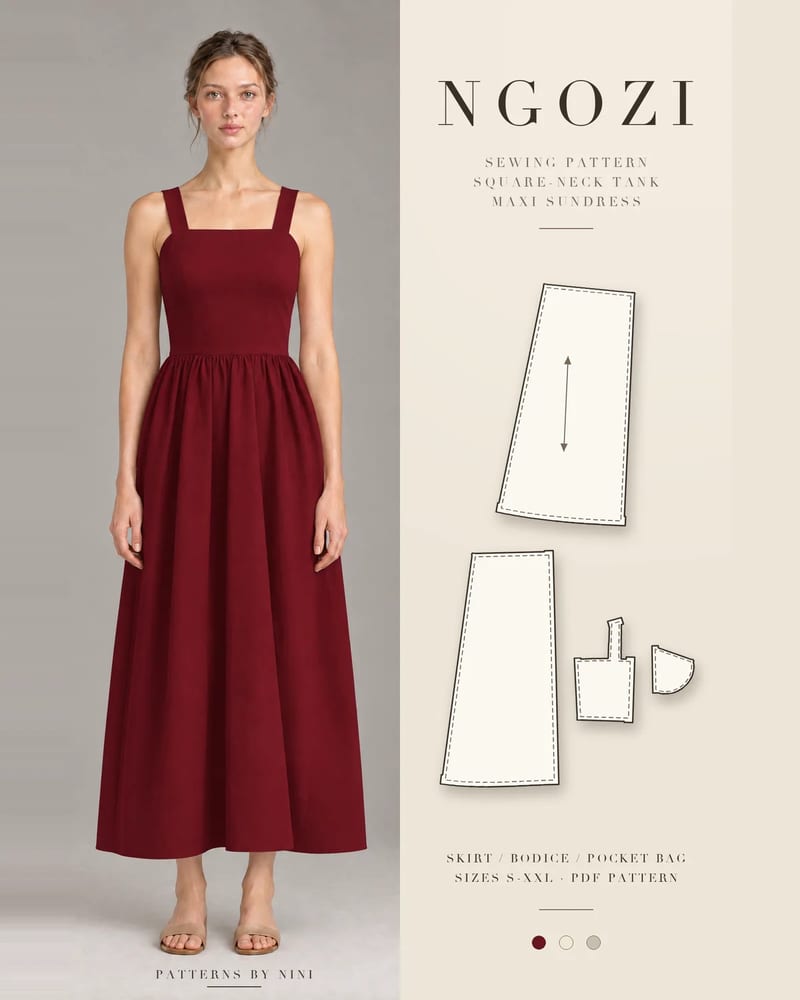
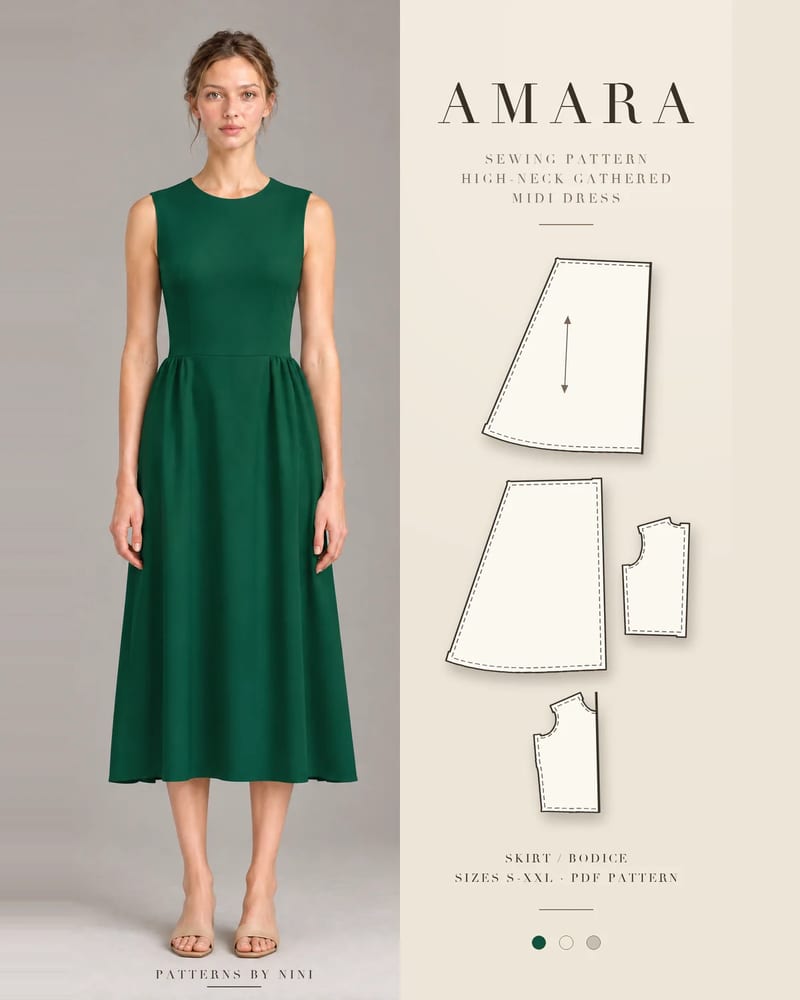
The Amara high-neck gathered midi dress has a fitted bodice shaped with bust and waist darts. Sew and press the darts on each bodice piece before joining the bodice to the skirt, so the waist seam sits flat over the dart ends. Amara closes with an invisible zipper at the center back, which crosses that waist seam; the guide to sewing an invisible zipper covers matching the seam on both sides. Amara’s recommended fabrics are light to mid-weight wovens with body, such as cotton poplin, linen, cotton sateen, taffeta or crepe, so mark the dart legs and point with chalk or a tracing wheel rather than snipping deep notches, and press with the heat setting your fabric allows.
Common mistakes and how to fix them
Problem
Likely cause
Fix
Bubble or dimple at the point
Stitching hit the fold at an angle, or was backstitched
Unpick the last 1 to 2 in (2.5 to 5 cm) and taper the final stitches along the fold; tie off
Pointy “cone” at the bust
Dart ends too close to the apex, or pressed flat
Stop the point further from the apex; press over a ham
Darts don’t match left and right
Marks transferred inaccurately, or sewn with different methods
Re-mark both from the pattern and sew them the same way
Point comes undone
Thread tails cut short without a knot
Re-sew the last 1 in (2.5 cm) and tie a double knot
Lump showing on the right side
Too much bulk in a deep dart or thick fabric
Trim or slash the dart and press it open
Shiny marks along the dart
Iron too hot, or no pressing cloth
Lower the heat and press through a cloth
Quick checklist
Legs and point marked on the wrong side, with a cross mark just before the point
Folded right sides together, legs matched and pinned
Backstitched at the wide end only
Stitch shortened near the point, final stitches running along the fold
Thread tails tied in a double knot, not backstitched
Pressed over a ham: vertical darts toward center, horizontal darts down
Frequently asked questions
Should you backstitch at the point of a dart?
No. Backstitching at the point adds bulk exactly where the dart should fade into the fabric, and it can show as a lump on the right side. Leave thread tails of about 4 in (10 cm) and tie them in a double knot instead. Backstitch only at the wide end, where the stitching runs into a seam allowance and will be hidden.
Which way do you press darts?
Press vertical darts, such as waist and back darts, toward the center of the garment. Press horizontal darts, such as bust darts, downward. Follow your pattern if it says otherwise. Press over a tailor's ham or a rolled towel so the dart keeps its curved shape, first from the wrong side and then lightly from the right side with a pressing cloth.
Why does my dart have a bubble or dimple at the point?
Usually the stitching meets the fold at an angle instead of running off it gradually, or it was backstitched at the tip. Unpick the last 1 to 2 in (2.5 to 5 cm) and re-sew so the final few stitches run almost parallel to the fold, with a short stitch length of about 1.5 mm. Tie the tails rather than backstitching.
Do you sew a dart from the point or from the wide end?
Both methods work. Most patterns and tutorials start at the wide end, on the seam edge, and sew toward the point, which lets you taper off the fold smoothly. Some sewists start at the point to keep its angle exact, since any drift at the wide end is hidden in the seam. Pick one method and use it consistently on matching darts.
Should you trim or cut darts open?
Narrow darts in light or medium fabric can stay as they are. Deep darts or darts in thick fabric create bulk, so trim the fold to about 5/8 in (1.5 cm), or slash it open along the fold to within about 1 in (2.5 cm) of the point and press it open. In sheer fabric, trim to about 1/8 in (3 mm) and finish the edges together.
How to sew a dress from a pattern: choose fabric and size, cut, sew darts, gathers, zipper and facings in the right order, then hem. Step by step for beginners.
How to finish seams without a serger: zigzag, overcast, pinked, turned and stitched, French, flat-felled, bound and hand overcast, with settings for each.
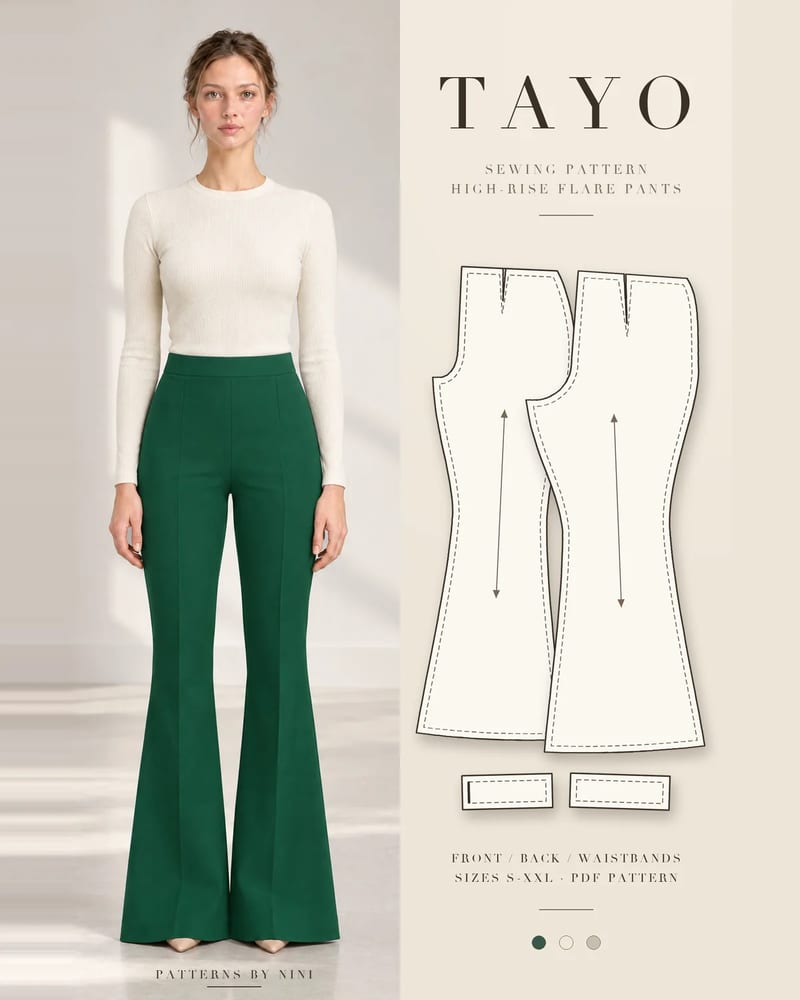
How to sew bell bottom pants step by step: pick a flare pattern or add flare to one you own, then fit the knee, sew the legs and hem the wide flare neatly.
Help us understand what inspires you
May we use Pinterest cookies to measure visits and purchases and improve our advertising? You can shop either way and change your choice in Cookie settings. Privacy policy
 Patterns