A note on measurements: this guide is written for US sewists, so it uses US units first: inches, yards
and US paper sizes (Letter, 36 × 48 in). Metric equivalents are in brackets where they matter. If you're not used to US
measurements, convert them before you cut: 1 in = 2.54 cm, 1 yd = 91.4 cm.
To sew pajama pants, you cut a front and back for each leg, sew each leg into a tube at the inseam and side seam, slip one leg inside the other to sew the crotch, then add an elastic waistband and hem the legs. With a beginner pattern and no pockets or zipper, it’s an afternoon’s work. This guide shows how to sew pajama pants step by step, including the prep that makes a soft pair last: prewashing, marking front from back, and a waistband that doesn’t twist.
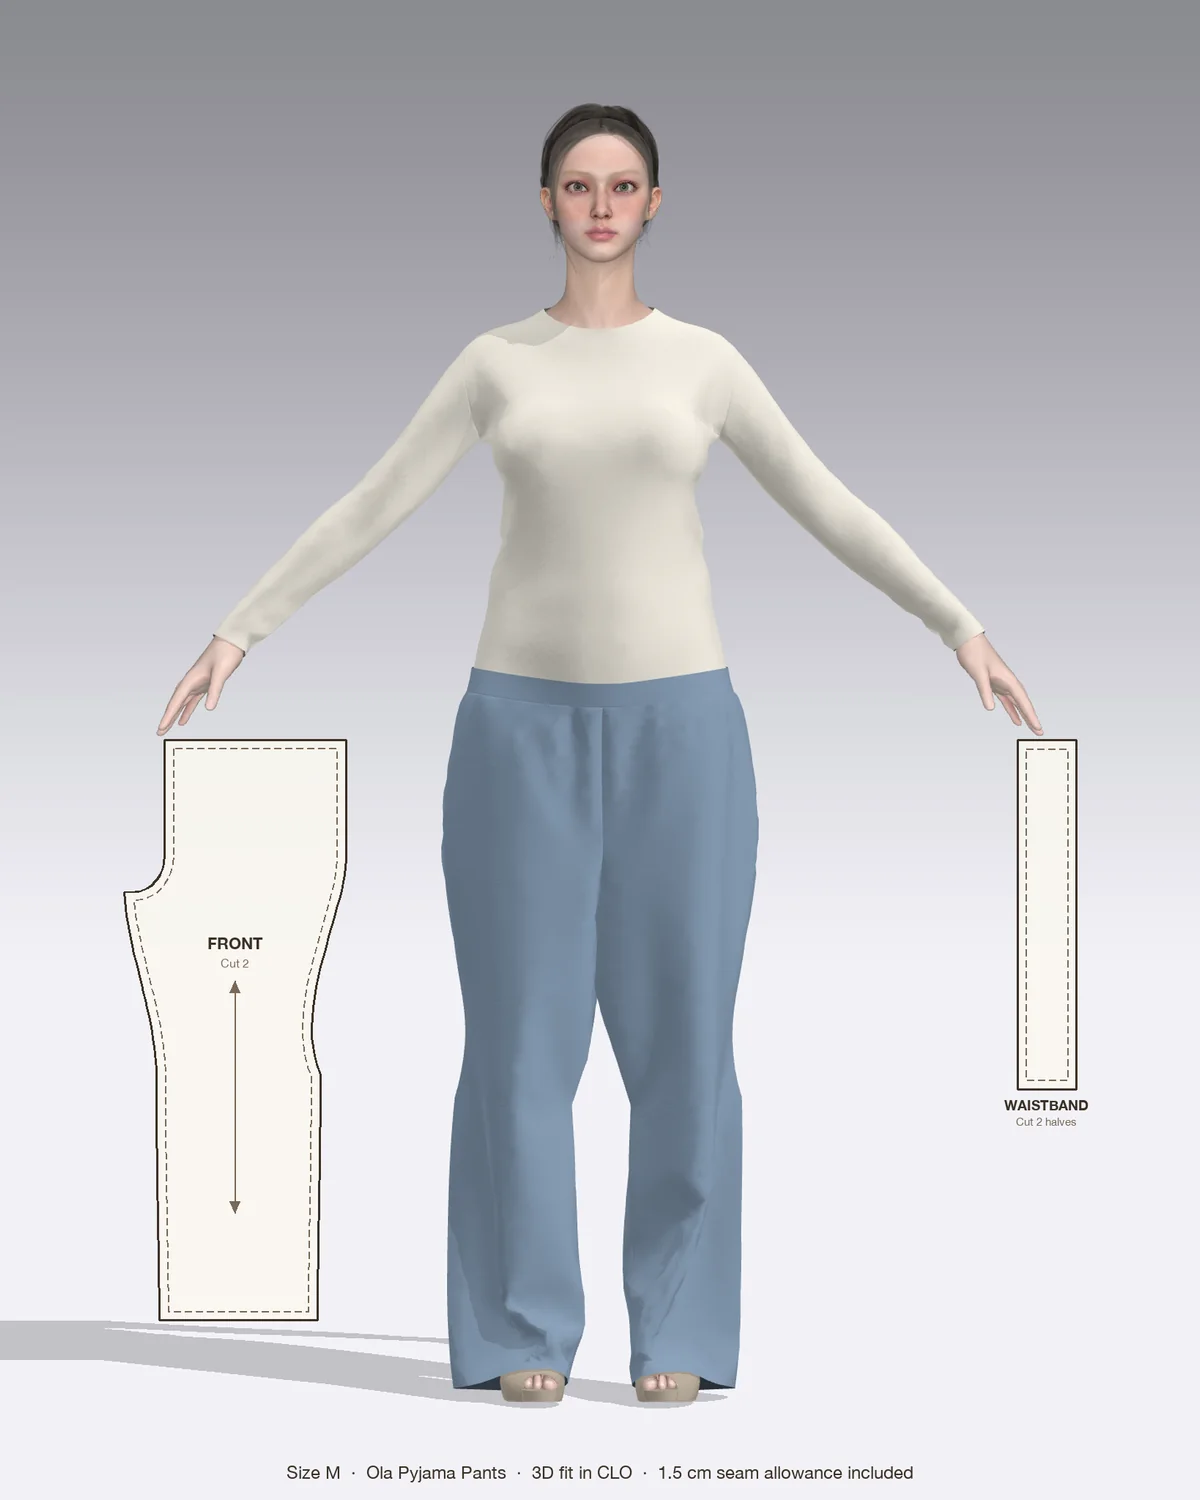
Draped in CLO 3D: the Ola with its pattern pieces, drawn to scale.
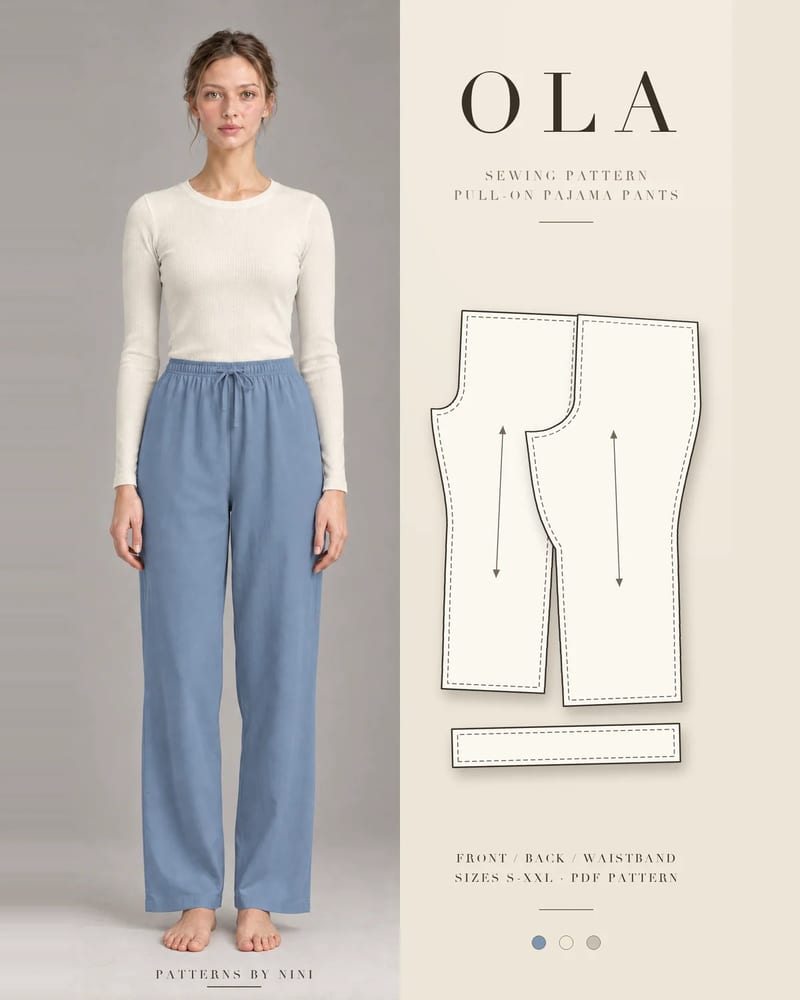
The steps follow pull-on pants like the Ola pajama pants: loose straight legs, ankle length, an elastic waistband with a drawstring that exits through two front buttonholes, and no pockets, zipper or darts. Where your pattern gives different seam allowances or a different order, follow it.
What you need
A pattern. Choose pull-on pants marked beginner. Ola comes in sizes S to XXL as a PDF with print-at-home and copy shop files.
Fabric. Soft wovens: cotton flannel, brushed cotton, poplin, lawn or viscose. Ola needs 2 1/2 yd (2.2 m) of 55 to 60 in (140 to 150 cm) wide fabric in sizes S and M, and 2 3/4 yd (2.5 m) in L to XXL.
Elastic. Use the width your pattern names. Ola uses 1 in (25 mm) elastic.
Drawstring. About 60 in (150 cm) of cord, or a tie made from your fabric.
Notions and tools: matching thread, a small piece of fusible interfacing for the buttonholes, pins or clips, chalk, a large safety pin or bodkin, sharp scissors and an iron.
Prepare and cut the fabric
Prewash. Wash and dry the fabric the way you’ll wash the finished pants. Cotton flannel shrinks a lot: wash it on hot and tumble dry on high, and consider doing it twice. Viscose is better washed cool and line dried.
Press out the creases before you lay out the pattern, so the pieces cut true.
Choose your size from your hip measurement, since the waist is elastic and forgiving. Ola’s elastic chart runs from 27 1/2 in (70 cm) for size S to 37 in (94 cm) for XXL.
Lay out the pieces on grain, with the grainline parallel to the selvage. Napped flannel and one-way prints need every piece pointing the same way, which can take a little extra fabric.
Cut two fronts and two backs as mirror images, by cutting through a double layer. Cut the waistband as the pattern shows.
Mark the backs. The back crotch curve is longer and deeper than the front. Put a chalk X or a safety pin on the wrong side of each back piece as you cut, and snip the notches.
How to sew pajama pants step by step
Use a 2.5 mm straight stitch and the seam allowance on your pattern. Finish each seam as you go with a zigzag or serger; flannel in particular frays.
1. Sew the legs
Pin one front to one back at the side seam, right sides together, matching notches.
Sew the side seam, finish the edges together and press toward the back.
Sew the inseam the same way, from the hem up to the crotch, matching the crotch points exactly.
Repeat for the second leg. You now have two separate tubes.
Many patterns sew it this way; some sew the crotch first and the inseam in one line from hem to hem. Both work, as covered in our guide on how to sew pants.
2. Sew the crotch seam
Turn one leg right side out and slip it inside the other, which stays wrong side out. The right sides now face each other.
Match the inseams at the crotch point and pin there first, then pin up the front and back curves to the waist, matching notches.
Sew the whole curve in one pass from front waist to back waist.
Sew a second row just inside the seam allowance through the lower curve, between the notches. This is the seam that takes the most strain.
Trim the lower curve to about 1/4 in (6 mm), finish the edges together and press.
3. Make the drawstring buttonholes
If your waistband has a drawstring, the buttonholes go in before the band is attached, while the fabric is still flat.
Fuse a small patch of interfacing behind each buttonhole mark on the outer half of the waistband.
Stitch two small buttonholes at the marks, about 1/2 in (1.3 cm) long, or a little longer than your cord is wide. Our guide on how to sew a buttonhole covers the machine settings.
Cut them open carefully, with a pin across the end so the blade stops in time.
4. Attach the waistband
Sew the band into a loop and press the seam open.
Fold it in half lengthwise, wrong sides together, and press. Check the buttonholes are on the outside, centered at the front.
Pin the band to the pants, raw edges together, band seam at the center back, matching the center front and side notches.
Stitch around, leaving a 2 to 3 in (5 to 8 cm) gap near the center back. Finish the edges and press the seam toward the pants.
5. Thread the elastic and drawstring
Cut the elastic to the length on your pattern’s chart, plus the overlap it gives. Wrap it around your waist first to check it feels right.
Thread the elastic through the gap with a safety pin, keeping the other end pinned outside so it doesn’t slip in.
Check for twists, overlap the ends 1 in (2.5 cm) and zigzag them together.
Close the gap, without catching the elastic.
Thread the drawstring in at one buttonhole and out at the other, following the route your pattern shows. Knot or neaten the ends so they can’t pull back through.
Front and back swapped. The pants pull at the back and bag at the front. Unpick one leg’s crotch seam and check the marks: the deeper curve goes at the back.
Two left legs. Cutting single-layer pieces facing the same way. Cut through a double layer, or flip the pattern piece for the second cut.
Inseams don’t meet at the crotch. Pin the crotch point first, then work outward, so any difference ends up at the waist and hem, where you can trim it.
Pants shrank after the first wash. The fabric wasn’t prewashed. There’s no fix for this pair; prewash flannel twice on hot next time.
Elastic twists in the wash. Stitch in the ditch through the band and elastic at the side seams and center back.
Drawstring disappears inside the band. Tie a knot in each end, or stitch the drawstring to the elastic at the center back so it can’t travel.
Check the fabric chart on your pattern, because it depends on your size, the leg width and the fabric width. Loose ankle-length pajama pants usually take 2 to 3 yd (1.8 to 2.7 m). The Ola pajama pants need 2 1/2 yd (2.2 m) of 55 to 60 in (140 to 150 cm) wide fabric in sizes S and M, and 2 3/4 yd (2.5 m) in L to XXL.
What is the best fabric for pajama pants?
Soft, breathable wovens: cotton flannel or brushed cotton for winter, cotton poplin, lawn or viscose for warmer nights. Cotton flannel is the most forgiving for a first pair because it grips itself and doesn't slip while you cut and sew. Prewash it on hot and dry it on high first, because flannel shrinks a lot.
How do you tell the front from the back of pajama pants?
The back crotch curve is longer and deeper than the front, and the back is usually taller at the waist so there's room to sit. On the pattern, the back piece often has double notches and the front single ones. Mark the wrong side of each back piece with chalk or a safety pin as soon as you cut, before the pieces get mixed up.
Do I need a serger to sew pajama pants?
No. A straight stitch of 2.5 mm sews every seam, and a zigzag along the raw edges stops them fraying in the wash. French seams also work on the straight leg seams of lightweight cotton. Flannel frays more than most cottons, so finish its edges straight after each seam rather than leaving them all to the end.
A seam gauge for sewing is a 6 in ruler with a sliding marker. Learn to use it for even hems, seam allowances, buttonholes, pleats, darts and elastic casings.
How to use a magnetic sewing seam guide: set it to any seam allowance, sew straight seams and curves, and keep it clear of a computerized machine's electronics.
Help us understand what inspires you
May we use Pinterest cookies to measure visits and purchases and improve our advertising? You can shop either way and change your choice in Cookie settings. Privacy policy
 Patterns