 Patterns
How to sew a hem in pants: by machine or by hand
How to sew a hem in pants that hangs straight: measure the length, choose a hem allowance, press, and blind hem by machine or by hand, plus tapered legs.
A note on measurements: this guide is written for US sewists, so it uses US units first: inches, yards and US paper sizes (Letter, 36 × 48 in). Metric equivalents are in brackets where they matter. If you're not used to US measurements, convert them before you cut: 1 in = 2.54 cm, 1 yd = 91.4 cm.
To sew pleats, mark the fold lines and placement lines on your fabric, fold each pleat so one line lands on the other, press, then baste across the top to hold them before you attach a waistband or yoke. Learning how to sew pleats comes down to accurate marking: if the lines are right, the folds fall into place. The same four steps work for knife, box and inverted pleats. Only the direction of the folds changes.
A pleat is a fold of fabric held at one end and released at the other, so the garment fits closely in one place and has fullness below it. A dart stitches the extra fabric away and gathers crumple it into many small folds. A pleat keeps it flat and folded.
Three measurements describe any pleat:
| Type | How the folds sit | Typical use |
|---|---|---|
| Knife | All facing one direction | Skirts, pants fronts |
| Box | Two folds facing away from each other | Skirts, dress fronts, backs of shirts |
| Inverted box | Two folds meeting at the center | Center-front skirts, kick pleats |
| Accordion | Very narrow knife pleats, close together | Formal skirts, usually factory made |
| Radiating | Folds that fan out from one point | Full skirts |
If you are following a pattern, the extra width is already in the piece. If you are adding pleats yourself, use this sum:
Cut width = finished width + (number of folds × depth × 2)
For example, a 30 in (76 cm) waist edge with six knife pleats 1 in (2.5 cm) deep needs 30 + (6 × 1 × 2) = 42 in (107 cm), plus seam allowances. A box pleat has two folds, so count each one. Pleats that touch with no gaps need about three times the finished width.
Natural fibers such as cotton, linen and wool take a crisp fold because they stand up to heat. Synthetics and slippery satins resist a home iron, so they suit soft, unpressed pleats better. Match the pleat to the weight: narrow pleats on fine fabric, wider pleats on heavy fabric to limit bulk at the seam. Test a 1 in (2.5 cm) pleat on a scrap and adjust from there.
Knife pleats: fold every pleat the same way, working across the fabric. Measure from the inside fold line to keep the spacing even.
Box pleats: make two folds that turn away from each other, with their inside folds meeting behind the panel.
Inverted box pleats: bring both fold lines to one center placement line so the folds meet on the outside. From the wrong side it looks like a box pleat. If you want a center seam hidden in the pleat, sew a separate underlay strip between the two panels.
Basting holds a pleat at the top only. Three finishes control how it falls below that:
For a pleated skirt cut from a straight rectangle, hem before you pleat, since hemming over the folds is bulky and you’d have to press them all again. On shaped pieces, hem last.
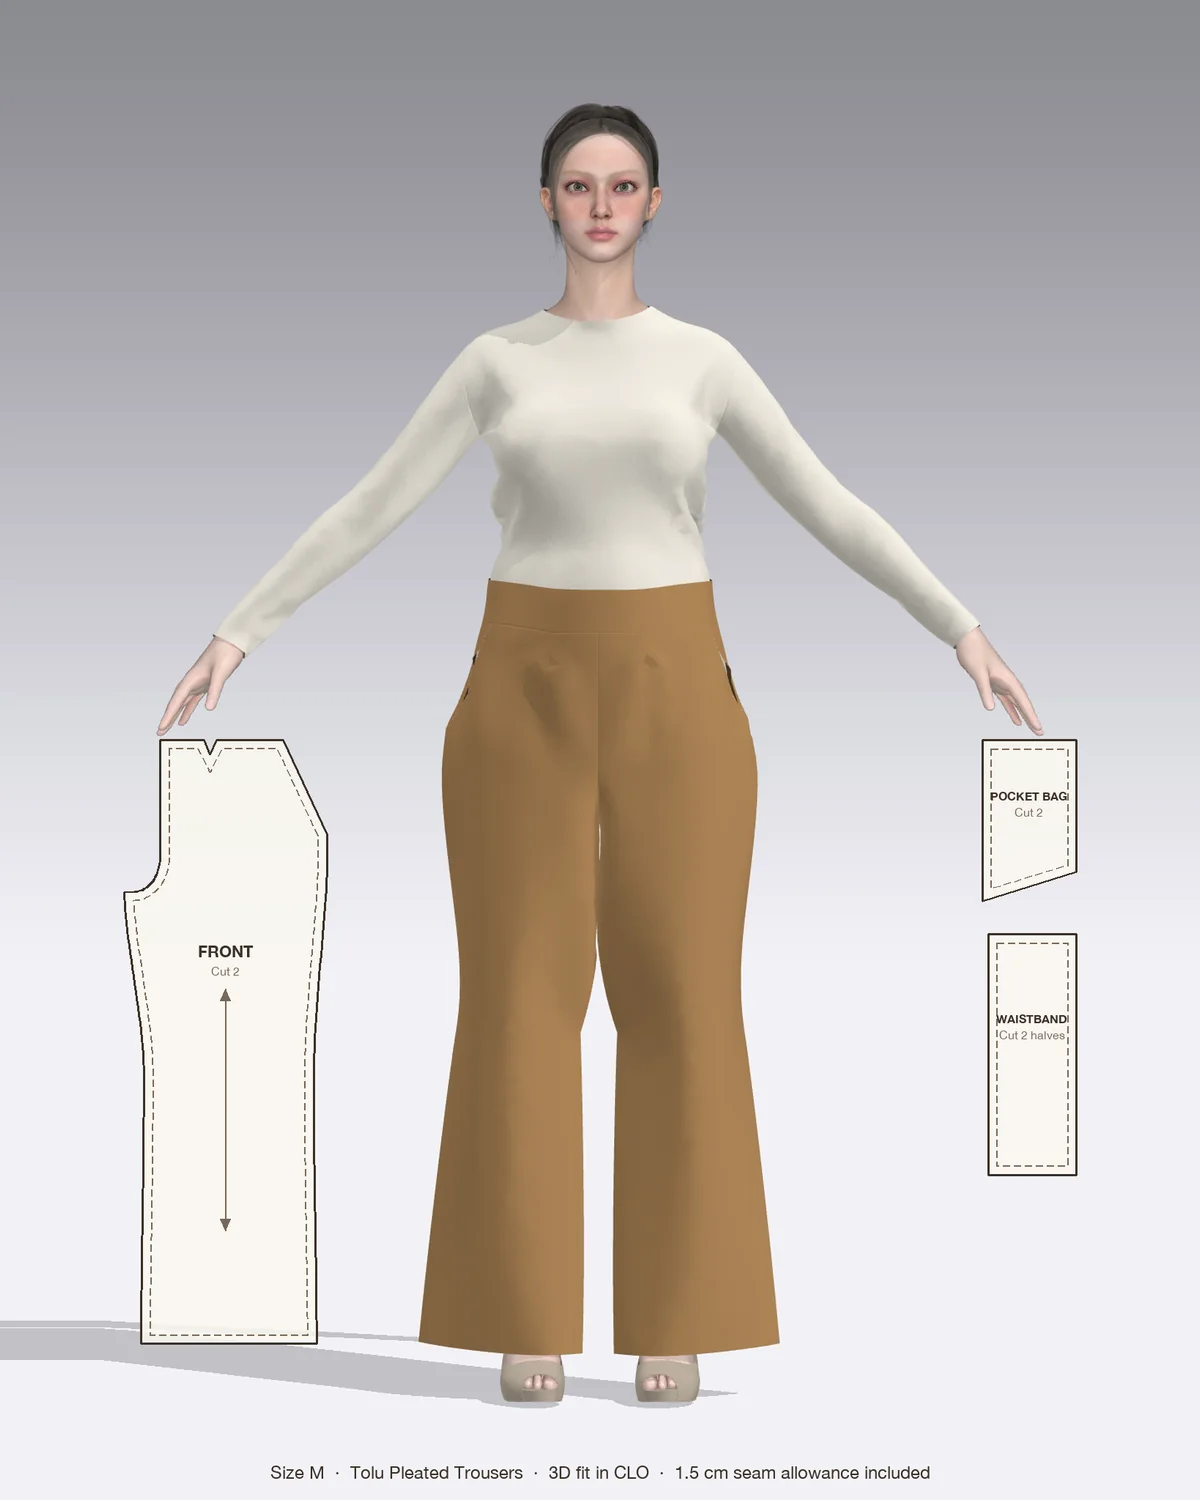
On pants, front pleats add room over the hip and thigh. They sit at the top of the front leg and are held by the waistband. Fold direction changes the look: a pleat can open toward the fly or toward the pocket, so follow the arrows on your pattern.
Press only the top few inches, no more than about 4 in (10 cm) down, unless you want a sharp crease down the leg. A soft pleat that is pressed the whole way loses its ease. Keep pocket bags clear of the fold as you pin, then baste the pleat and the pocket opening together across the top.
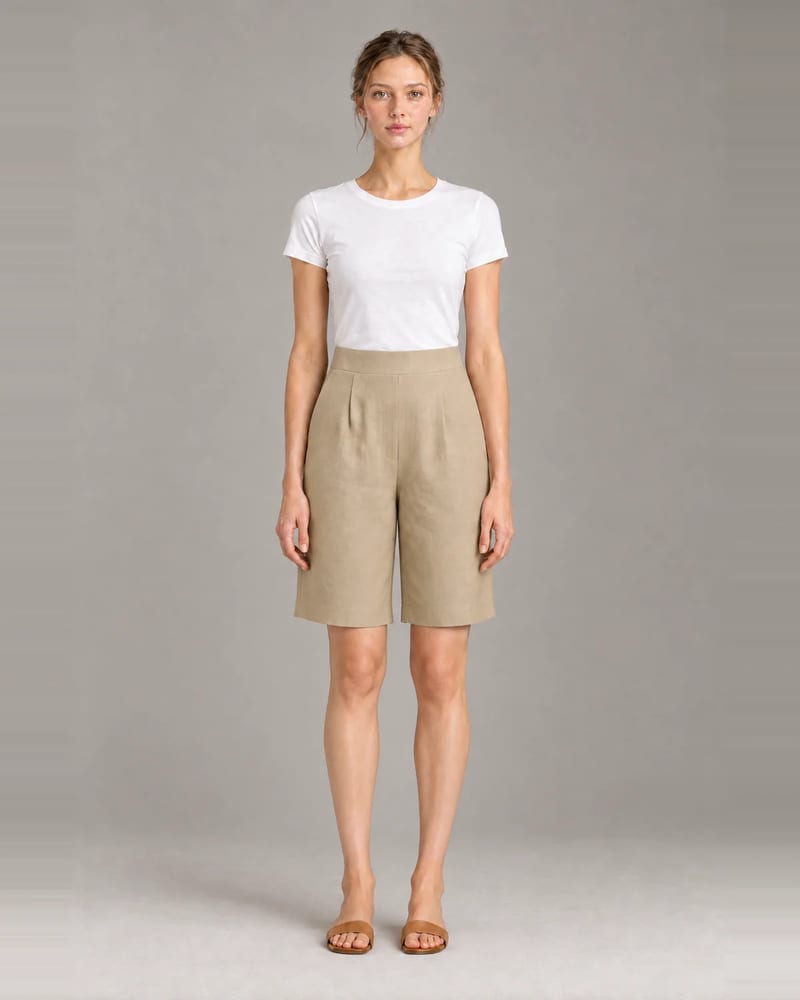
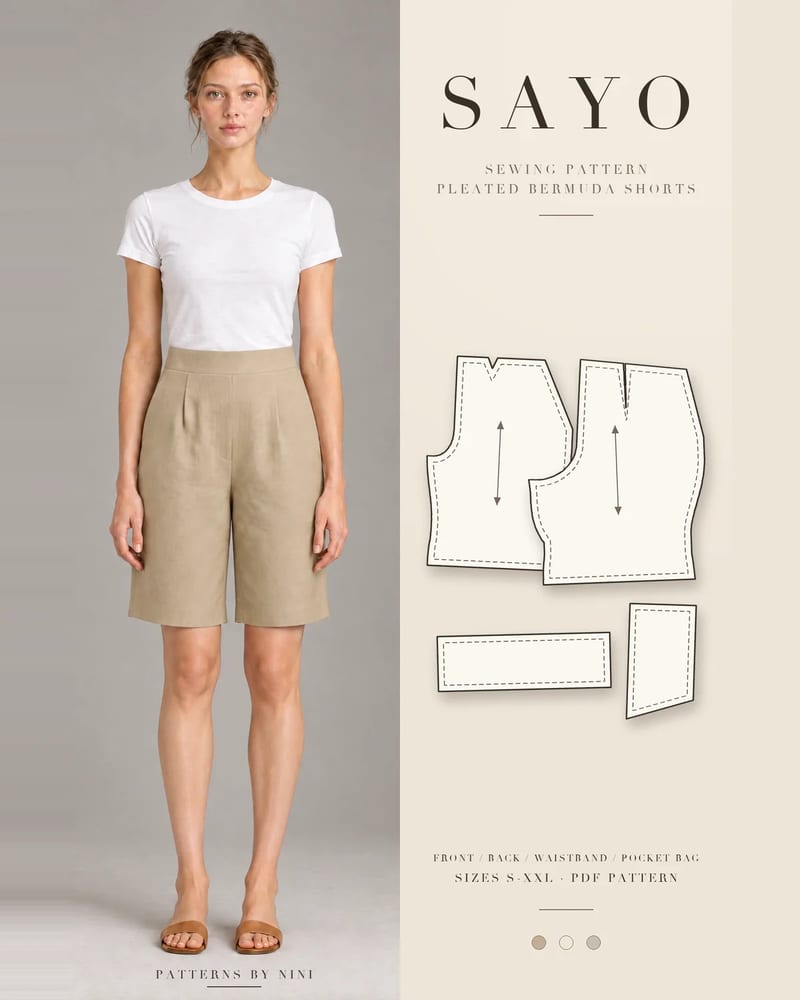
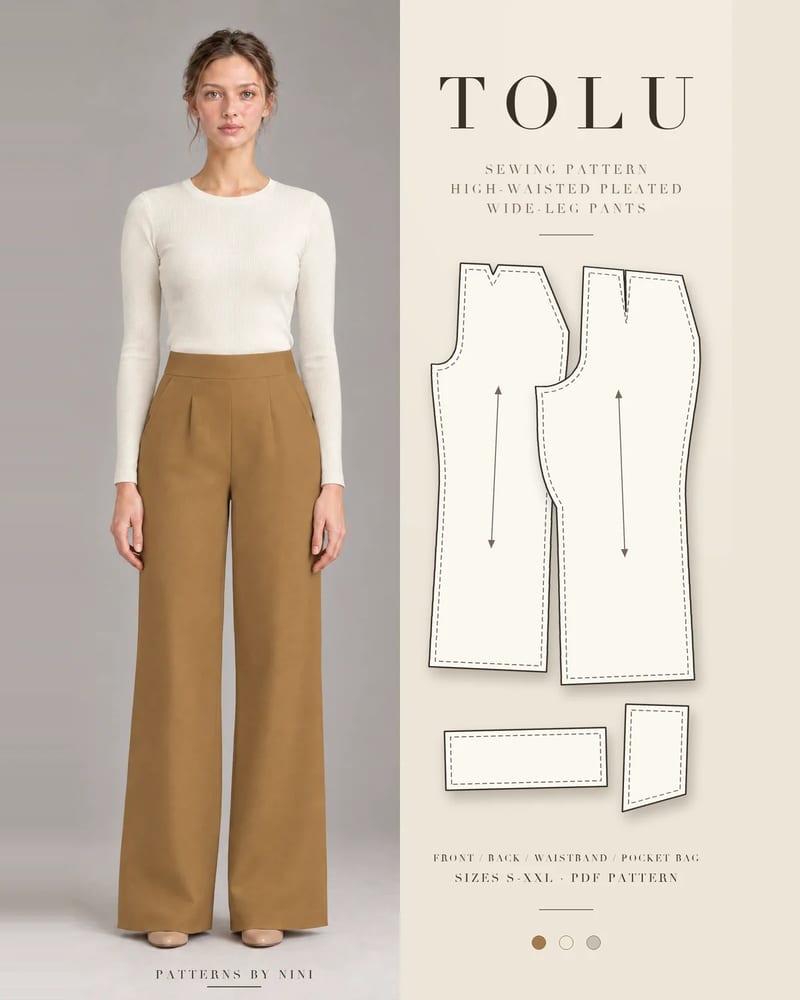
The Tolu pleated wide-leg pants are a good place to practice: one soft pleat on each side of the front, back darts, slanted pockets, a flat interfaced waistband and a center-back invisible zipper. With only two pleats to fold, you can take your time getting them even. The Sayo pleated Bermuda shorts use the same pleat setup at a shorter length, which makes a smaller first project.
| Problem | Likely cause | Fix |
|---|---|---|
| Pleats are uneven | Marks were approximate or moved | Mark with a ruler and notch the top of each line |
| Edge doesn’t match the waistband | Folds taken too deep or too shallow | Unpick the basting and adjust each pleat equally |
| Pleat folds the wrong way | Arrow on the pattern ignored | Check direction before pressing; re-fold and re-press |
| Ridges show on the outside | Pressed without paper under the folds | Press again with brown paper or a cloth between layers |
| Pleats shift during sewing | Basting skipped or stitched too far from the edge | Baste inside the seam allowance before attaching the waistband |
| Pleats fall out after washing | Fabric doesn’t hold a fold | Edgestitch each fold, or choose a natural fiber |
| Pleats splay open at the hip | Too little ease at the hip | Check the fit in a muslin and add width at the side seams |
How to sew a hem in pants that hangs straight: measure the length, choose a hem allowance, press, and blind hem by machine or by hand, plus tapered legs.
How to fix crotch fit on pants: read the drag lines, then adjust the rise, crotch point or curve on the pattern. Step-by-step fixes for front and back.
How to finish seams without a serger: zigzag, overcast, pinked, turned and stitched, French, flat-felled, bound and hand overcast, with settings for each.
May we use Pinterest cookies to measure visits and purchases and improve our advertising? You can shop either way and change your choice in Cookie settings. Privacy policy
