A note on measurements: this guide is written for US sewists, so it uses US units first: inches, yards
and US paper sizes (Letter, 36 × 48 in). Metric equivalents are in brackets where they matter. If you're not used to US
measurements, convert them before you cut: 1 in = 2.54 cm, 1 yd = 91.4 cm.
To sew pockets into pants, you make them while the front and back pieces are still flat: slanted front pockets are sewn to the front leg and basted at the waist and side, side seam pockets are attached to the side seam edges before you close the seam, and patch pockets are topstitched straight onto the outside. This guide on how to sew pockets into pants covers all three, with the seam allowances, stitch lengths and checks that keep them flat and strong.
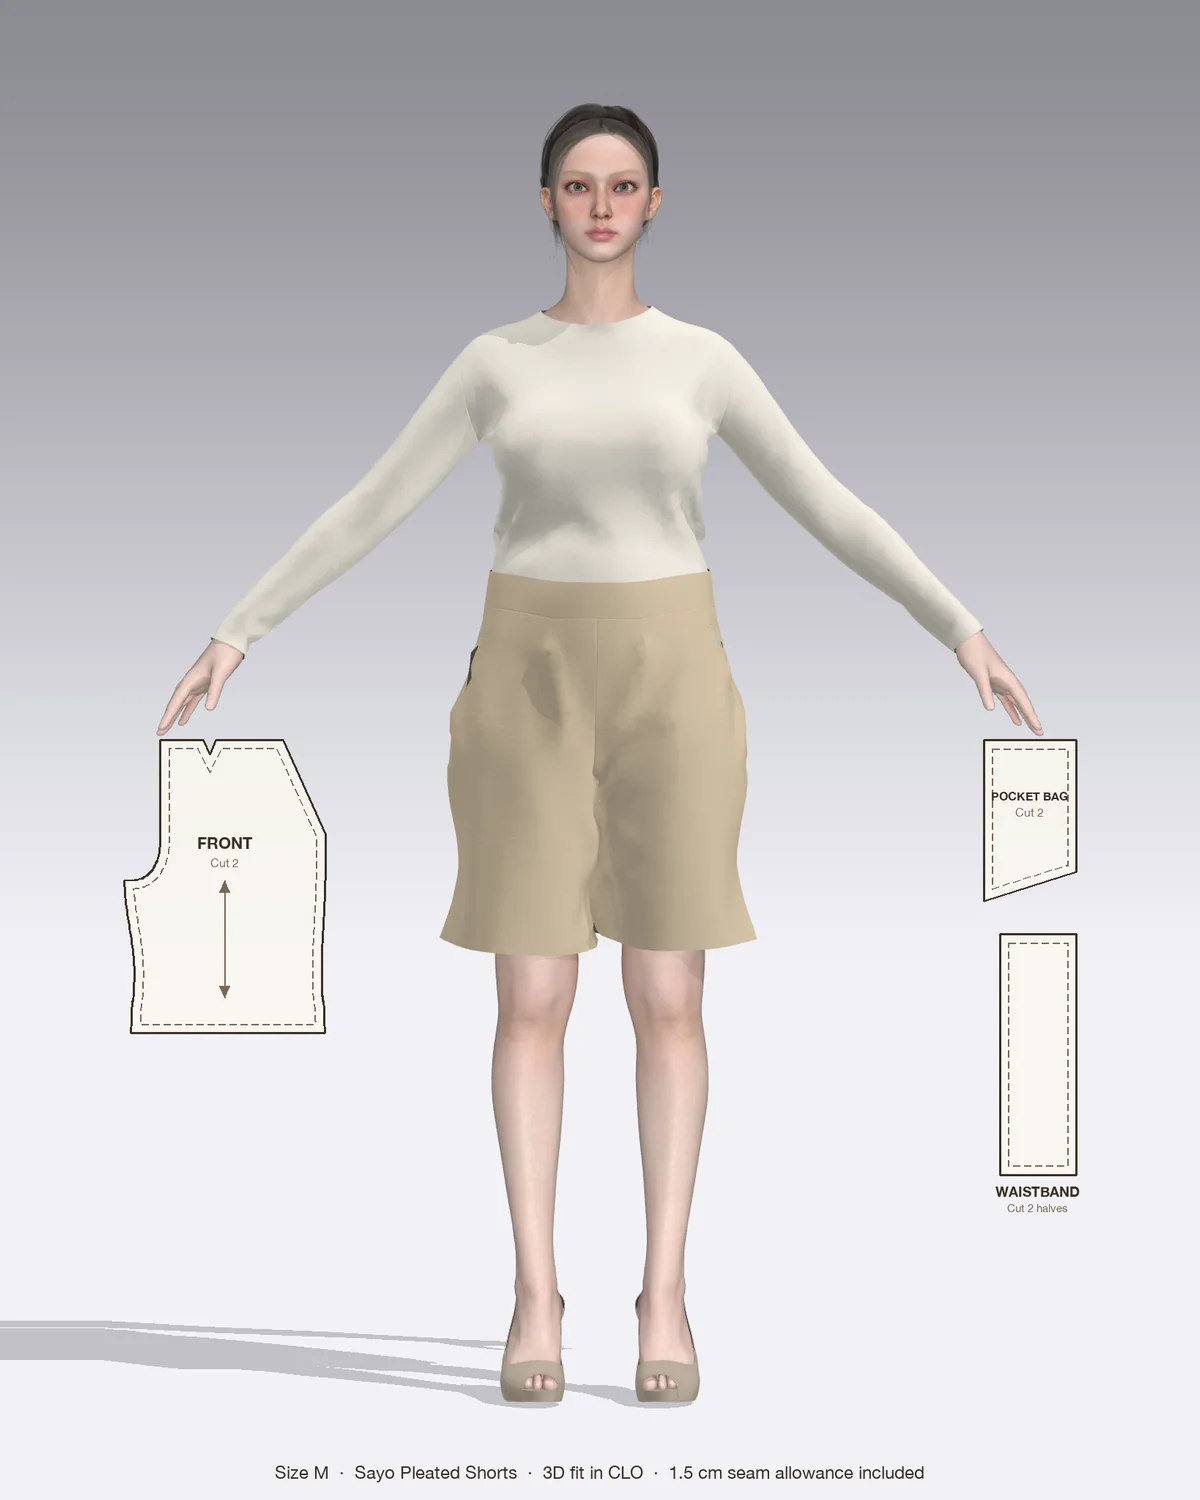
Draped in CLO 3D: the Sayo with its pattern pieces, drawn to scale.
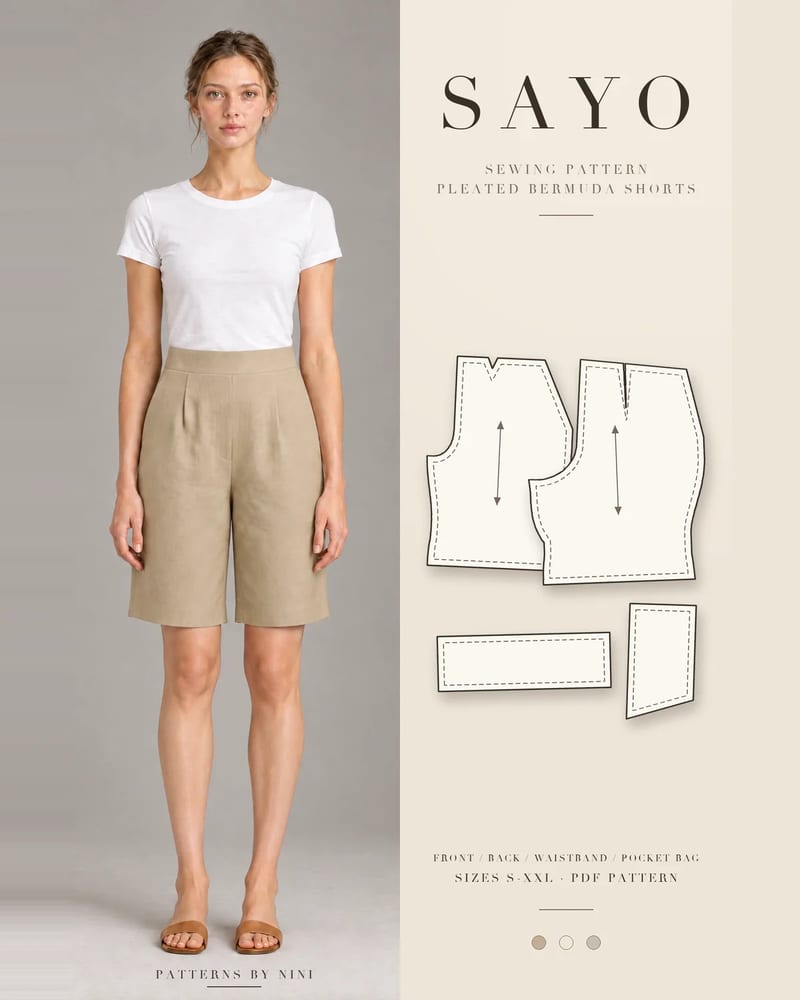
The main example is the slanted front pocket used on the Sayo pleated Bermuda shorts, which have slanted front pockets with pocket bags, a flat interfaced waistband and an invisible zipper at the center back. Shorts and pants are built the same way, so the steps apply to both.
Which pocket is right for your pants?
Pocket
Where it goes
Best for
Slanted front pocket
Angled opening at the front hip
Tailored and pull-on pants, shorts
Side seam pocket
Hidden in the side seam
Adding pockets to a pattern without them
Patch pocket
Sewn on the outside, often at the back
Casual pants, workwear, overalls
Welt pockets, the narrow slits on the back of suit pants, are a separate skill and not covered here.
Whichever you choose, cut the pocket bags from a smooth, firmly woven cotton such as lawn, poplin or broadcloth. It’s thinner than the main fabric, so the hips stay smooth, and it stands up to hands and keys. Sayo calls for 0.35 yd (0.3 m) of pocket lining alongside the main fabric.
How to sew slanted front pockets
A slanted pocket has three parts: the front leg with the angled opening cut away, a pocket facing (or lining) that finishes that angled edge, and a pocket back, sometimes called the side-front or yoke, which fills in the missing corner of the leg and forms the back of the bag. Its top edge is caught in the waistband, which is what stops the pocket sagging.
Set your machine to a straight stitch of 2.5 mm and use the seam allowance your pattern gives, often 3/8 in (1 cm) or 5/8 in (1.5 cm).
1. Stabilize the opening
The slanted edge is partly on the bias, so it stretches easily. Before sewing, fuse a strip of lightweight interfacing about 1/2 in (1.3 cm) wide along the wrong side of the opening, just inside the seam line, or follow your pattern’s stay instructions. Press with a dry iron at the setting for your fabric, holding it still for 10 to 15 seconds rather than sliding it.
2. Face the opening
Pin the pocket facing to the slanted edge of the front, right sides together, matching notches.
Stitch along the slanted edge at the pattern seam allowance.
Trim the seam allowance to about 1/4 in (6 mm) and press it toward the facing.
Understitch: sew through the facing and both seam allowances 1/8 in (3 mm) from the seam. This rolls the seam to the inside so the lining doesn’t peek out.
Turn the facing to the inside and press the edge so the seam sits just inside the fold. Topstitch 1/4 in (6 mm) from the edge if your pattern shows it.
3. Close the pocket bag
Lay the pocket back behind the facing, right sides together, matching the notches at the waist and side seam.
Stitch the two bag pieces together around the curved bottom edge only. Keep the front leg folded out of the way so you don’t catch it.
Finish the bag edge with a zigzag or serger. For a cleaner inside, sew it as a French seam: 1/4 in (6 mm) wrong sides together, trim, turn, then 3/8 in (1 cm) right sides together.
4. Baste it in place
Check that the top of the pocket back lines up with the waist edge of the front, and its side edge with the side seam. The angled opening should lie flat with no ripples.
Baste the pocket to the front along the waist and side edges, about 1/4 in (6 mm) from the raw edge, with a 4 mm stitch. From now on the front and pocket act as one layer.
If your pants have pleats at the front, fold and baste them first, and keep the pocket bag clear of the pleat folds.
Side seam pockets hide inside the side seam, so they’re the easiest way to add pockets to a pattern that doesn’t have them. You need four bag pieces.
Make a pocket template. Draw a rounded bag about 7 in (18 cm) wide and 11 in (28 cm) long, with one straight edge that runs along the side seam. Add seam allowance to match your pattern.
Mark the opening. Hold the front piece against your body and mark where your hand goes in. A common starting point is about 2 to 3 in (5 to 7.5 cm) below the waist seam, with an opening of 6 to 6 1/2 in (15 to 16.5 cm). Copy the same marks onto the back piece.
Stabilize. Fuse a strip of interfacing about 3/4 in (2 cm) wide behind each opening on the front and back side seam allowances.
Attach the bags. Pin one bag to each front and back side seam, right sides together, between the marks. Stitch at 3/8 in (1 cm), a little less than the side seam allowance, so the stitching hides inside the seam later.
Understitch. Press each bag away from the leg and understitch close to the seam on the bag side.
Sew the side seam. Pin front to back, matching bags. Stitch down the side seam, pivot at the top mark with the needle down, sew around the bag, pivot at the bottom mark and continue down the leg.
Clip and press. Clip into the back seam allowance just above and below the bag, then press the pocket toward the front.
On a pull-on pant, check the waist still slides over your hips. Pockets don’t change that, but a heavy bag fabric can make it tighter. The steps in our guide on how to sew pants show where this fits in the full construction order.
How to sew back patch pockets
Cut and finish the top. Cut the pocket with an extra 1 1/4 in (3 cm) at the top. Finish the top edge, fold it 1 in (2.5 cm) to the wrong side and topstitch.
Press the edges. Press the side and bottom seam allowances to the wrong side. On rounded corners, sew a basting row in the allowance and pull it to ease the curve.
Position. Pin the pocket to the back leg, usually centered over the back dart or yoke and about 2 to 3 in (5 to 7.5 cm) below the waist. Try the pants on, or hold the piece up, and check both pockets match.
Stitch. Topstitch 1/8 in (3 mm) from the edge with a 3 mm stitch. Sew a small triangle or a few backstitches at each top corner, because that is where the pocket tears first.
Common mistakes and troubleshooting
The pocket gapes open. The slanted edge stretched. Stabilize it with interfacing or stay tape, and don’t pull it as you sew.
Lining shows at the opening. Understitch the facing, and press so the seam rolls just to the inside.
The bag hangs below the waistband. The top of the pocket back wasn’t caught in the waist seam. Baste it to the waist edge before attaching the waistband.
Lumps at the hip. The bags are cut from heavy fabric. Use cotton lawn or poplin and trim the bag seam allowances.
Pockets at different heights. Mark both openings from the same pattern piece, and pin both legs side by side before stitching.
Phone falls out when you sit. The bag is too shallow. Make it about 4 in (10 cm) deeper than the bottom of the opening.
If you need to unpick a pocket, take the stitches out with a seam ripper from the pocket side, where any marks won’t show.
Practice on the Sayo shorts
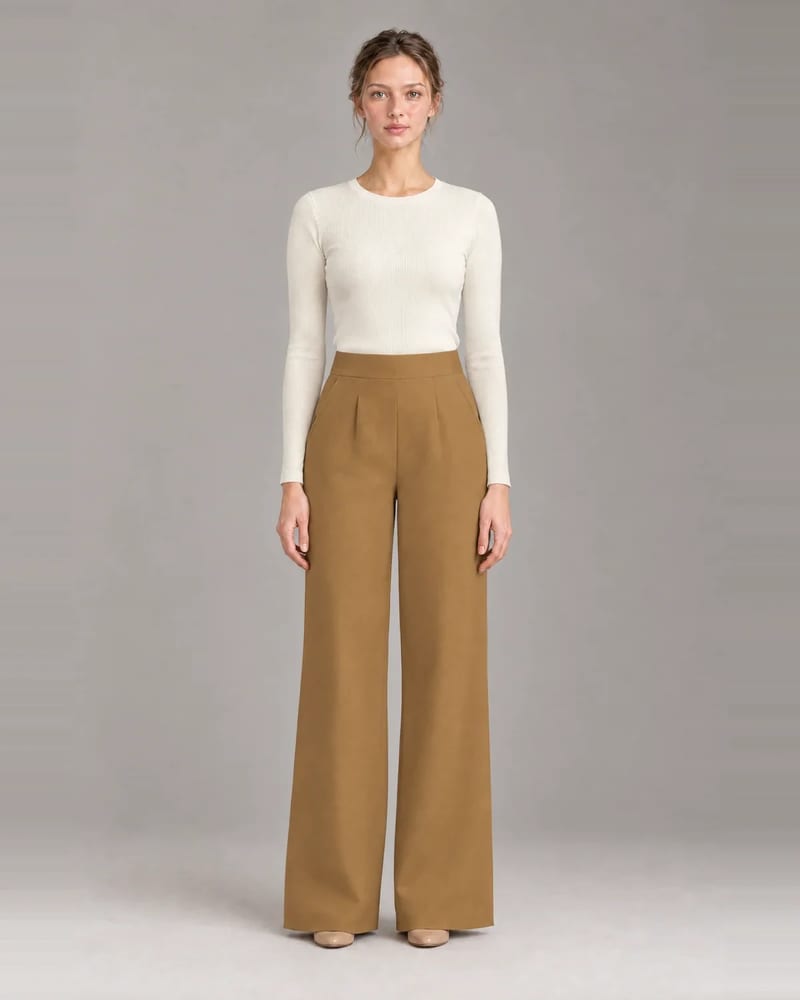
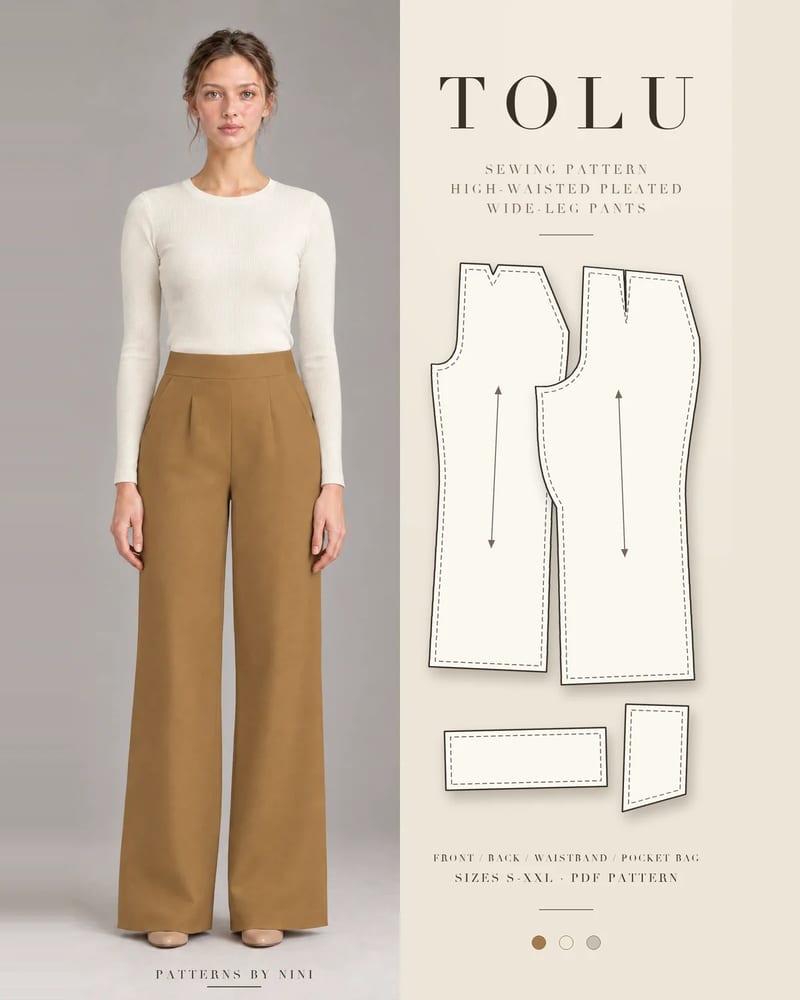
The Sayo pleated Bermuda shorts are a good first project for slanted front pockets: they come in sizes S to XXL, use medium-weight linen, twill or suiting, and pair the pockets with one soft pleat each side of the front, back darts and a flat interfaced waistband. The shorter leg means less fabric to handle while you learn the pocket steps. When you’ve made them, the same method carries straight over to full-length pants such as Tolu.
Frequently asked questions
Can you add pockets to pants that don't have them?
Yes, as long as the pants have a side seam. Side seam pockets are the easiest to add: cut four pocket bags, sew one to each front and back side seam before you close it, then stitch around the bag. On pull-on pants the waist must stretch over your hips, so pockets near the top won't stop them going on.
How deep should pants pockets be?
Make the opening at least 6 in (15 cm) long so your whole hand fits, and the bag about 4 in (10 cm) deeper than the bottom of the opening so a phone doesn't fall out when you sit. Hold the front piece against your body before cutting and check where your hand naturally goes.
What fabric should I use for pocket bags?
A smooth, firmly woven cotton such as lawn, poplin, broadcloth or pocketing. It is thinner than the main fabric, so the pockets don't add bulk at the hips, and strong enough for hands and keys. Use main fabric only for the part of the pocket that shows at the opening.
Do you sew pockets before or after the side seams?
Before. Slanted front pockets and patch pockets are sewn onto the flat front or back pieces, and side seam pocket bags are attached to the side seam edges, all before the inseam and side seams are joined. Sewing pockets onto a finished leg is much harder because you can't lay the piece flat.
How to finish seams without a serger: zigzag, overcast, pinked, turned and stitched, French, flat-felled, bound and hand overcast, with settings for each.
How to sew bell bottom pants step by step: pick a flare pattern or add flare to one you own, then fit the knee, sew the legs and hem the wide flare neatly.
How to sew a strap on a dress step by step: make spaghetti or wide straps, set them into a lined bodice, fit the length and reattach a strap that came loose.
Help us understand what inspires you
May we use Pinterest cookies to measure visits and purchases and improve our advertising? You can shop either way and change your choice in Cookie settings. Privacy policy
 Patterns