 Patterns
Plus size sewing patterns: how to choose, size and fit them
Plus size sewing patterns explained: what the size ranges mean, how to pick your size from your measurements, the fit changes to expect and the easiest styles.
A note on measurements: this guide is written for US sewists, so it uses US units first: inches, yards and US paper sizes (Letter, 36 × 48 in). Metric equivalents are in brackets where they matter. If you're not used to US measurements, convert them before you cut: 1 in = 2.54 cm, 1 yd = 91.4 cm.
A princess seam dress sewing pattern shapes the bodice with long, curved seams that run over the bust instead of using darts, so the dress follows the body from the shoulder or armhole down to the waist. To sew one well, you staystitch and clip the inward curve, ease the two panels together at the notches, and press over a curved surface. To fit one, you check that the seam crosses your bust point and adjust the side front panel if it doesn’t. This guide covers all three.
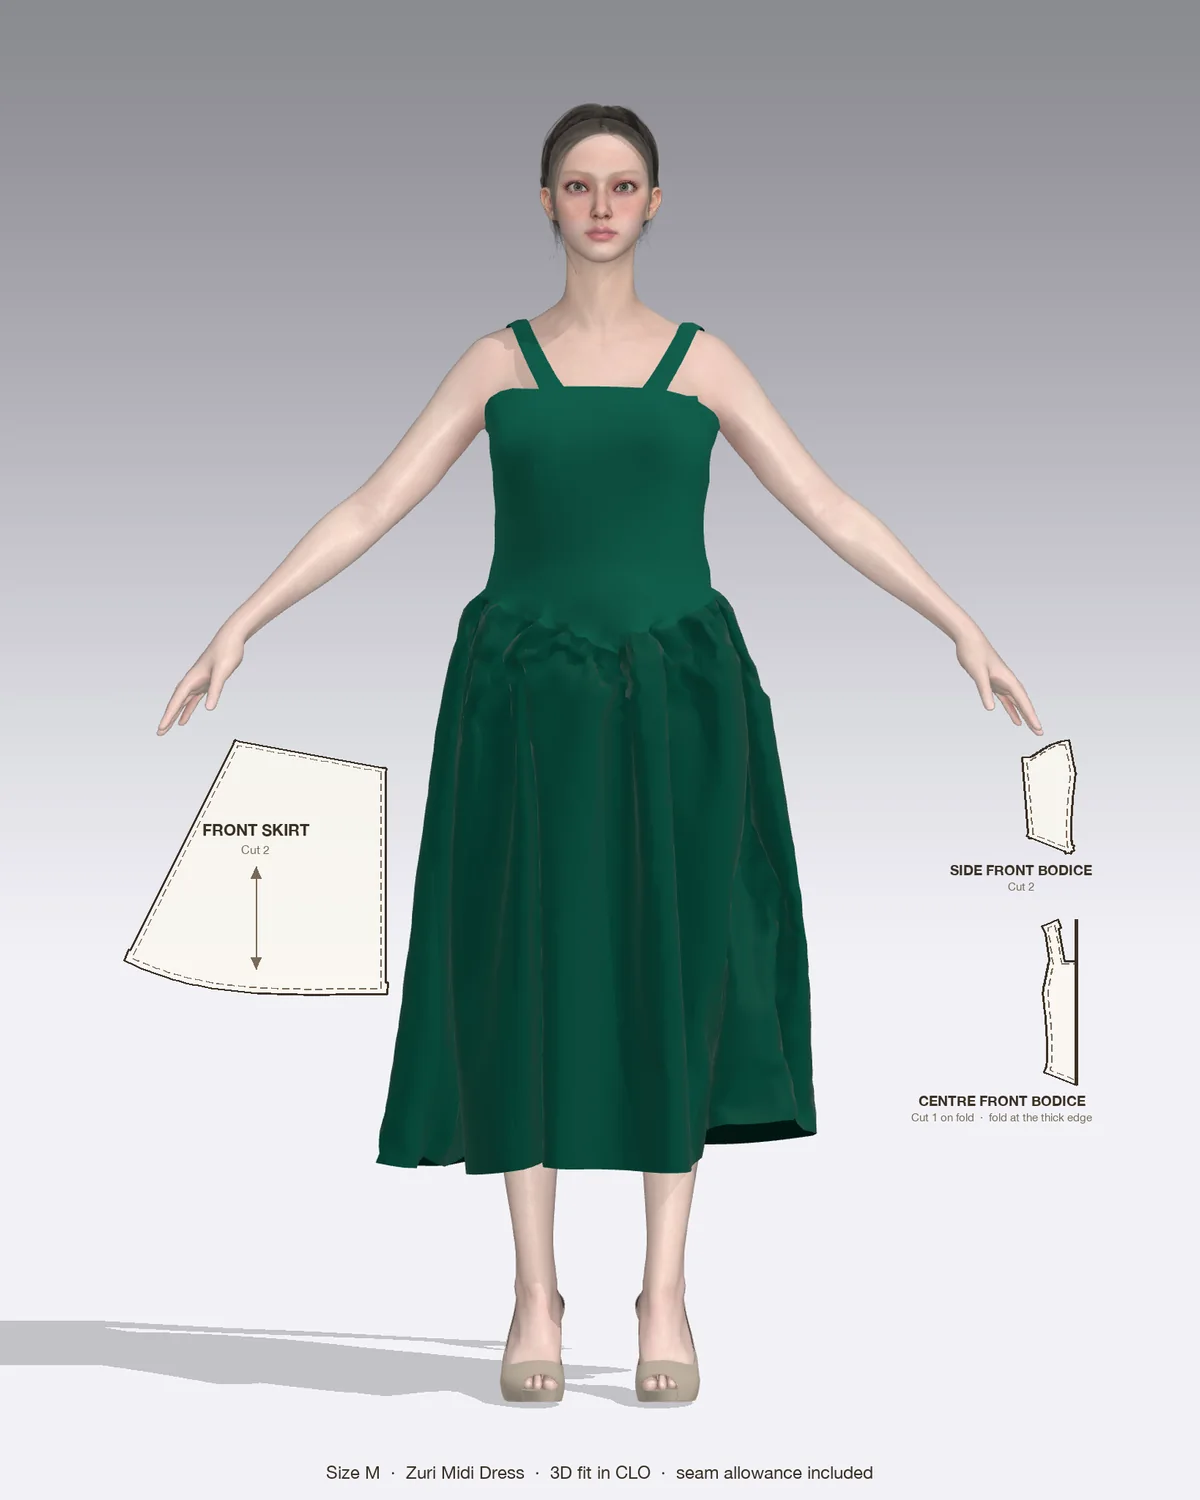
A princess seam is a dart that has been turned into a seam. Instead of folding out a wedge of fabric that ends in a point, the pattern cuts the bodice into a center front panel and a side front panel, and the curve of the seam between them does the shaping. Because the shaping is spread along the whole length of the seam, the fit is smoother than a dart and there’s no point to pucker.
There are two common versions:
Either version can stop at a waist seam (as in most fitted bodices with a gathered skirt) or run all the way to the hem in a panelled “princess line” dress. The style is usually credited to Charles Frederick Worth in the 1870s and was named in honor of Princess Alexandra.
Set a straight stitch of about 2.5 mm (10 to 11 stitches per inch), and check your pattern’s seam allowance. Many US patterns use 5/8 in (1.5 cm); the steps below assume that.
Fit is where a princess seam dress earns its reputation. Make a quick bodice muslin and try it on with the bra you’ll wear with the dress.
For a fuller bust, the princess seam FBA works on the side front panel. You slash it from the waist up to the apex and out to the armhole, spread it by the amount you need, then add the same length to the center front panel at the bust so the two seams still match. The full bust adjustment guide explains how to work out the amount; Tilly and the Buttons and Helen’s Closet both publish clear step-by-step versions for princess seams. Always sew a second muslin to check it.
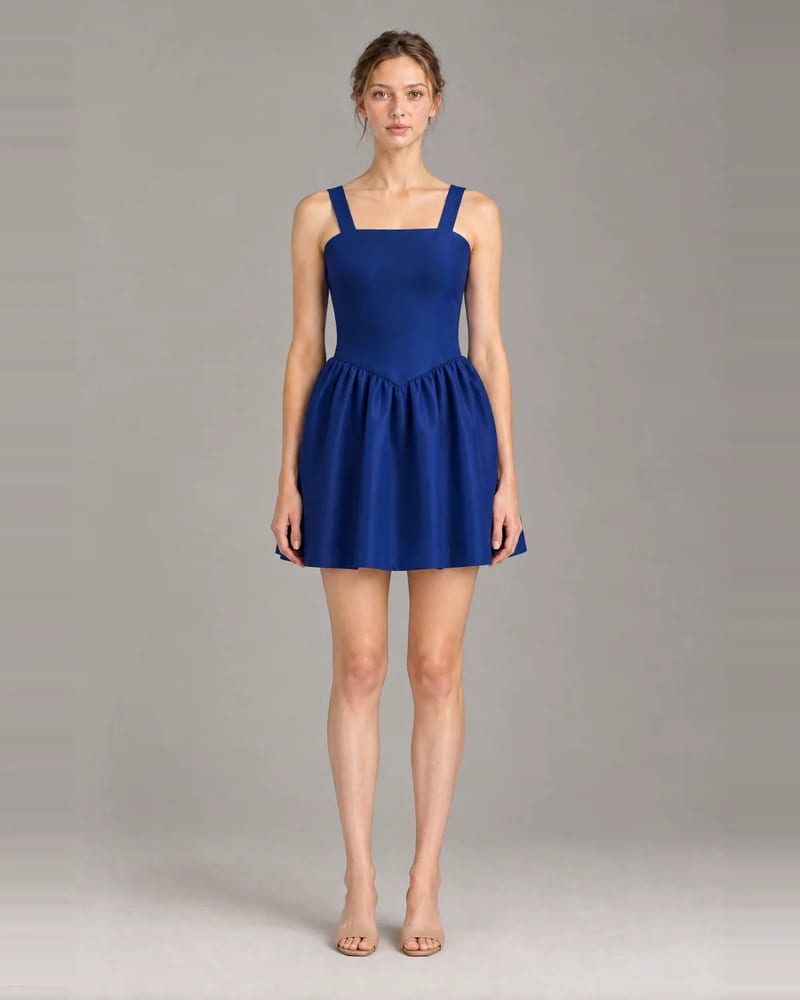
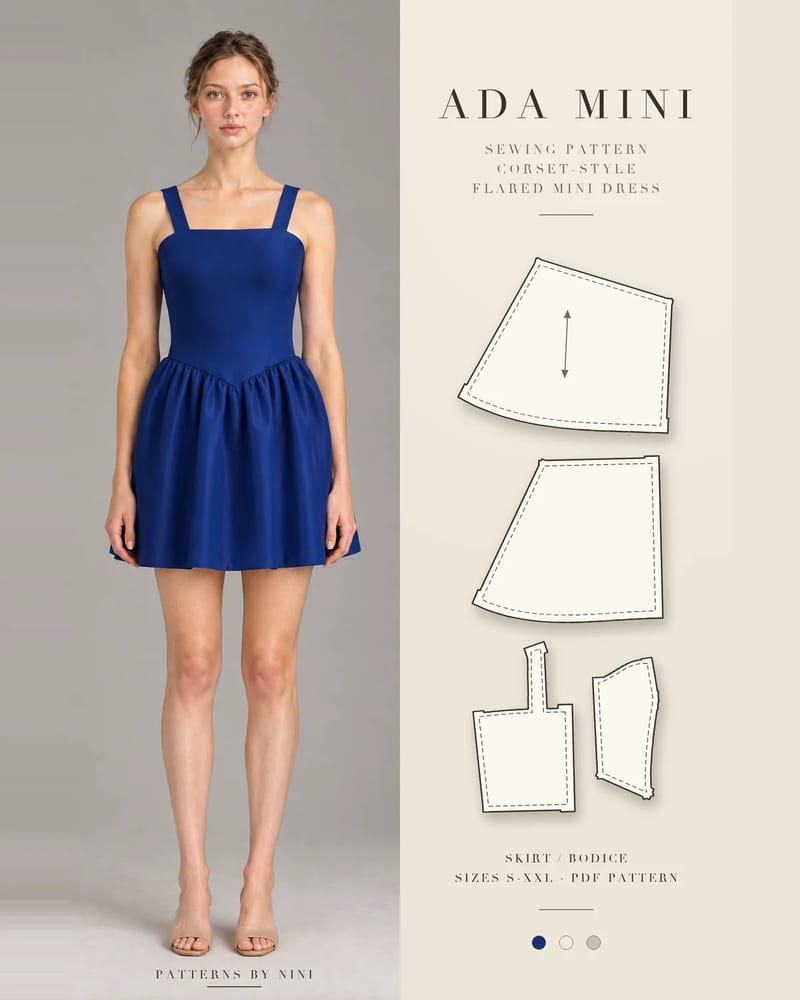
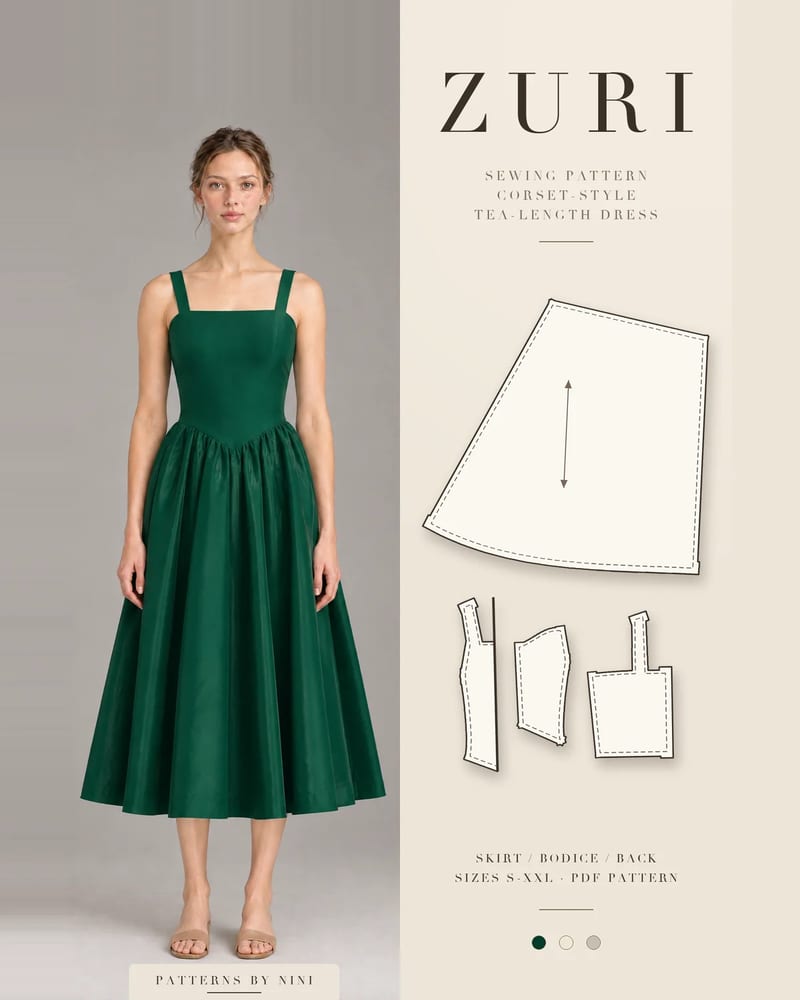
The Zuri corset-style tea-length dress has a fully lined corset-style bodice with front princess seams, a straight neckline on 1 1/8 in (2.8 cm) straps, a pointed Basque waist at center front and a full skirt gathered all round. It closes with a 16 in (40 cm) invisible zipper at the center back and has optional boning. Zuri’s size chart gives about 1 1/2 in (4 cm) of ease at the bust and less than 1/2 in (1 cm) at the waist, so it’s close fitting: a bodice muslin is worth the time.
Because Zuri’s bodice is lined, you can press the princess seams open and let the lining cover them. Sew the lining’s princess seams the same way, so the two layers match. If you add the optional boning, follow the pattern instructions for its placement, and press and finish the princess seams before it goes in, because it’s hard to press around boning afterward. When the bodice is done, the guide to sewing an invisible zipper shows how to match the Basque waist seam across the zipper.
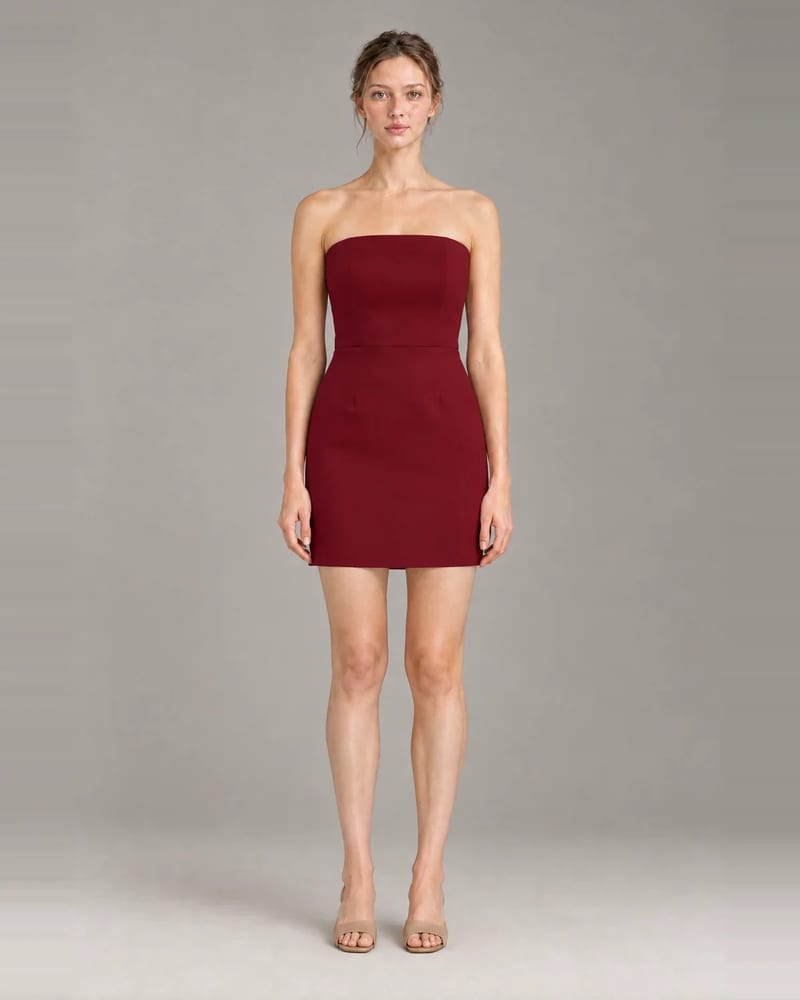
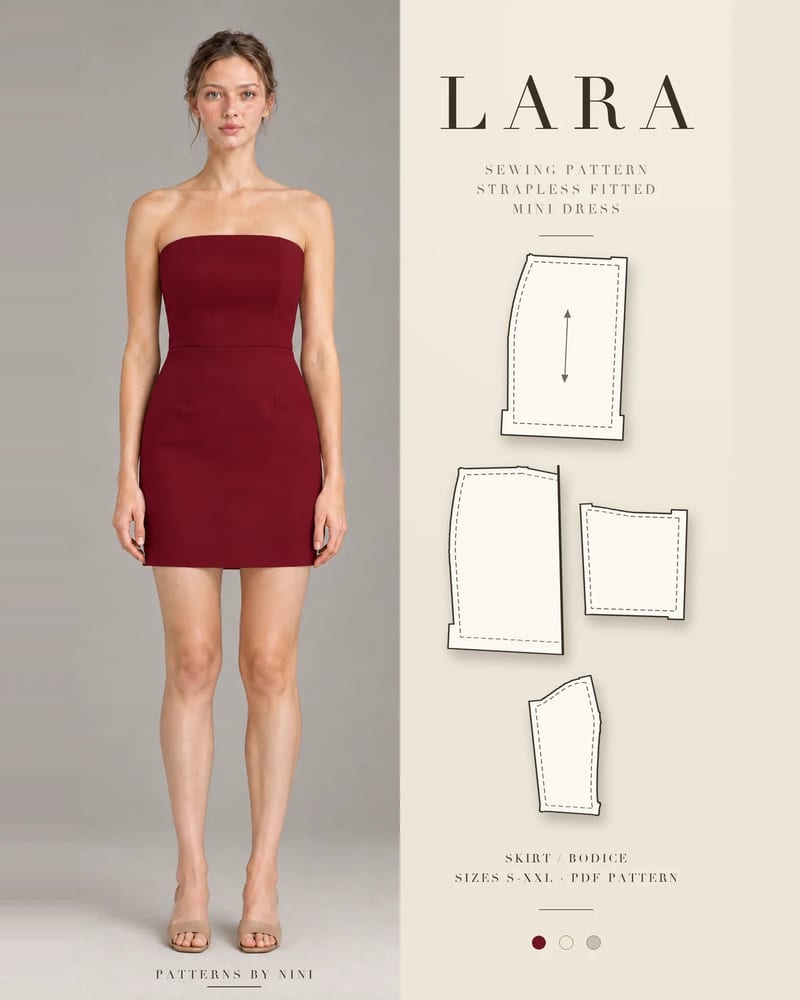
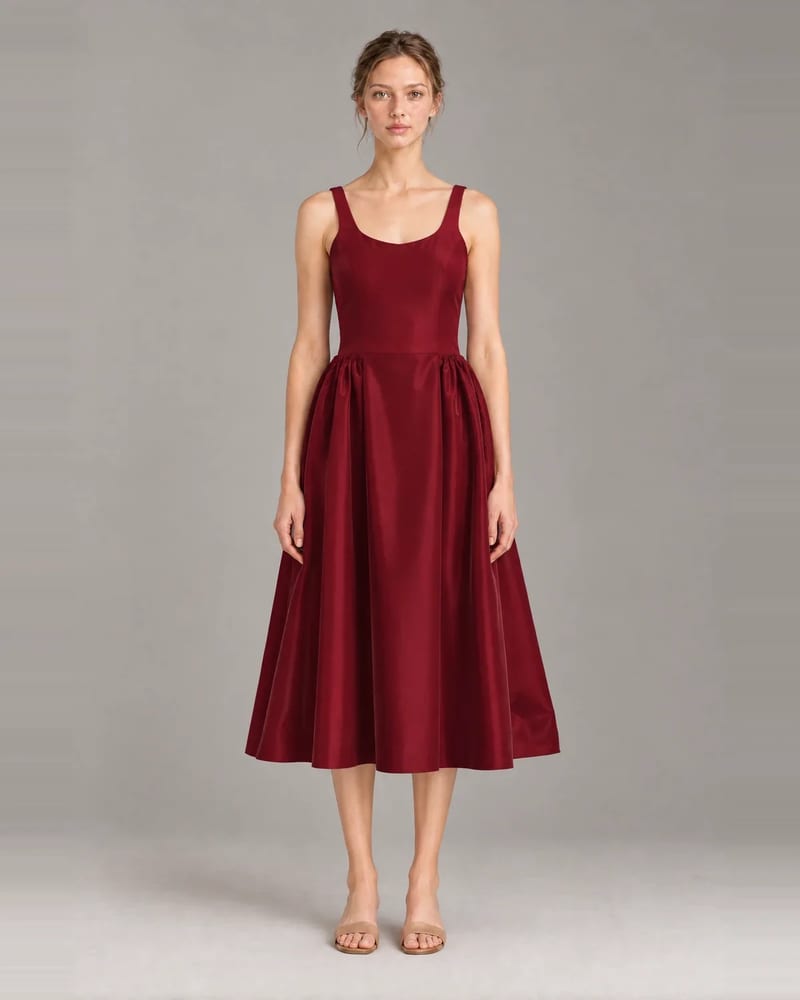
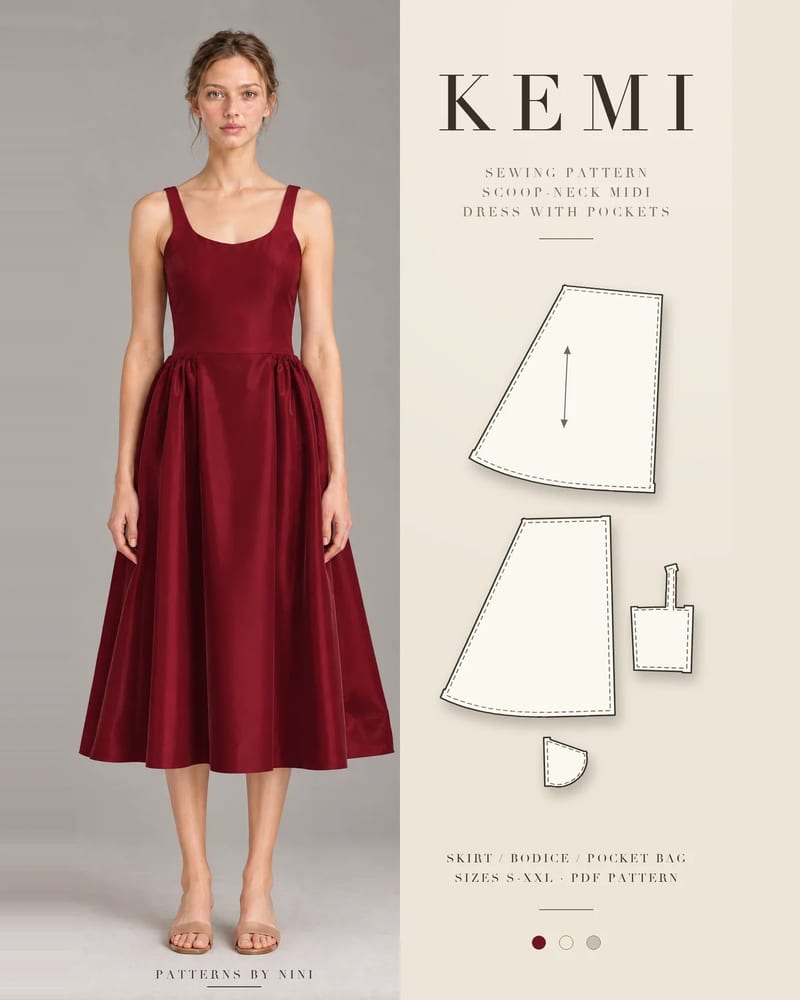
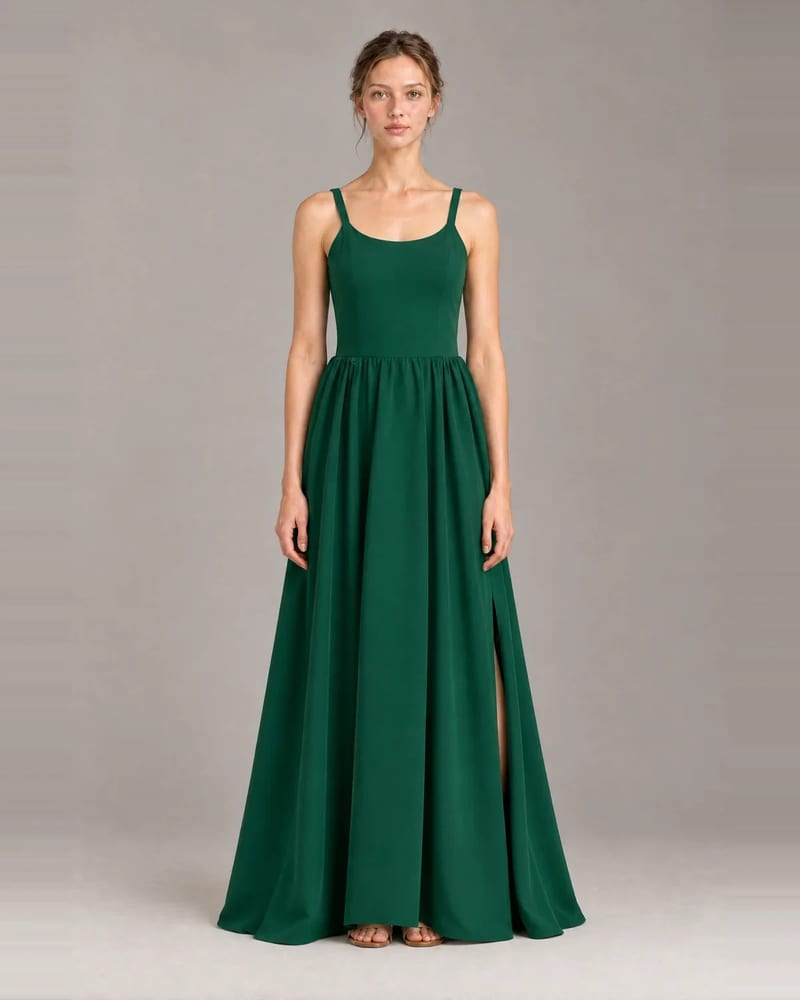
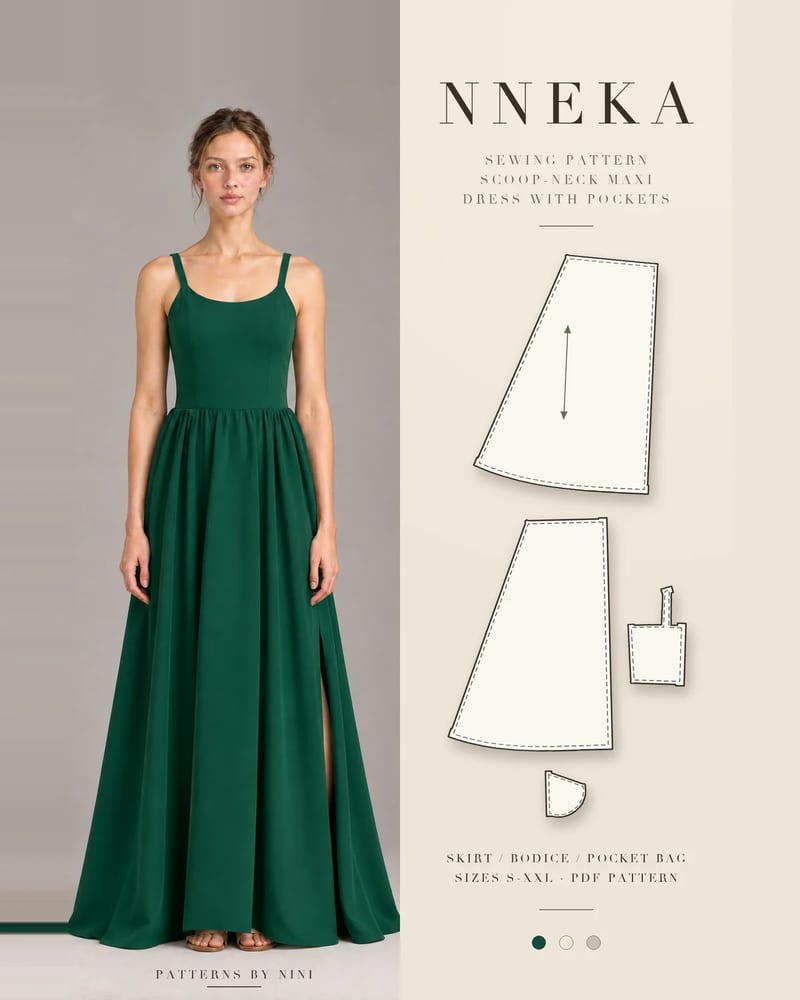
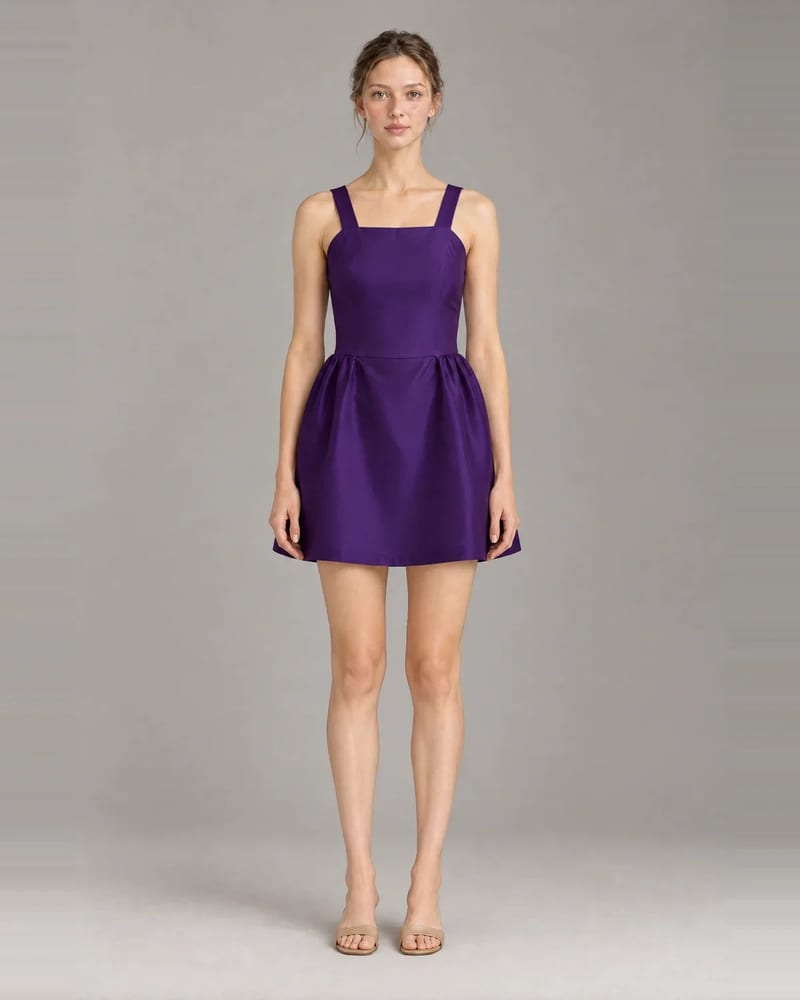
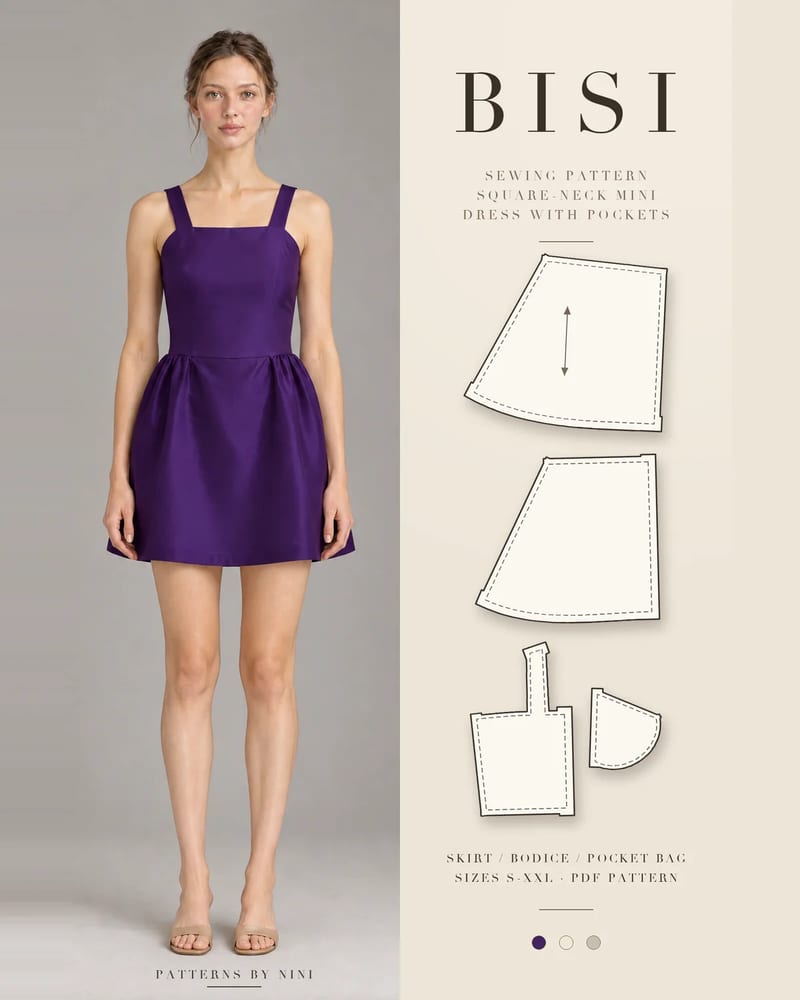
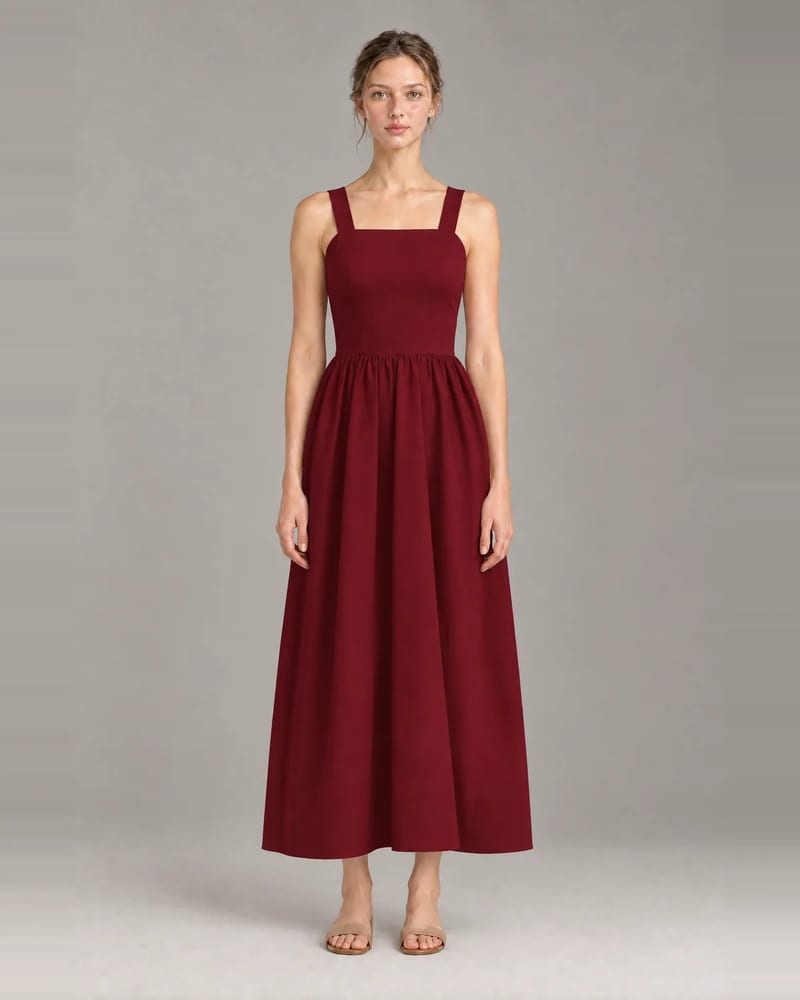
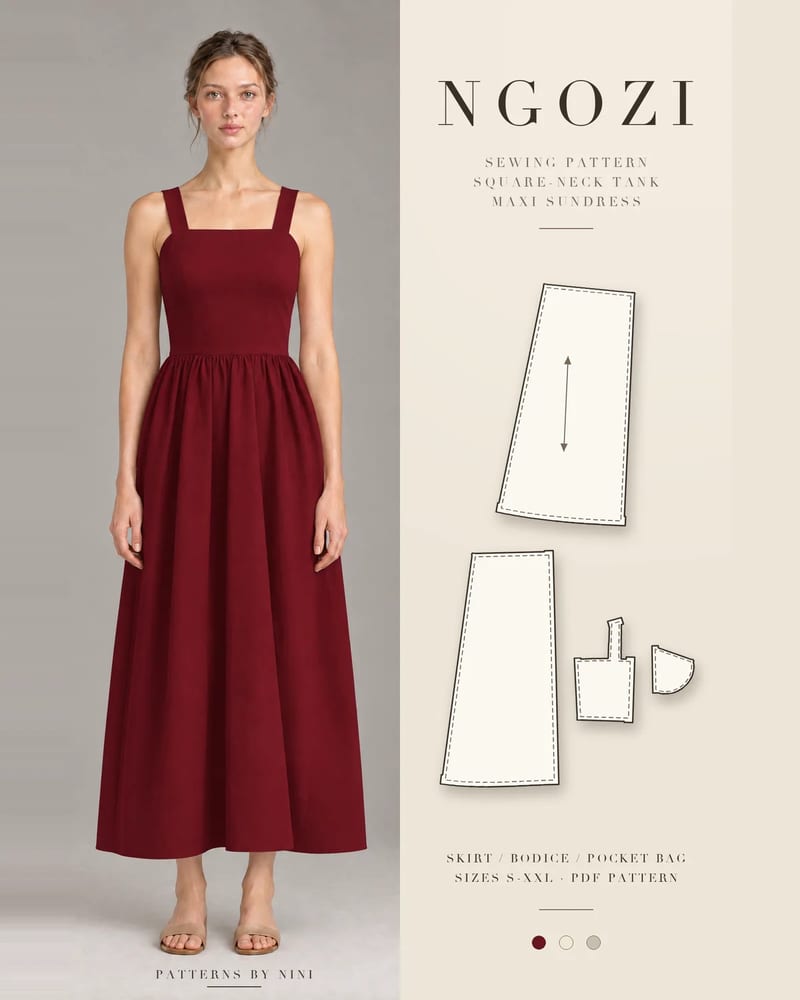
The same technique is used across the range. Lara is a strapless mini with a lined princess-seam bodice and back waist darts, so its fit at the top edge depends on careful princess seams. Kemi and Ngozi pair front princess seams and back waist darts with gathered skirts and in-seam pockets, and sizes run S–XXL.
| Problem | Likely cause | Fix |
|---|---|---|
| Small tucks along the seam | Edges pushed together instead of spread, or too few clips | Unpick the section, clip a little more and resew slowly |
| Seam looks wavy or stretched | Curve not staystitched, or pulled while sewing | Staystitch before sewing; let the machine feed the fabric |
| Bubble over the bust | Curve sits above or below your apex | Move the fullest point of the curve on the pattern to match your apex |
| Drag lines toward the bust | Not enough room at the bust | Make a princess seam FBA on the side front panel |
| Gaping along the seam | Too much room at the bust | Take in the curve over the bust, or make a small bust adjustment |
| Notches don’t meet | Panels cut off grain or notches miscut | Recut the panel, or ease the longer edge between notches |
| Lumpy seam on the right side | Allowances not notched or pressed flat | Notch the outward curve and press over a ham |
Plus size sewing patterns explained: what the size ranges mean, how to pick your size from your measurements, the fit changes to expect and the easiest styles.
How to choose a sewing pattern size: measure your bust, waist and hip, read the body chart, check finished measurements for ease and pick a starting size.
How to make a muslin for sewing: choose test fabric, mark the pattern, baste it together, fit it on your body and move every change back to the paper.
May we use Pinterest cookies to measure visits and purchases and improve our advertising? You can shop either way and change your choice in Cookie settings. Privacy policy