A note on measurements: this guide is written for US sewists, so it uses US units first: inches, yards
and US paper sizes (Letter, 36 × 48 in). Metric equivalents are in brackets where they matter. If you're not used to US
measurements, convert them before you cut: 1 in = 2.54 cm, 1 yd = 91.4 cm.
Burrito method sewing is a way to attach two layers, such as an outer and inner yoke or a bodice and its facing, entirely by machine so that every raw edge ends up enclosed. You roll the main body of the garment up tight, wrap the two layers around it, sew the seam, then pull the rolled fabric out through an opening so it all turns right side out. It’s used most for lined shirt yokes and for finishing the armholes of sleeveless tops, dresses and jumpsuits with a facing or lining.
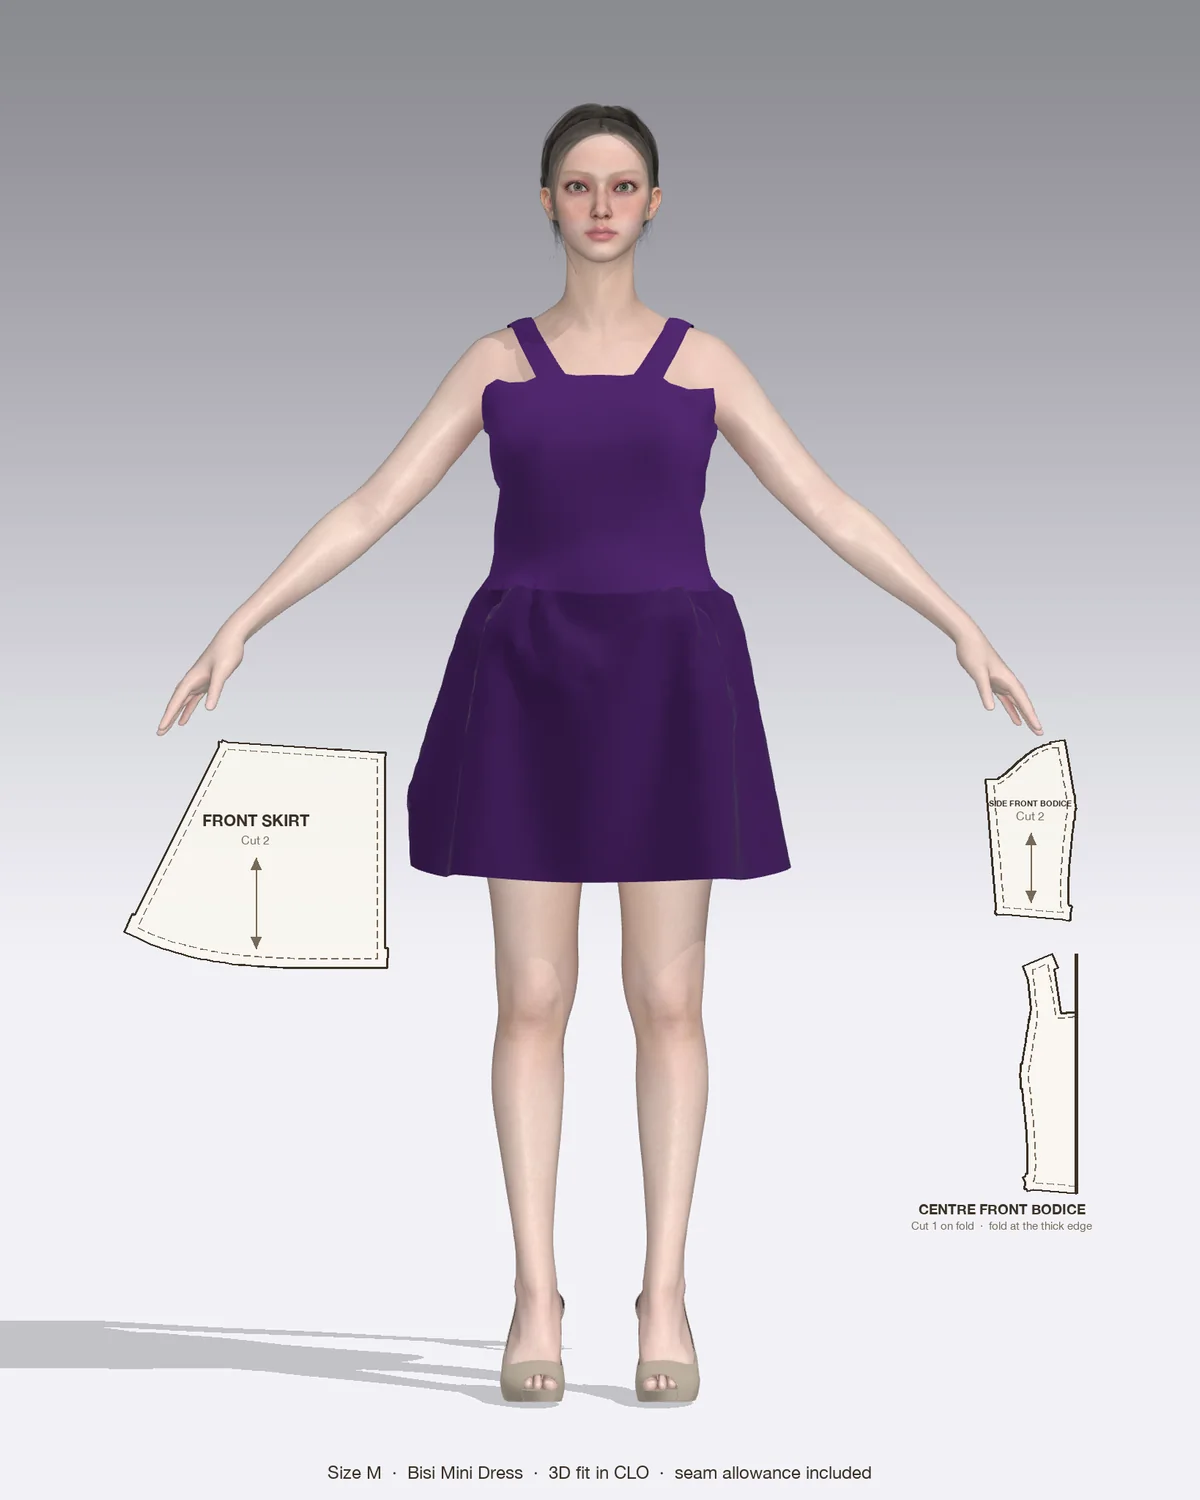
Draped in CLO 3D: the Bisi with its pattern pieces, drawn to scale.
The first time it feels like you’ve tied your fabric in a knot. That’s normal. Once the logic clicks, it’s one of the fastest ways to get a clean inside with no hand sewing.
When to use the burrito method
The method works wherever a seam has to be sewn between two layers that are already joined somewhere else, so the garment can’t simply be laid flat. The two most common uses:
Lined (double) yokes on shirts. The back is sandwiched between an outer and inner yoke, then the front shoulders are enclosed between the same two yokes. No raw edges show on the inside of the yoke.
Sleeveless bodices with a facing or full lining. After the neckline is sewn, each armhole is sewn shell to facing and turned through the shoulder. This works for tank tops, shift dresses, pinafores, slip dresses and jumpsuit bodices with straps.
It doesn’t work on armholes that will get a set-in sleeve, because the sleeve needs that seam. It also needs an opening to pull the fabric through: the neckline on a yoke, or the shoulder strap and open side seams on a sleeveless bodice.
What to prepare first
Interface the facings if the pattern calls for it. Lightweight fusible is typical; see the guide to interfacing for choosing a weight.
Staystitch curved edges such as necklines and armholes, about 3/8 in (1 cm) from the edge with a stitch length of 2.0 to 2.5 mm, so they don’t stretch while you roll and pull.
Mark the seam allowance. Most patterns use 3/8 in (1 cm) or 5/8 in (1.5 cm). Check yours, because trimming amounts depend on it.
Leave seam allowances unfinished at the shoulders and armholes. They’ll be enclosed, so serging or zigzagging them now only adds bulk.
Set your iron to suit the fiber (a cotton or linen setting for those fabrics, a lower synthetic or wool setting for viscose, rayon and polyester) and keep a pressing cloth handy.
How to sew a sleeveless facing or lining with the burrito method
This is the version used on sleeveless garments with an all-in-one facing (one piece that finishes both the neckline and the armholes) or a full bodice lining.
Sew the shoulders and neckline
Sew the shell shoulder seams right sides together and press them open.
Sew the facing or lining shoulder seams the same way and press open. If you’re using a facing, finish its lower edge now with a serger, zigzag or a narrow turned hem.
Pin the facing to the shell at the neckline, right sides together, matching shoulder seams and notches. Stitch at the pattern’s seam allowance with a 2.5 mm stitch.
Trim and grade the neckline seam allowance: trim the shell side to about 1/4 in (6 mm) and the facing side to about 1/8 in (3 mm). Clip into curves and corners, close to the stitching but not through it.
Understitch the facing: press the seam allowances toward the facing and stitch through the facing and both allowances about 1/8 in (3 mm) from the seam. Press the facing to the inside.
Roll and sew the first armhole
Lay the garment flat with the facing on top, side seams still open.
Roll the shell and facing together from one side toward the opposite armhole, keeping the roll tight enough to fit through the strap.
Wrap the facing around the roll so its armhole edge meets the shell’s armhole edge, right sides together. The roll is now inside, between the two layers.
Pin the armhole, matching the shoulder seam and the underarm points. Check that no part of the roll is caught in the pins.
Stitch the armhole at the pattern’s seam allowance. Sew slowly around the curve and stop every few inches to make sure the roll stays clear of the needle.
Trim, grade and clip the armhole seam allowance the same way as the neckline.
Turn and repeat
Pull the rolled fabric out through the shoulder strap. Reach in from the open side seam, grab the roll and ease it through. Go slowly at the strap.
Press the armhole, rolling the seam slightly toward the inside so the facing doesn’t show.
Repeat on the second armhole, rolling from the finished side.
Understitch the armholes as far as you can reach. You won’t get all the way to the shoulder, so stitch from the side seam up the front as far as possible, then the back.
Close the side seams
Open the facing out at each side so the shell and facing lie in one line, right sides together, front over back.
Pin from the facing edge to the hem, matching the armhole seams exactly.
Sew in one continuous line through the facing, across the armhole seam and down the shell. Finish the seam allowance, press it, and fold the facing back inside.
Secure the facing by stitching in the ditch at the side seam for about 1 in (2.5 cm) below the armhole, or tack it by hand.
With a center-back zipper
If the back opens at the center for a zipper, the bodice isn’t a closed tube, which makes the burrito easier. Each back half pulls through its own strap toward the front, and there’s less fabric to roll. Follow your pattern for whether the zipper goes in before or after the facing. A common order is to insert the zipper first, then fold the facing’s center-back edges around the zipper tape when you attach the neckline. The guide to sewing an invisible zipper covers the zipper itself.
How to sew a lined yoke with the burrito method
Sandwich the back. Place the outer yoke right sides together with the shirt back, and the inner yoke with its right side against the wrong side of the back. Sew through all three layers and grade the seam allowance.
Press both yokes up toward the shoulders.
Attach the front shoulders to the outer yoke only, right sides together, keeping the inner yoke out of the way.
Lay the shirt flat with the outside facing up. Roll the fronts and back up toward the yoke.
Bring the inner yoke up to meet the outer yoke at the shoulders, right sides together, so the roll is enclosed. Pin through the existing shoulder seam line.
Stitch the shoulders again, catching the inner yoke, without catching the roll.
Pull everything out through the neckline until nothing is left between the two yokes. Press, then topstitch the yoke seams if you like.
Common mistakes and troubleshooting
Problem
Likely cause
Fix
Fabric from the roll stitched into the seam
Roll not tight enough, or pinned through
Unpick that section only, reroll and re-pin with the pins pointing away from the roll
Garment won’t pull through the strap
Strap too narrow, or seam allowances bulky
Trim and grade to 1/4 in and 1/8 in, then pull slowly with a large safety pin
Facing peeks out at the armhole
No understitching, or pressed flat on the seam
Understitch as far as you can and press the seam slightly to the inside
Underarm points don’t line up
Armhole seams not matched before closing the sides
Pin the armhole seams together first, then pin outward to the hem
Twisted strap after turning
Shoulder seams were misaligned when wrapping
Check that front and back shoulder seams line up before stitching each armhole
Lumpy curve
Seam allowance not clipped or graded
Clip every 1/2 in (1.3 cm) on tight curves and grade before turning
Using it on Patterns by Nini patterns
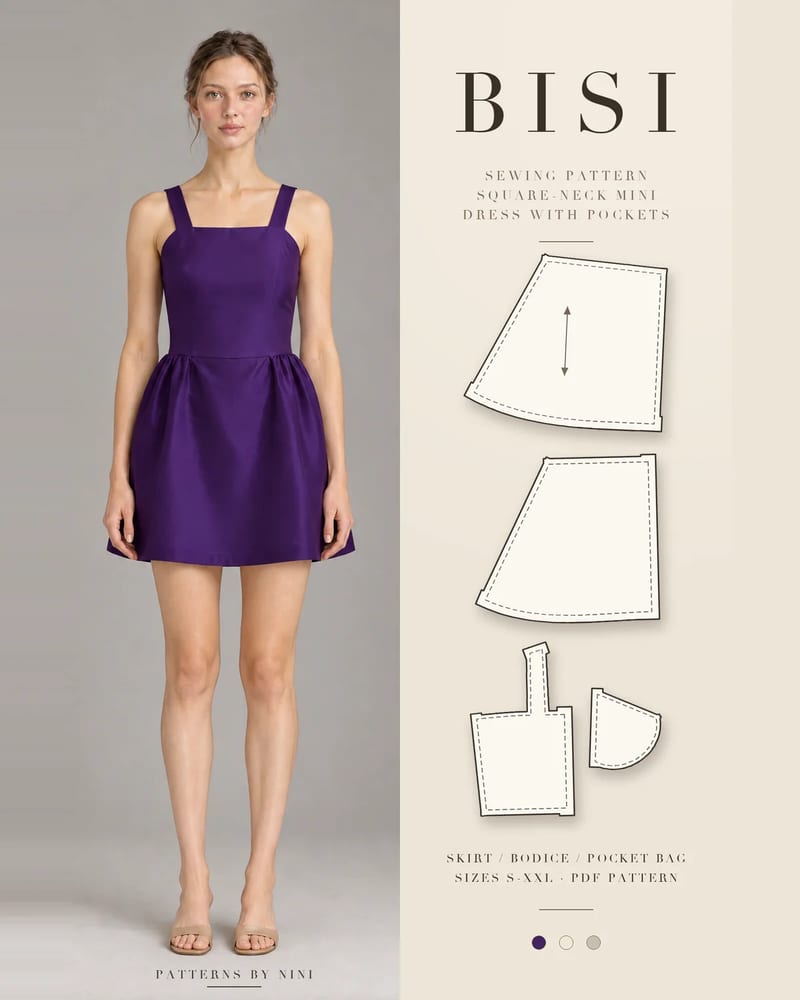
The Bisi square-neck mini dress has a fully lined bodice on wide 1 3/8 in (3.5 cm) straps, with an invisible zipper at the center back. Wide straps are exactly what make the pull-through easy, so a lined bodice like Bisi’s is a good place to learn how the burrito method turns everything right side out. Follow the order in the pattern instructions, and use the steps above once the lining and armhole are sewn and turned. Separate narrow straps, like spaghetti straps, are sewn into the top edge instead: see how to sew a strap on a dress.
The Nina shift dress uses all-in-one neck and armhole facings, which is the classic setup for this technique. If you’re working with a fine fabric, enclosed seams pair well with French seams at the sides so the whole inside is clean.
Frequently asked questions
Why is it called the burrito method?
Because of how the fabric looks while you sew. The main body of the garment is rolled up tightly and wrapped inside two layers, such as an outer and inner yoke or a bodice and its facing. The rolled body is the filling and the two outer layers are the tortilla. Once the seam is sewn, you pull the filling out and everything turns right side out.
Can you use the burrito method on a garment with sleeves?
Not on the armholes. The method needs the armhole to be finished by a facing or lining before the side seams are closed, and a set-in sleeve takes up that same armhole. You can still use it on a shirt with sleeves if the shirt has a yoke, because the yoke seams are enclosed first and the sleeves are attached afterward.
Do you sew the side seams before or after the burrito method?
After. For a sleeveless bodice, sew the shoulder seams of the shell and of the facing or lining, attach the neckline, then burrito each armhole while the sides are still open. Close the side seams last, sewing from the facing edge through the armhole seam to the hem in one continuous line so the underarm points match.
How narrow can straps be for the burrito method?
There's no fixed limit, but the whole garment has to pass through the strap channel. Straps about 1 1/2 in (4 cm) wide or more turn easily in light fabrics. Narrower straps or bulky fabric can work if you trim the seam allowances well and pull slowly with a safety pin or a tube turner, but spaghetti straps are usually made and attached separately.
How to finish seams without a serger: zigzag, overcast, pinked, turned and stitched, French, flat-felled, bound and hand overcast, with settings for each.
How to sew bell bottom pants step by step: pick a flare pattern or add flare to one you own, then fit the knee, sew the legs and hem the wide flare neatly.
How to sew a strap on a dress step by step: make spaghetti or wide straps, set them into a lined bodice, fit the length and reattach a strap that came loose.
Help us understand what inspires you
May we use Pinterest cookies to measure visits and purchases and improve our advertising? You can shop either way and change your choice in Cookie settings. Privacy policy
 Patterns