A note on measurements: this guide is written for US sewists, so it uses US units first: inches, yards
and US paper sizes (Letter, 36 × 48 in). Metric equivalents are in brackets where they matter. If you're not used to US
measurements, convert them before you cut: 1 in = 2.54 cm, 1 yd = 91.4 cm.
To grade between sizes on a sewing pattern, you find which size matches your bust, waist and hip separately, mark each of those sizes at its level on the pattern, then draw a smooth new cutting line that moves from one size to the next. Every piece that joins the graded edge changes the same way. This guide explains how to grade between sizes in sewing step by step, for dresses, tops and pants, and how to check your new lines before you cut.
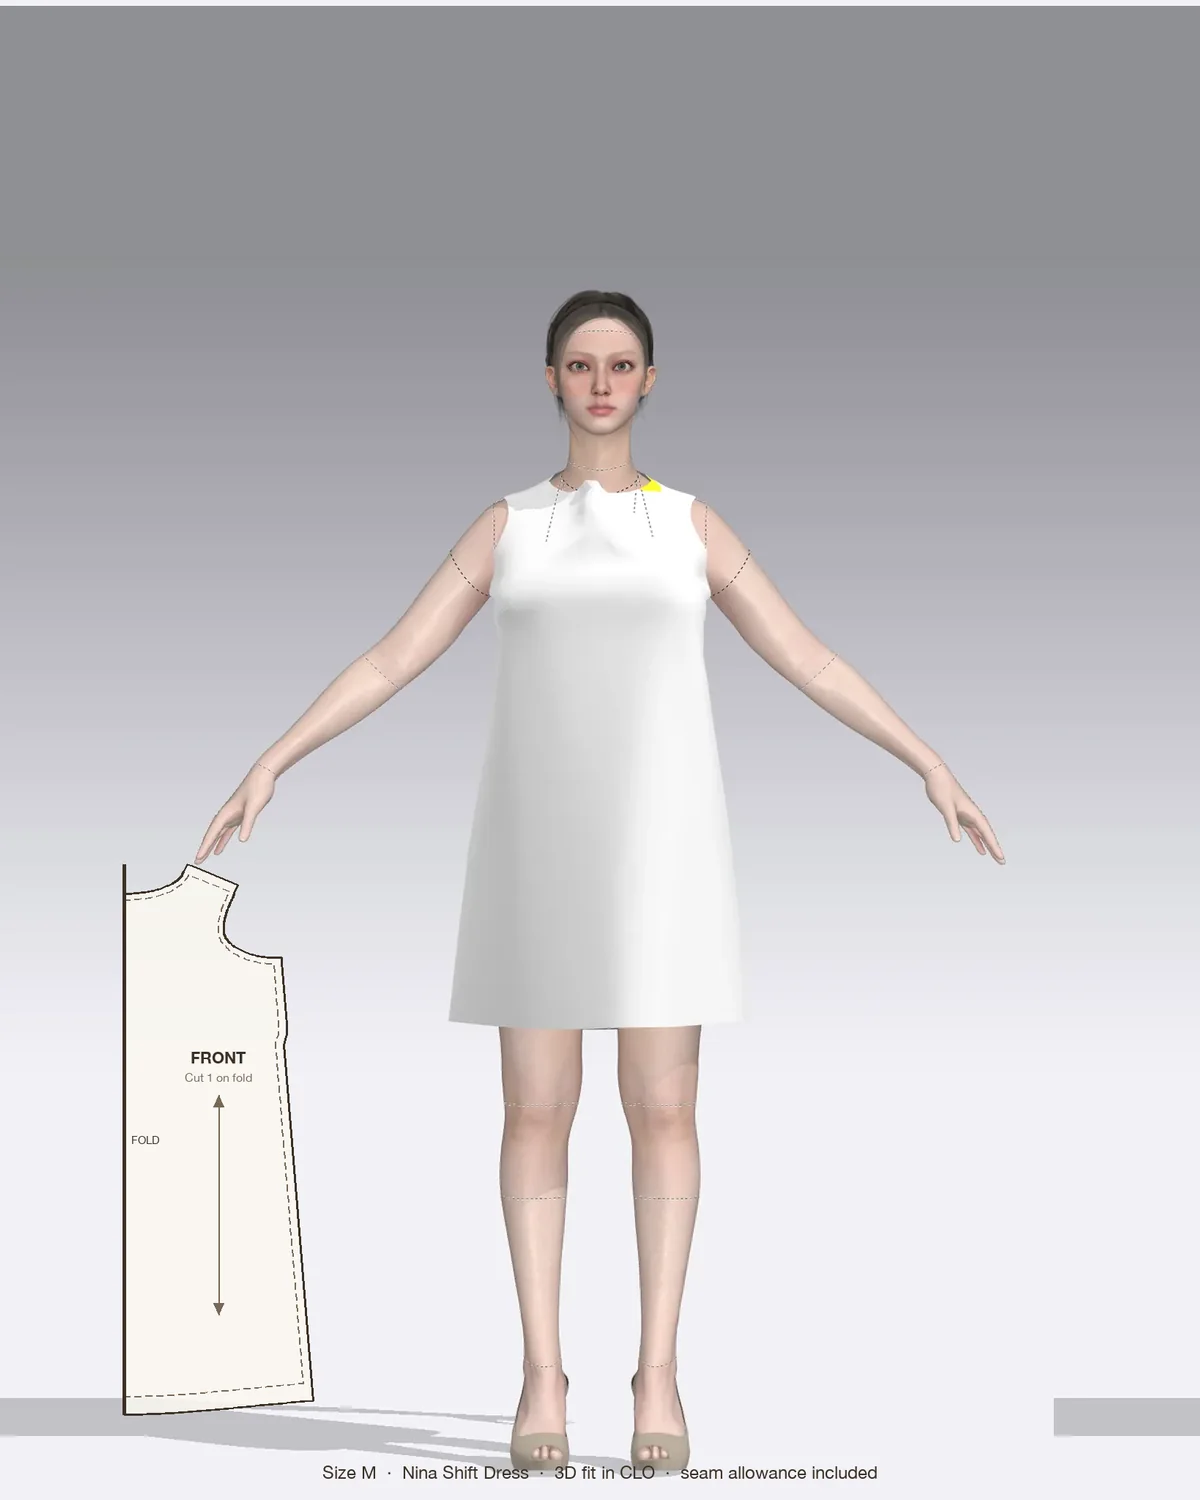
Draped in CLO 3D: the Nina with its pattern pieces, drawn to scale.
Very few bodies match one column of a size chart. If your bust is a medium and your hips a large, cutting one size means either a loose bodice or a tight skirt. Grading (often called blending sizes) lets you cut a pattern that follows your own measurements without redrafting anything.
Before you start: measure and read the chart
Take your measurements at the full bust, high bust, natural waist and fullest hip, wearing the underwear you’ll wear with the garment. The guide to taking body measurements for sewing shows where each one goes.
Find your size for each measurement on the pattern’s body measurement chart and write them down, for example: bust M, waist L, hip L.
Check the finished garment measurements. These include ease, the extra room the design adds. A loose shift or A-line skirt may have 4 in (10 cm) or more of ease at the waist and hip, so a one-size difference there may not need grading at all. A fitted bodice or pants waist with 1 to 2 in (2.5 to 5 cm) of ease does.
Choose your starting size. For tops and dresses, start with your bust size (or high bust, if you have a larger cup than the pattern is drafted for), because shoulders, neckline and armholes are the hardest areas to change. For pants and skirts, start with the hip.
If you’re working from a PDF, print it with all sizes visible rather than using layers to show one size. You need to see the neighboring cutting lines.
How to grade between sizes, step by step
Work on a copy, not your only print. Tracing the pattern onto pattern paper keeps the original intact so you can try again.
Find the landmarks
Locate the bust, waist and hip levels on each piece. Many patterns mark them with a circle and cross or a labeled line. If yours doesn’t, the waist is usually the narrowest point of the side seam and the hip about 7 to 9 in (18 to 23 cm) below it.
Draw a horizontal line across the pattern at each level so you can see exactly where each size applies.
Mark your sizes
Put a dot on the cutting line of your bust size at the bust level.
Put a dot on the cutting line of your waist size at the waist level.
Put a dot on the cutting line of your hip size at the hip level.
Below the hip, follow the hip-size line to the hem, or blend back if you want a narrower hem.
Blend the new cutting line
Connect the dots with a smooth line. Use a straight ruler where the side seam is straight, and a French curve or hip curve where it curves.
Start the blend gradually. Leave the original size line about 1 to 2 in (2.5 to 5 cm) below the armhole before moving outward, so the armhole and sleeve stay the size you chose.
Avoid sharp corners. A jump from one line to another in less than an inch or two will show as a bump on the finished seam.
Repeat on every matching edge: front and back side seams, and both sides of a pants leg, by the same amount, unless you have a reason to do otherwise.
Grade a side seam that has a dart
If a bust dart sits in the side seam, close the dart first: fold the lower leg up to meet the upper leg and tape it. Draw the blended side seam across the folded dart, then unfold it. The cutting line at the dart now has the correct jog, and the dart legs will match when you sew them. The guide to sewing darts covers marking and stitching them.
True the seams and adjust the joining pieces
Grading changes the length and shape of seams, so check every join on paper before you cut.
Walk the seams. Lay the front and back side seams together on their seamlines, matching the top, and roll one along the other to the hem. They should finish at the same point with the notches aligned. Move notches if they no longer match.
Match the waist seam. If you graded a bodice at the waist, grade the skirt or pants pieces at the waist by the same amount, and cut the waistband to your waist size.
Grade the facings. Neck and armhole facings must follow the new edges. Lay the facing on its garment piece and trace the new side seam and armhole onto it.
Check pockets and linings. In-seam pockets sit in the side seam, so their edge needs to follow the new line.
Make a muslin for fitted styles or any blend across more than two sizes. Sew it in inexpensive fabric with a long stitch and pin the changes before transferring them to the pattern.
Grading pants between sizes
Pants follow the same method with a few differences.
Grade the side seams and inseams between your waist and hip sizes, taking equal amounts from each side of the leg so the grainline stays in the center.
Blend the crotch curve from the waist size at the top to the hip size at the crotch point, following the curve rather than drawing a straight line.
For elastic-waist pants, cut by the hip and shorten the elastic for a smaller waist.
If your waist is larger than your hip, choose the waist size and take in the hip after a fitting.
Grading between sizes on Patterns by Nini patterns
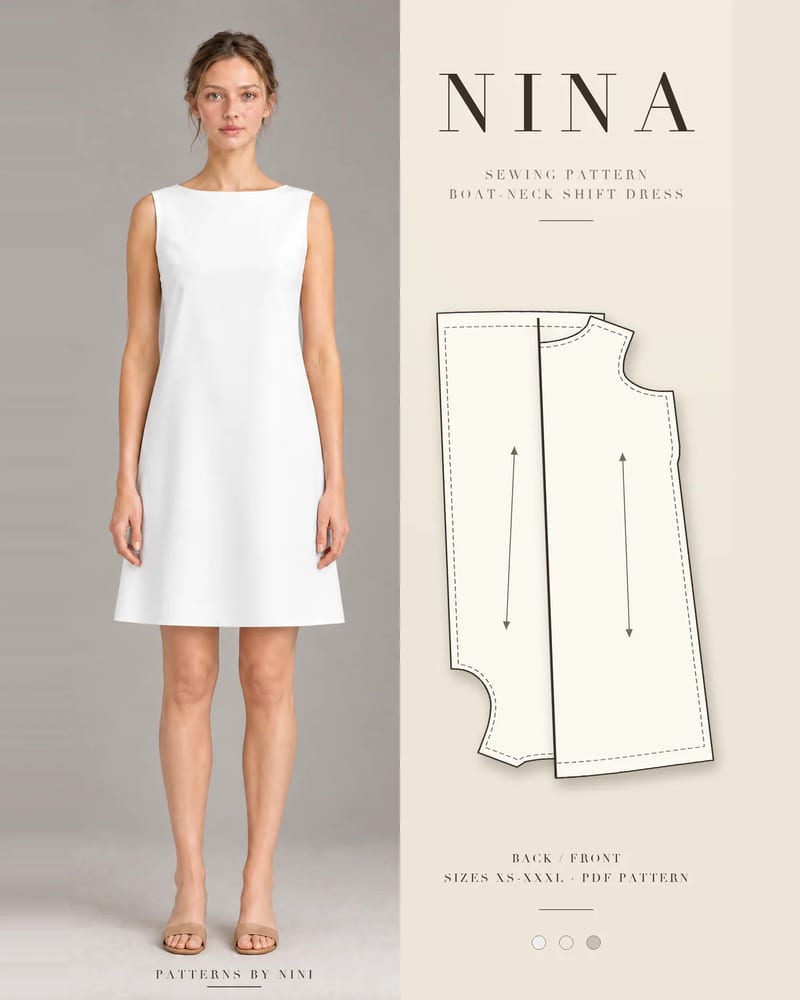
The Nina shift dress is a good first pattern to grade. It’s sleeveless, so there’s no sleeve cap to match, and its side seam runs straight from the bust dart to the knee-length A-line skirt. Grade at the side seam from your bust size to your waist and hip sizes, then trace the new side seam onto the all-in-one neck and armhole facing so it still matches the dress at the underarm. Nina comes in sizes XS–L, so most grading happens between two neighboring sizes. Compare your measurements with the finished measurements in the size chart before you decide where to grade.
The Imani scoop-neck maxi gown has a fully lined bodice with bust and waist darts joined to a full gathered skirt at the natural waist, so you can grade the bodice between bust and waist sizes and the skirt between waist and hip. Grade both sides of the waist seam to the same waist size, and check that the center back seam still matches, because Imani’s 24 in (60 cm) invisible zipper runs across it. Every Patterns by Nini PDF includes a size chart and finished measurements in inches and centimeters, so you can see the ease before you decide where to grade.
If you print at home, check the test square first; the guide to printing PDF sewing patterns explains why a scale error makes grading unreliable.
Common mistakes and how to fix them
Problem
Likely cause
Fix
Side seams don’t match in length
Front and back graded by different amounts
Walk the seams and re-blend the shorter one
Bump or angle in the side seam
Blend changed sizes too quickly
Spread the change over at least 2 to 3 in (5 to 7.5 cm)
Facing doesn’t fit the neckline or armhole
Facing left at the original size
Trace the new edges onto the facing
Skirt and bodice don’t meet at the waist
Only one piece graded at the waist
Grade both to the same waist size
Armhole too tight or sleeve doesn’t fit
Grading started at the underarm
Keep the armhole at one size; blend below it
Fitted garment pulls or twists
Blended across too many sizes
Make a muslin and consider a dedicated adjustment
Quick checklist
Bust, waist and hip sizes noted, with finished measurements checked for ease
Starting size chosen by bust (tops and dresses) or hip (pants and skirts)
Landmarks marked and a dot placed on each size line
Smooth blended line on every matching edge, front and back
Seams walked, notches matched, facings and waistbands graded
Muslin made for fitted styles or large size differences
Frequently asked questions
How many sizes can you grade between?
One or two sizes blend easily with a smooth line along the side seam. Three sizes usually still works on a loose or simple style. Beyond about three sizes the line gets steep, the garment can twist or pull, and a dedicated adjustment such as a full bust adjustment often gives a better result. Whatever the span, make a muslin before cutting your real fabric.
Do I need to grade between sizes on a loose-fitting garment?
Often not. Compare your body measurements with the pattern's finished garment measurements. If the garment has generous ease at the waist, a size or two of difference there may already be covered, and you can cut one size chosen by your bust or shoulders. Fitted garments with little ease need grading wherever your measurements fall in different sizes.
Should I choose my size by bust or hip measurement?
For tops and dresses, choose by the bust, or by the high bust if your cup size is larger than the pattern's draft, because shoulders and armholes are hard to alter. Then grade out to your waist and hip sizes. For pants and skirts, choose by the hip, then grade the waist. Check the finished measurements so you know how much ease each area has.
Do I have to grade the facings and other pieces too?
Yes. Any piece that joins a graded edge must change by the same amount, or the seams won't line up. That includes neck and armhole facings, waistbands, pockets, lining pieces and the skirt or pants pieces that meet a bodice at the waist. Lay each pair together along the seamline and walk it to check the lengths and notches match.
Is grading between sizes the same as pattern grading?
Not quite. Pattern grading is how a designer produces the full size range from one base size, using set increments. Grading between sizes, also called blending sizes, is what a home sewist does to combine sizes the pattern already includes, such as a size medium bust with a large hip, by drawing a new line between the printed cutting lines.
How to do a full bust adjustment: measure to see if you need one, slash and spread the front pattern piece, redraw the bust dart and true the side seam and hem.
How to choose sewing patterns for beginners: the shapes, closures, fabrics and sizing that make a first garment easy, plus what to skip until project three.
Help us understand what inspires you
May we use Pinterest cookies to measure visits and purchases and improve our advertising? You can shop either way and change your choice in Cookie settings. Privacy policy
 Patterns