A note on measurements: this guide is written for US sewists, so it uses US units first: inches, yards
and US paper sizes (Letter, 36 × 48 in). Metric equivalents are in brackets where they matter. If you're not used to US
measurements, convert them before you cut: 1 in = 2.54 cm, 1 yd = 91.4 cm.
To hem a T-shirt, fold the lower edge up about 1 in (2.5 cm), press it without stretching, and stitch it with something that stretches: a twin needle, a narrow zigzag, a coverstitch or a hand catch stitch. A strip of knit interfacing or fusible web in the fold keeps the hem flat. That is how to hem a T-shirt so it looks like ready-to-wear and doesn’t ripple or pop when you pull it over your head.
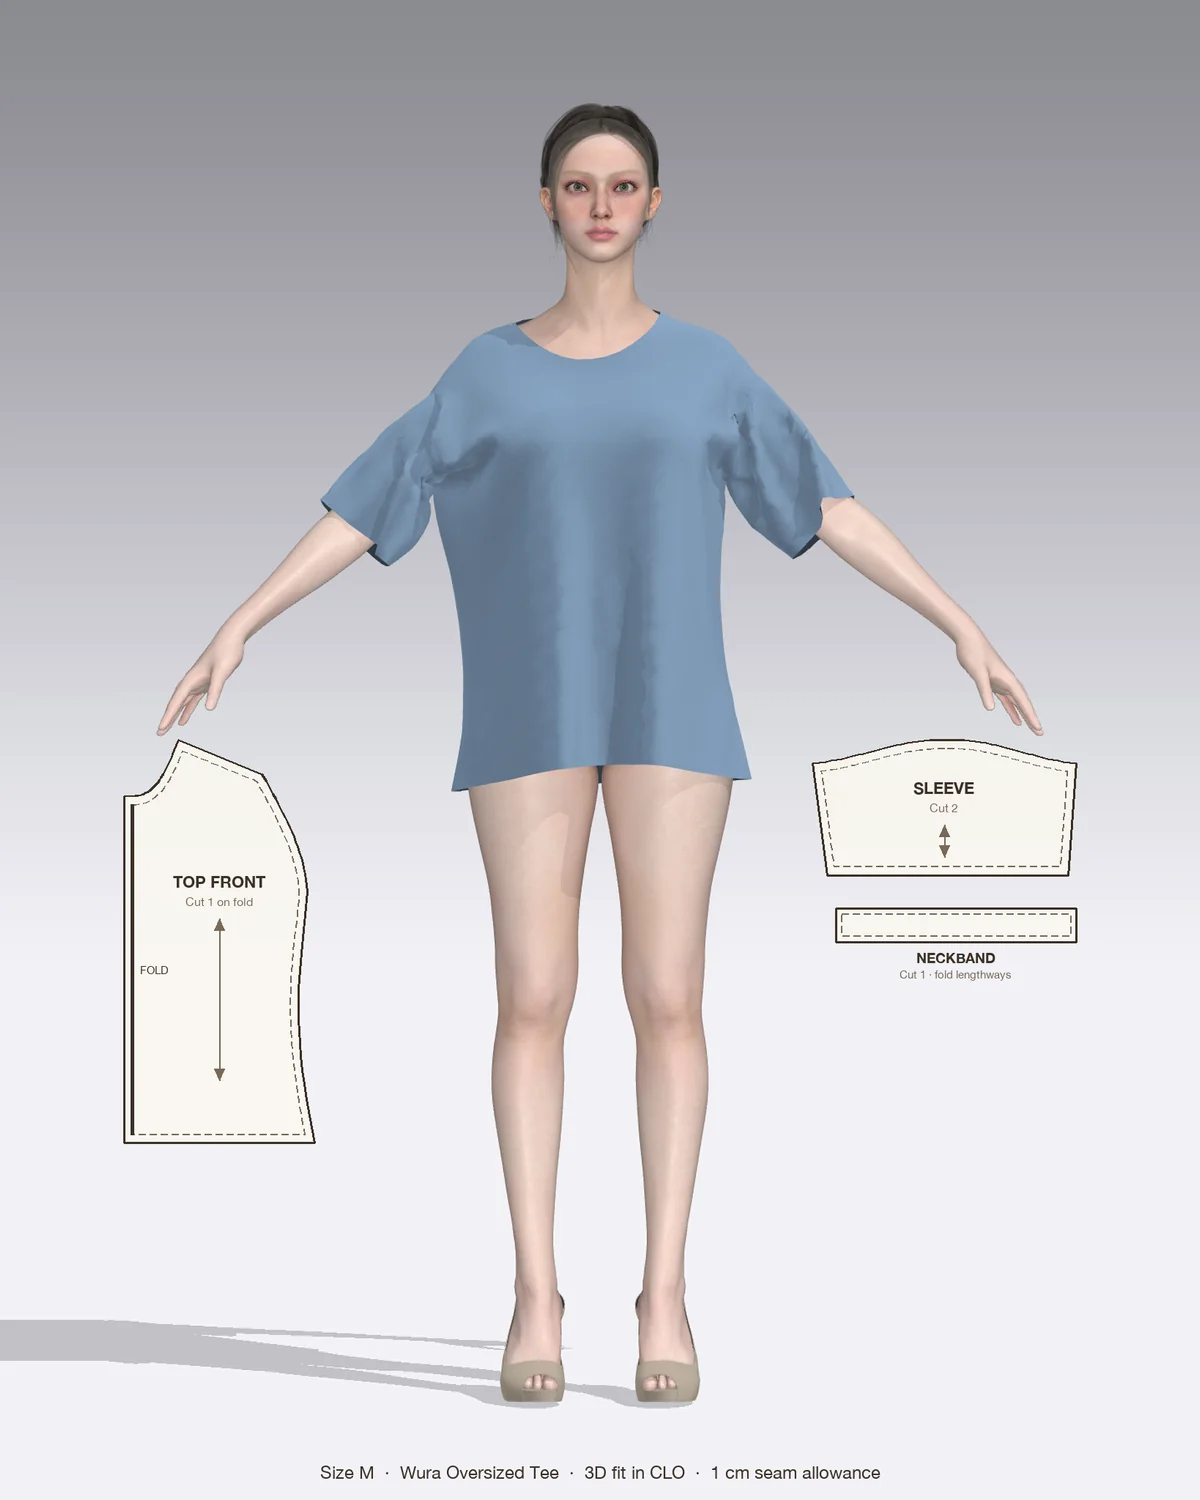
Draped in CLO 3D: the Wura with its pattern pieces, drawn to scale.
The same steps work for a tee you are making and for a store-bought shirt that is too long. Only the first step changes.
What you need
Ballpoint or stretch machine needle, plus a stretch twin needle if your machine takes one. A 4.0 mm spacing in size 75 is a common choice for T-shirt hems.
Polyester thread. For a twin needle you need two spools, or wind a spare bobbin to act as the second spool.
Knit stabilizer: 1 in (2.5 cm) strips of lightweight fusible knit interfacing, or narrow fusible web or knit stay tape.
Seam gauge or ruler, clips or pins, and chalk or a water-soluble marker.
Iron and pressing cloth.
Walking foot (optional), which feeds stretchy knits more evenly.
Wash and dry the fabric or the shirt first, the way you will launder it. Cotton jersey often shrinks in length, and you want that to happen before you mark the hem, not after.
Mark the length and hem allowance
If you are sewing a new T-shirt
Your pattern already includes a hem allowance, so press along the marked hem line. The hem is the last step; the full construction order is in how to sew a T-shirt. Check the length on your body before you press, especially if you have lengthened or shortened the pattern.
If you are shortening a finished T-shirt
Try the shirt on and mark the new length at the side seams and center front with a pin.
Lay it flat on a table with the side seams matching. Smooth it out without stretching.
Draw the new fold line straight across with a ruler, or follow the original curve if the hem is shaped.
Add the hem allowance below the fold line, about 1 in (2.5 cm) for most tees, and draw a cutting line.
Cut through both layers with sharp shears or a rotary cutter, keeping the shirt flat.
If you want to keep the factory coverstitch, the technique for jeans in hemming with the original hem works on tees too: fold the old hem up, stitch just beside it, then trim and press the extra down. It suits heavy cotton tees better than fine, slinky jersey.
Prepare the hem
Stabilize. Fuse a 1 in (2.5 cm) strip of knit interfacing or fusible web to the wrong side of the hem allowance, right along the raw edge. This stops the hem from stretching while you sew, reduces the ridge that can form between twin-needle rows, and keeps the hem from rolling.
Press the hem up along the fold line, wrong sides together. Lift and lower the iron instead of sliding it, which would stretch the edge. Use the cotton setting with steam for cotton jersey; drop to a lower heat with a pressing cloth for viscose, modal and polyester blends.
Clip or pin every 3 to 4 in (8 to 10 cm). Line up the side seams exactly so the hem doesn’t twist.
Finish the edge only if you want to. Most jersey doesn’t fray, so the raw edge can stay as it is. On a loose, loopy knit, serge or overlock the raw edge first.
How to hem a T-shirt by machine
Always test on a scrap of the same knit, folded and stabilized just like the hem.
Twin needle
Fit the stretch twin needle and thread both needles together, separating the threads only at the tension discs or at the needles as your manual shows.
Set a straight stitch about 3 to 3.5 mm long. Some machines have a twin-needle setting that limits the stitch width so the needle doesn’t hit the plate; turn it on.
Sew with the right side up, starting at a side seam. Guide the fold along a mark on the throat plate so the left needle stitches about 3/4 to 7/8 in (2 to 2.2 cm) from the fold and both needles catch the hem allowance.
Sew slowly and let the machine feed the fabric. Don’t push or pull it.
Overlap the start by about 1/2 in (1.3 cm), then pull all threads to the wrong side, knot them and trim.
Trim any extra allowance above the stitching, leaving at least 1/4 in (6 mm).
The bobbin thread zigzags between the two needle threads on the inside, which is what lets the hem stretch.
Narrow zigzag or stretch stitch
Set a zigzag about 1.25 mm wide and 3 mm long, or use the lightning-bolt stretch stitch, and sew from the right side about 3/4 in (2 cm) from the fold. A single row of zigzag looks less polished than a twin needle but is easy on any machine. For a more ready-to-wear look, sew a second row about 1/4 in (6 mm) away.
Coverstitch machine
A coverstitch makes the classic T-shirt hem: two or three straight rows on the outside and a looper chain on the inside. Sew from the right side with the hem allowance underneath, then pull the threads to the back to lock them. An overlocker alone can’t hem a tee neatly, but it can finish the raw edge before you twin-needle.
How to hem a T-shirt by hand
Press and clip the hem as above. Interfacing is optional.
Thread a fine needle with a single strand of polyester thread and knot the end.
Work a catch stitch from left to right: take a tiny stitch in the hem allowance, then a tiny stitch in the shirt just above it, so the thread crosses in an X.
Pick up only one or two threads of the shirt with each stitch and space them about 1/4 to 3/8 in (6 to 10 mm) apart.
Keep the thread relaxed, and lock it with a small backstitch every 4 to 6 in (10 to 15 cm).
The crossing stitches act like a spring, so the hem stretches without breaking. The guide to hand sewing stitches shows the catch stitch step by step.
Curved hems, sleeves and side slits
Shirttail curves. A deep hem fights a curve, so use a narrower allowance, about 1/2 to 5/8 in (1.3 to 1.5 cm). Steam the hem allowance gently to shrink the extra length on the curve before you stitch.
Sleeves. On a tee sewn flat, you can hem the sleeves before closing the side seams, which is easier than sewing in a small circle. If the side seams are already closed, use your machine’s free arm. More on flat construction is in how to sew sleeves.
Side slits. Hem each side of the slit separately, folding the corners in neatly, then stitch across the top of the slit to reinforce it.
For woven fabric instead of knit, the folds and blind hems in how to hem pants are the better guide.
Common mistakes and how to fix them
Problem
Likely cause
Fix
Hem is wavy or flared
Knit stretched while sewing
Lengthen the stitch, lower presser foot pressure, use a walking foot, add interfacing, steam press
Raised ridge between twin-needle rows
Needle tension too tight; no stabilizer
Loosen needle tension slightly, add fusible web, try woolly nylon thread in the bobbin
Stitches snap when you pull the shirt on
Straight stitch with no stretch
Unpick and resew with a twin needle, zigzag or catch stitch
Skipped stitches
Wrong needle
Change to a new ballpoint or stretch needle
Hem twists to one side
Seams not matched when clipping
Unpick, match the side seams, re-press and clip closer together
Hem shows through on the outside
Catch stitches too big or too tight
Pick up just one or two threads and keep the thread relaxed
If a finished hem is only slightly rippled, hold a steam iron just above it and pat it flat; many cotton knits recover. If it is badly stretched, unpick it, steam the edge back to shape and resew with stabilizer.
T-shirt hems in Patterns by Nini designs
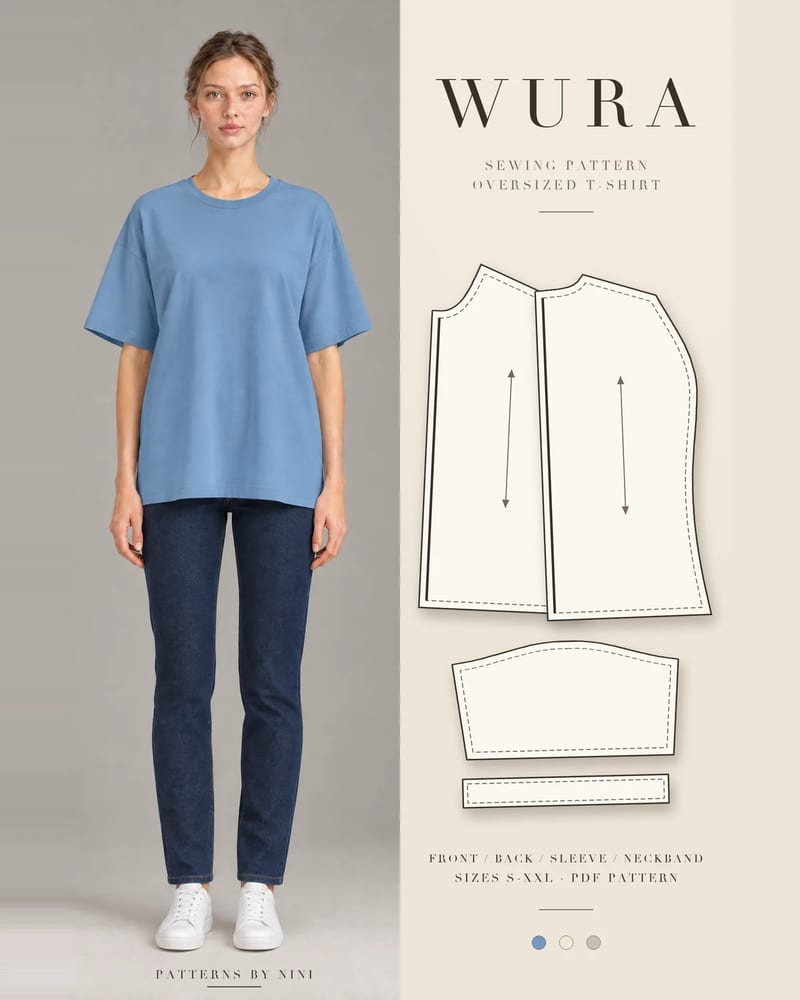
The Wura oversized tee is a good first place to practice. It is a boxy crew-neck tee with dropped shoulders and a roomy sleeve ending above the elbow, set in flat, in cotton or sweatshirt-weight jersey with at least 20% stretch. The lower hem falls at the upper hip and thigh, about 26 in (66 cm) at the back in size M, so it is easy to shorten for a cropped look using the steps above.
For a closer fit, the Sola fitted tee and the Tade boat-neck tee both have hip-length hems in cotton or viscose jersey. The Dupe T-shirt midi dress adds side slits at the hem, so it is the one to make when you want to practice slit corners.
Frequently asked questions
What stitch is best for hemming a T-shirt?
A twin needle is the best choice on a regular sewing machine: it gives two neat rows on the outside like ready-to-wear and a zigzag underneath that stretches. A coverstitch machine does the same job even better. A narrow zigzag or a lightning-bolt stretch stitch also works. Avoid a plain straight stitch on the hem of a fitted tee, because it can snap.
How much hem allowance does a T-shirt need?
Most T-shirt hems use a single fold of about 1 in (2.5 cm), which gives a twin needle room to catch the raw edge. Sleeve hems are often the same or a little narrower. Very curved shirttail hems sew more smoothly at 1/2 to 5/8 in (1.3 to 1.5 cm). If you are shortening a finished tee, add the hem depth below your new fold line before cutting.
Why does my T-shirt hem go wavy?
A wavy hem means the knit was stretched as it went under the presser foot. The usual fixes are a longer stitch length, lighter presser foot pressure, a walking foot, and a strip of knit interfacing or fusible web in the hem. Let the feed dogs move the fabric instead of pulling it. A steam press often shrinks a mild ripple back flat.
Can you hem a T-shirt without sewing?
Yes. Fold the hem up about 1 in (2.5 cm), slip a strip of fusible hem tape or fusible web inside, and press it with steam following the tape's instructions. It is quick and invisible, but it stretches less than stitching and can lift after many washes. Cotton jersey can also be cut and left raw, because it curls rather than frays.
Can you hem a T-shirt by hand?
Yes. Use a catch stitch (herringbone stitch) with polyester thread in a fine needle. Its zigzag of crossing stitches lets the hem stretch, so it won't pop when you pull the shirt on. Pick up only one or two threads of the shirt with each stitch and keep the thread relaxed. A catch stitch is invisible on the outside.
How to finish seams without a serger: zigzag, overcast, pinked, turned and stitched, French, flat-felled, bound and hand overcast, with settings for each.
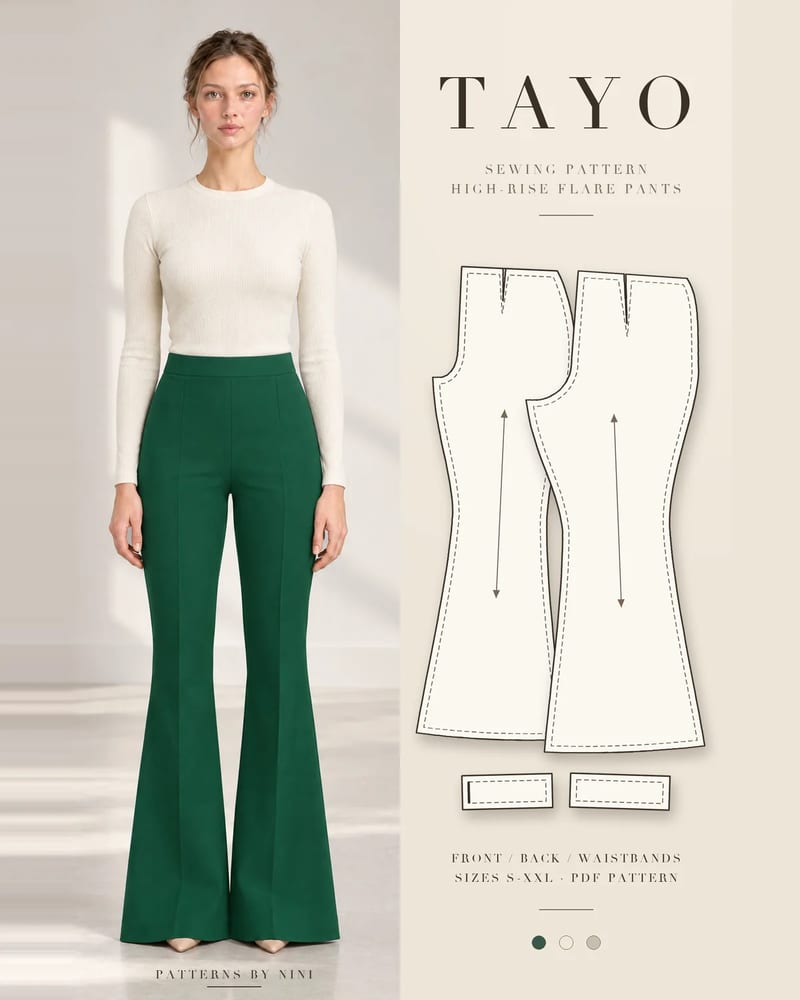
How to sew bell bottom pants step by step: pick a flare pattern or add flare to one you own, then fit the knee, sew the legs and hem the wide flare neatly.
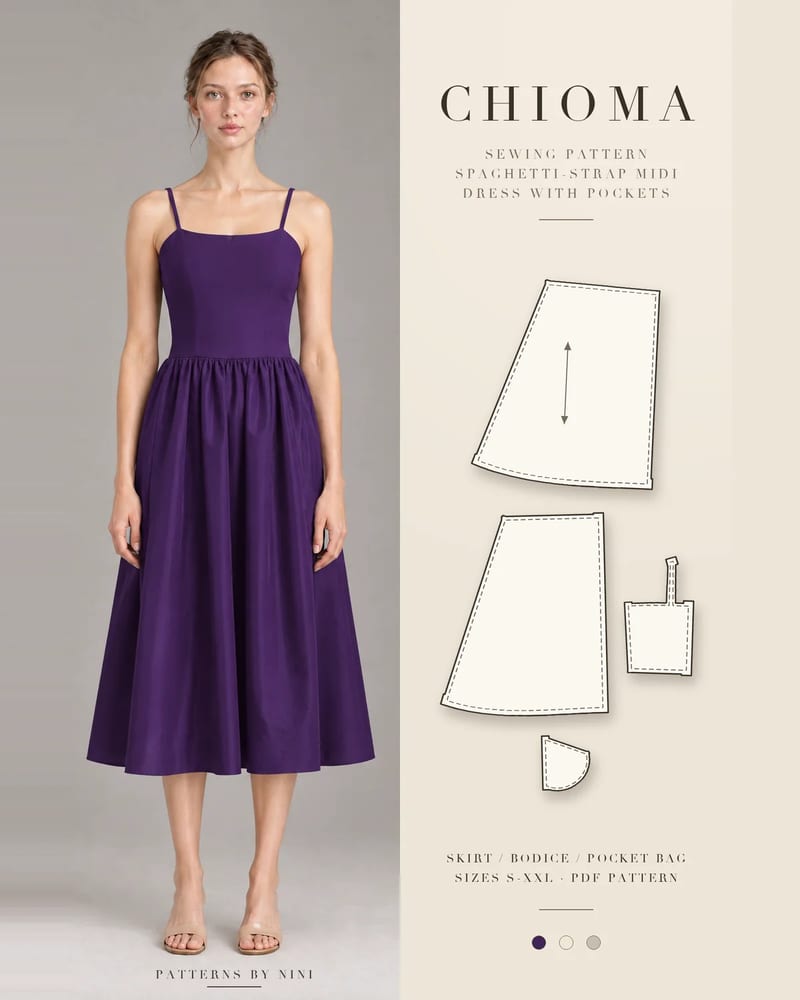
How to sew a strap on a dress step by step: make spaghetti or wide straps, set them into a lined bodice, fit the length and reattach a strap that came loose.
Help us understand what inspires you
May we use Pinterest cookies to measure visits and purchases and improve our advertising? You can shop either way and change your choice in Cookie settings. Privacy policy
 Patterns