 Patterns
How to sew pleats: knife, box and inverted, step by step
How to sew pleats that stay even: mark, fold, press and baste knife, box and inverted pleats, work out the extra fabric and fix common problems.
A note on measurements: this guide is written for US sewists, so it uses US units first: inches, yards and US paper sizes (Letter, 36 × 48 in). Metric equivalents are in brackets where they matter. If you're not used to US measurements, convert them before you cut: 1 in = 2.54 cm, 1 yd = 91.4 cm.
To sew a hem in pants, try them on with your shoes, pin the length, then mark a hem allowance below the fold and cut off the rest. Finish the raw edge, press the hem up, and stitch it with a blind hem stitch by hand or machine, or a straight topstitch for casual pants. The steps below show how to sew a hem in pants so both legs match, the hem lies flat over the seams and the stitching stays invisible on dress pants.
The method works for pants you are making and for ready-to-wear pants that are too long; a finished pair just needs the old hem unpicked and pressed out first.
Then pick a hem depth and mark a cutting line that far below the fold line:
| Pants | Hem type | Hem depth |
|---|---|---|
| Dress pants, suiting, crepe, gabardine | Single fold, raw edge finished | 1 1/4–2 in (3–5 cm) |
| Casual cotton, linen, pajama pants | Double fold | 1 in (2.5 cm) turned twice |
| Jeans and heavy denim | Narrow double fold | 1/2 in (1.3 cm) turned twice |
| Knits and stretch pants | Single fold | 1–1 1/4 in (2.5–3 cm) |
| Strongly tapered legs | Single fold or bias facing | 1/2–1 1/4 in (1.3–3 cm) |
A deeper hem adds weight, which helps tailored pants hang straight. For a double-fold hem, the cutting line is twice the hem depth below the fold line.
Press at the right heat for the fabric: high (around 400°F / 200°C) with steam for cotton and linen, medium (around 300°F / 150°C) with a pressing cloth for wool and suiting, and low to medium for polyester, viscose and rayon. Let each section cool before you move it, so the fold sets.
Blind hem stitch (dress pants). Fold the hem allowance back under the leg so about 1/4 in (6 mm) of the finished edge sticks out. Set the machine to blind hem stitch with the blind hem foot, guide against the fold, and adjust the width so the zigzag bite only just catches the fold. Test on an offcut first: on the right side you should see tiny dots spaced about 3/8 in (1 cm) apart. Then unfold the hem and press it from the inside.
Straight topstitch (casual pants and jeans). Take off the machine’s extension table so the leg slides over the free arm. Sew with the wrong side out, 1/8 in (3 mm) from the top fold, at a stitch length of 3 to 3.5 mm. Start at the inseam so the backstitches hide there. On jeans, go slowly over the thick seams, or flatten them first with a hammer; the guide on how to hem jeans covers needles, thread and the side seams in detail.
Knits. Use a narrow zigzag, a stretch stitch or a twin needle so the hem can stretch with the leg.
A hand-sewn blind hem is the neatest finish for wool, crepe and fine suiting, and it is what many tailors use on dress pants.
The hand sewing stitches guide shows the blind hem stitch and the stretchier catch stitch in more detail.
The leg’s shape changes how the hem allowance behaves when it is turned up.
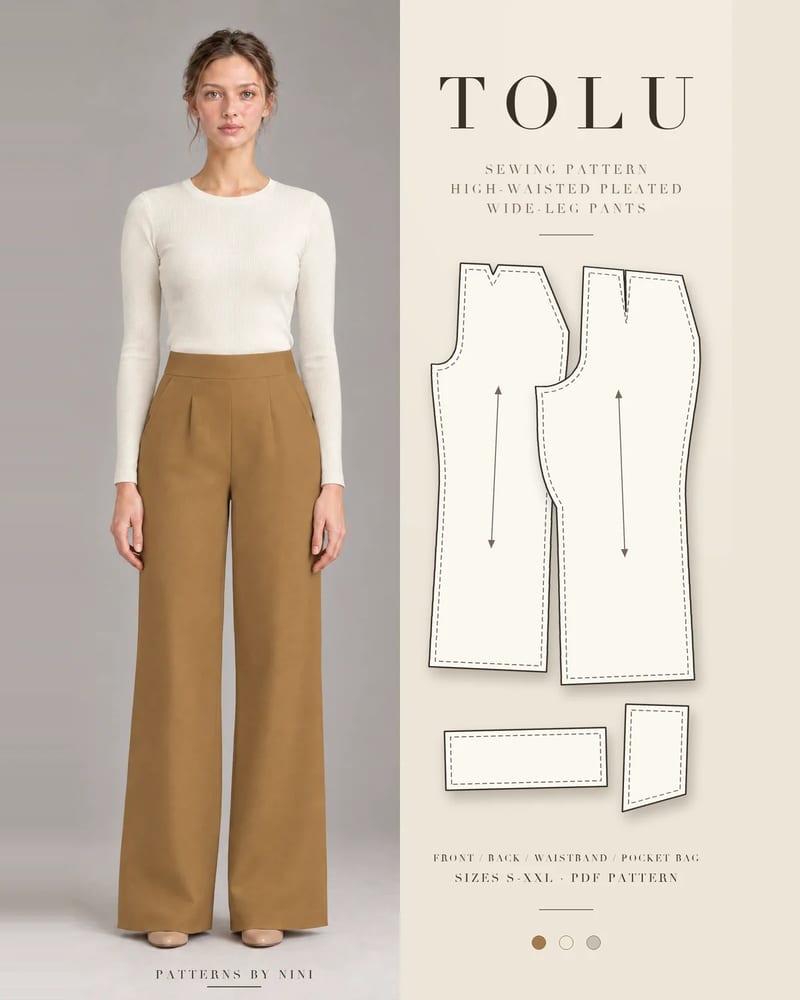
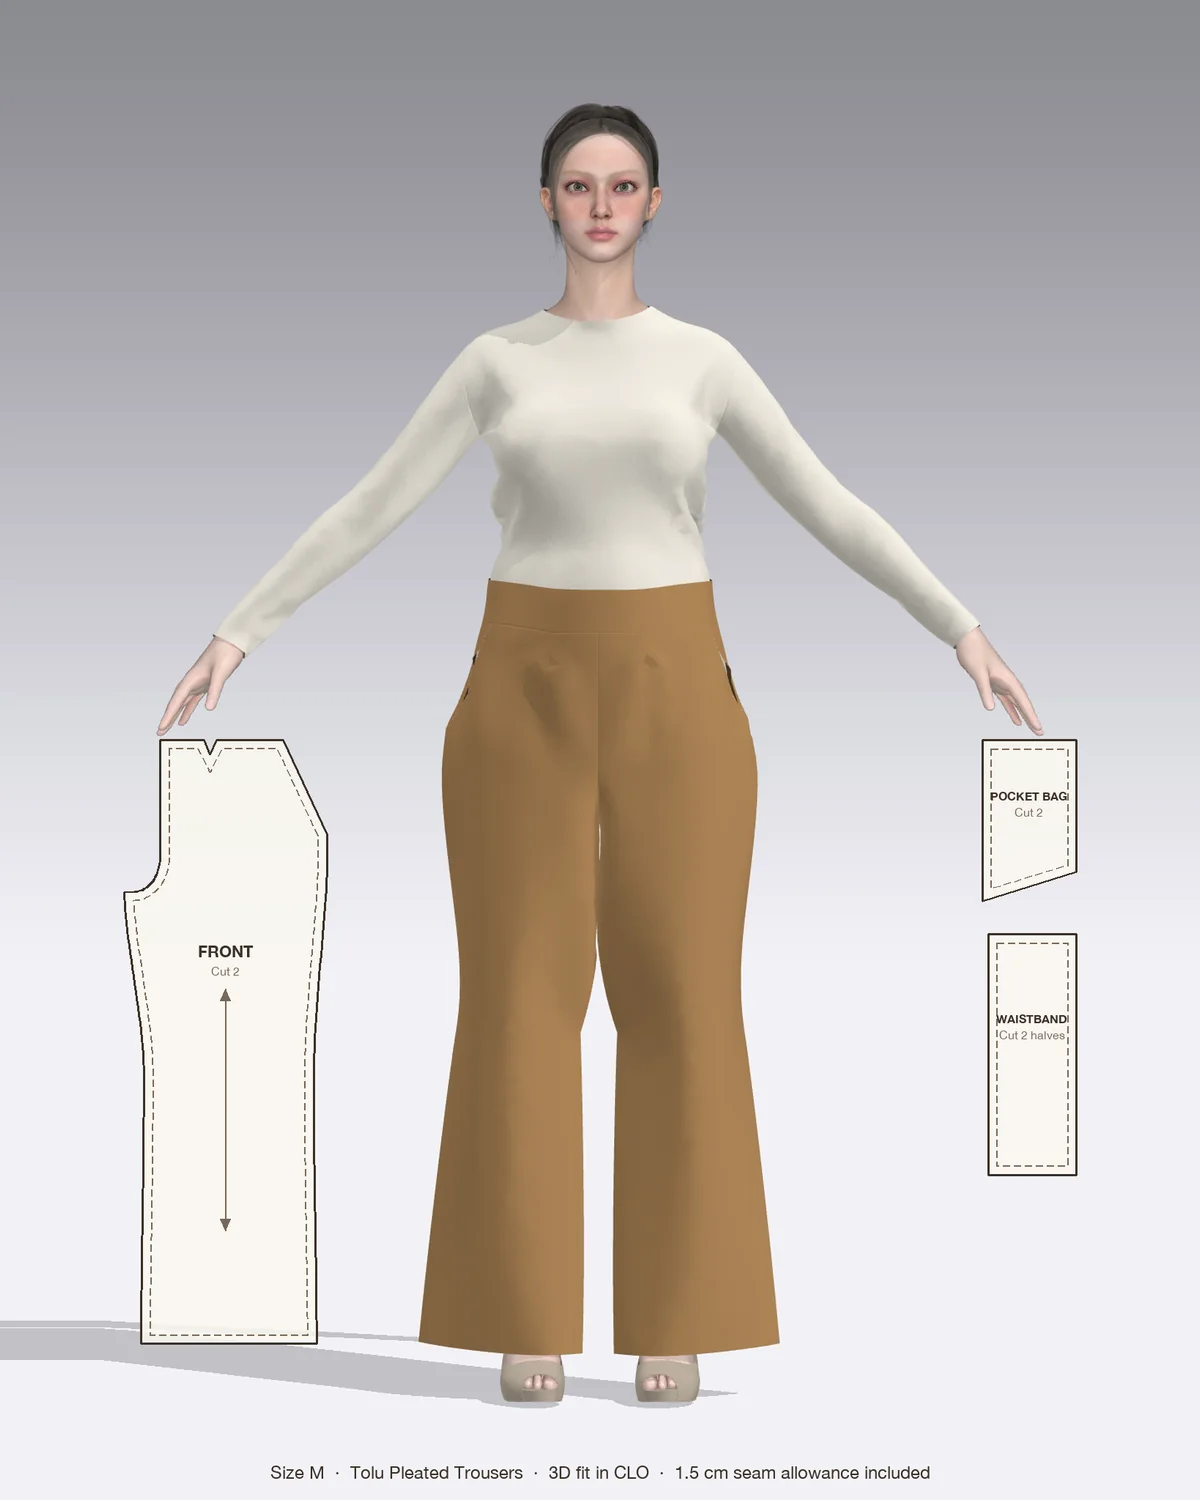
The Tolu pleated pants have straight wide legs to the floor and are made in twill, suiting, crepe, gabardine or linen with some body. That makes them a good match for a deep single-fold hem with a blind hem stitch. Sew the flat waistband and the center-back invisible zipper first, then mark the length wearing your usual shoes.
The Tayo flare pants are drafted to be floor length with 2 to 3 in (5 to 8 cm) heels, so mark the hem wearing heels of that height, and keep the hem shallow because the leg flares from the knee. Tayo uses stretch suiting or crepe with elastane, so test a blind hem or a narrow zigzag on an offcut.
The Femi wide-leg pants have a hem that just covers the top of the foot, and a double-fold hem with a straight topstitch suits their linen and cotton. The Yinka palazzo pants are floor length in drapey viscose or rayon: try them on again before cutting, because fluid fabrics can hang a little longer once sewn.
| Problem | Likely cause | Fix |
|---|---|---|
| One leg looks longer | Legs marked as a pair, or one leg naturally longer | Pin and mark each leg on the body |
| Hem twists or swings to one side | Leg not laid flat with seams matched when marking | Re-mark with inseam over outseam |
| Lumps at the seams | Seam allowances not trimmed inside the hem | Press open and trim to half width in the hem |
| Puckers on a tapered leg | Hem allowance wider than the leg | Narrow the hem, open the inseam in the hem, or use a bias facing |
| Blind hem stitches show as long bars | Machine bite too wide or hand stitches catching too much | Narrow the stitch width; pick up only one or two threads |
| Hem ridge shows on the right side | Pressed too hard on the outside | Press from the inside with a pressing cloth |
| Pants drag on the floor | Marked without shoes | Re-pin wearing the shoes you’ll wear them with |
Once the hem is in, give the whole leg a final press from the inside, then try the pants on with the same shoes to check that the back sits clear of the floor.
How to sew pleats that stay even: mark, fold, press and baste knife, box and inverted pleats, work out the extra fabric and fix common problems.
How to fix crotch fit on pants: read the drag lines, then adjust the rise, crotch point or curve on the pattern. Step-by-step fixes for front and back.
How to finish seams without a serger: zigzag, overcast, pinked, turned and stitched, French, flat-felled, bound and hand overcast, with settings for each.
May we use Pinterest cookies to measure visits and purchases and improve our advertising? You can shop either way and change your choice in Cookie settings. Privacy policy
