A note on measurements: this guide is written for US sewists, so it uses US units first: inches, yards
and US paper sizes (Letter, 36 × 48 in). Metric equivalents are in brackets where they matter. If you're not used to US
measurements, convert them before you cut: 1 in = 2.54 cm, 1 yd = 91.4 cm.
To sew a puff sleeve, gather the top of the sleeve cap with two rows of long basting stitches, pull it up to fit the armhole and stitch it in, then draw in the hem with elastic or a band so the sleeve balloons between the two. That is all there is to how to sew a puff sleeve: it is a normal sleeve with extra width, and the gathers do the rest. The steps below cover the cap, the three common hem finishes and how to keep the puff from collapsing.
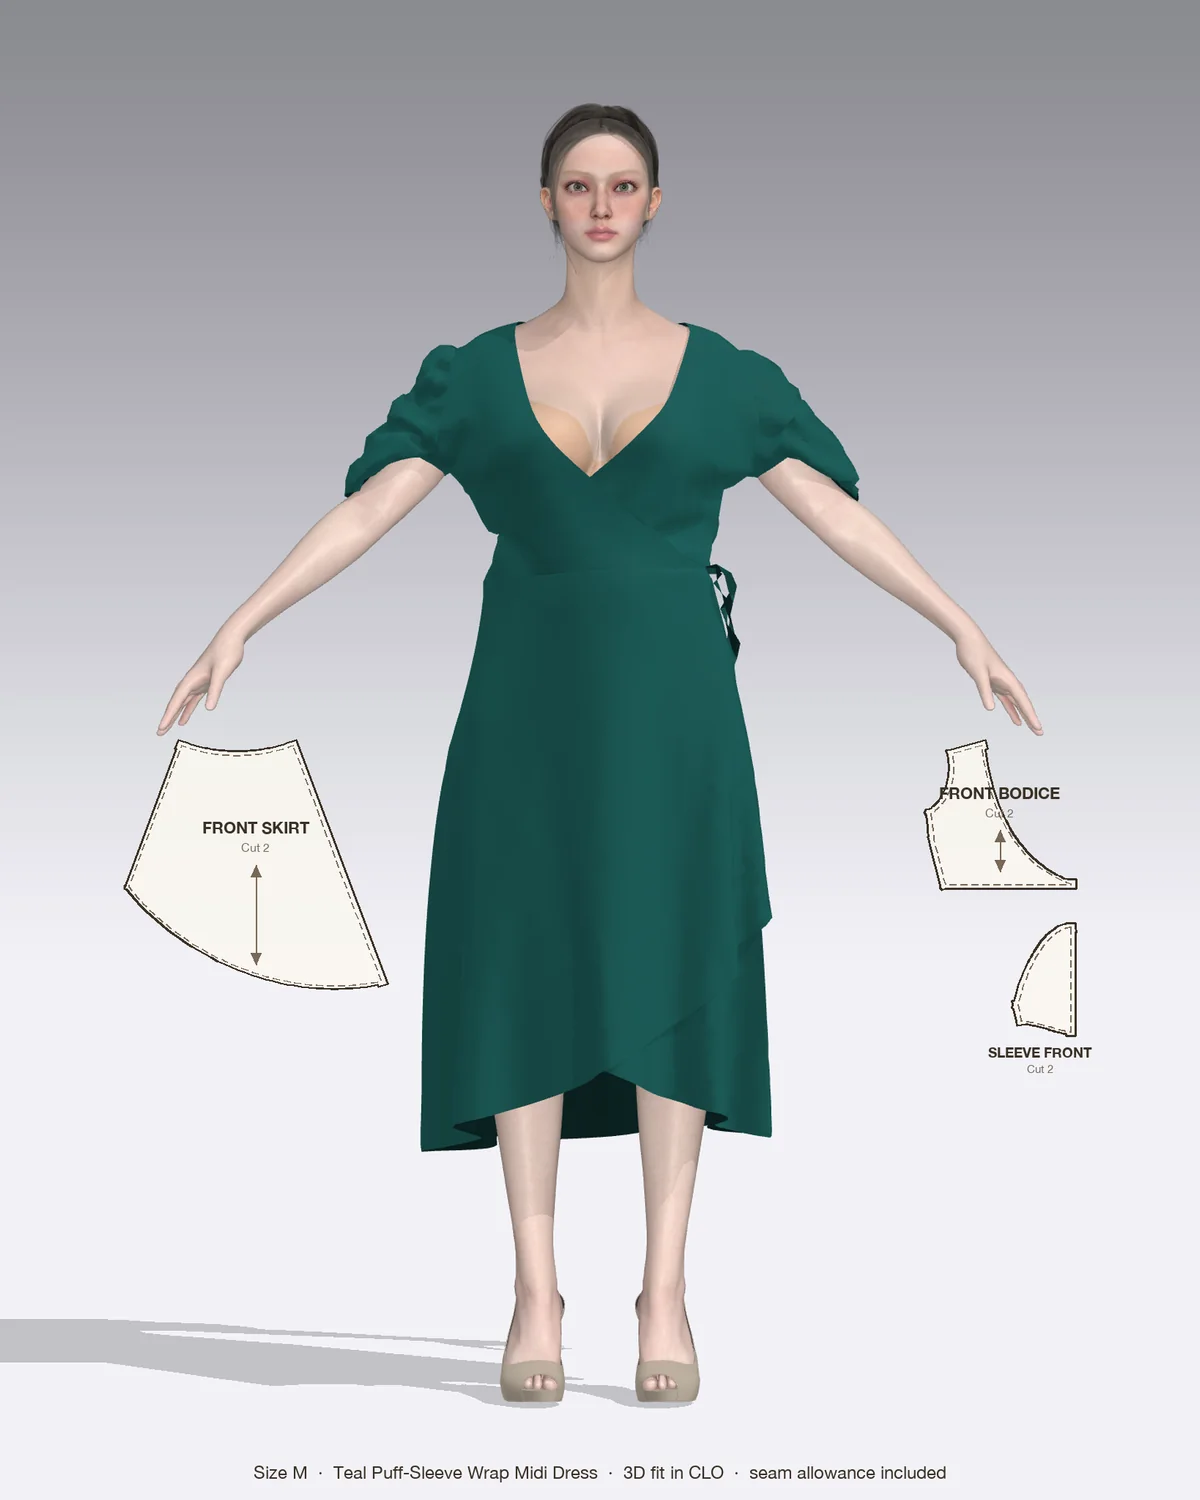
Draped in CLO 3D: the Teal with its pattern pieces, drawn to scale.
What makes a sleeve puff
A puff sleeve pattern piece is wider than a plain sleeve, and its cap is taller. That extra fabric has to go somewhere, so it is gathered in at the shoulder, the hem or both.
Where it’s gathered
The look
Cap only
Height at the shoulder, loose at the hem
Hem only
Flat shoulder, rounded balloon at the arm
Cap and hem
The classic short puff, round all over
Plain set-in sleeves ease a little extra length into the cap so that no gathers show. A puff sleeve does the opposite: it gathers far more fabric on purpose, and the gathers are meant to be seen.
Before you start
Fabric: crisp light wovens (cotton poplin, lawn, seersucker, organza) puff the most. Drapey crepe, rayon challis or viscose give a softer puff.
Elastic: 1/4 in (6 mm) or 3/8 in (1 cm) is the usual width for a sleeve hem.
Marks: transfer every notch and the dot at the top of the cap. Most puff sleeves have notches marking where the gathers start and stop.
Fit: puff sleeves are forgiving at the shoulder, but the hem has to fit your upper arm. If you are unsure, test one sleeve in a muslin.
How to sew a puff sleeve, step by step
These steps assume a 1/2 in (1.3 cm) to 5/8 in (1.5 cm) seam allowance and a sleeve sewn in the round. Check your pattern’s allowance and move the basting rows to match.
Gather the cap
Set the longest stitch length, 4 to 5 mm, and loosen the top tension slightly.
Sew two rows of basting between the gathering notches: one at 1/4 in (6 mm) from the edge and one at 1/2 in (1.3 cm). With a 5/8 in (1.5 cm) allowance, a third row at 3/4 in (2 cm) gives more control; pull it out after stitching.
Don’t backstitch. Leave 4 in (10 cm) thread tails at both ends.
Don’t overlap the rows or cross them over the underarm. Gathers only pull smoothly along a continuous, unknotted thread.
Sew the underarm seam
Fold the sleeve right sides together and sew the underarm seam.
Finish the allowances with a zigzag or serger, or use a French seam on sheer fabric.
Press the seam open, or toward the back if it is serged.
Pull up the gathers and pin
Turn the sleeve right side out and the bodice wrong side out. Slip the sleeve into the armhole so right sides touch.
Pin the underarm seam to the side seam, then the front and back notches, then the top dot to the shoulder seam.
Pull both bobbin threads together from each end until the cap fits the armhole.
Spread the gathers with a pin, keeping most of the fullness over the top of the shoulder. A common target is the 4 in (10 cm) centered on the shoulder seam for a tall puff, or the full span between the notches for a softer one.
Pin every 1/2 in (1.3 cm), with the pins at right angles to the edge, so the gathers can’t shift.
Stitch and finish the armhole
Reset the stitch length to 2.5 mm.
Stitch with the sleeve on top so you can keep the gathers flat and straight under the foot. Go slowly and stop to adjust the folds with a pin.
Check from the right side before finishing. Unpick any tuck that caught in the seam.
Finish the allowances together with a zigzag or serger and pull out any basting that shows.
Press only the seam allowance toward the sleeve, using the tip of the iron. Never press the gathers themselves, or the puff goes flat.
Three ways to finish the hem
Elastic casing
The quickest finish, and the one used on most ready-to-wear puff sleeves.
Press the raw edge under 1/4 in (6 mm), then press under again by the elastic width plus 1/4 in (6 mm). For 1/4 in elastic, that’s a 1/2 in (1.3 cm) casing.
Edgestitch along the inner fold, leaving a 2 in (5 cm) gap at the underarm seam.
Cut the elastic to your upper arm measurement, comfortably snug, plus 1/2 in (1.3 cm) for overlap.
Thread it through with a safety pin, keeping it flat. Overlap the ends by 1/2 in (1.3 cm), try the sleeve on, then zigzag the ends together.
Spread the gathers evenly and stitch the gap closed, stretching the elastic slightly as you go.
Band or cuff
A band gives a neater, more tailored hem with no stretch.
Cut the band to your upper arm measurement plus 1 in (2.5 cm) for seam allowances and ease, and twice the finished width plus 1 in (2.5 cm).
Gather the sleeve hem with two basting rows, as you did the cap.
Sew the band into a loop, fold it in half lengthwise and press.
Pull up the hem gathers to fit the band, pin, stitch, finish and press the allowance toward the band.
Check that your hand can pass through the band before you stitch it. A band without elastic has to fit over the widest part of your arm.
Elastic sewn along a seam
Instead of a casing at the hem, some puff sleeves ruche a seam with elastic. The elastic is stretched as it is stitched to the seam allowance, and it draws the fabric up into soft gathers when it relaxes. It works best on drapey fabric, where a casing would look bulky.
Sew the seam your pattern specifies and finish the allowances.
Mark the elastic and the seam into quarters so the stretch is spread evenly.
Anchor the elastic at one end with a few stitches, then zigzag it to the seam allowance, stretching it between the marks.
Steam the seam lightly from a distance, without pressing, to settle the ruching.
Where you’ll use this
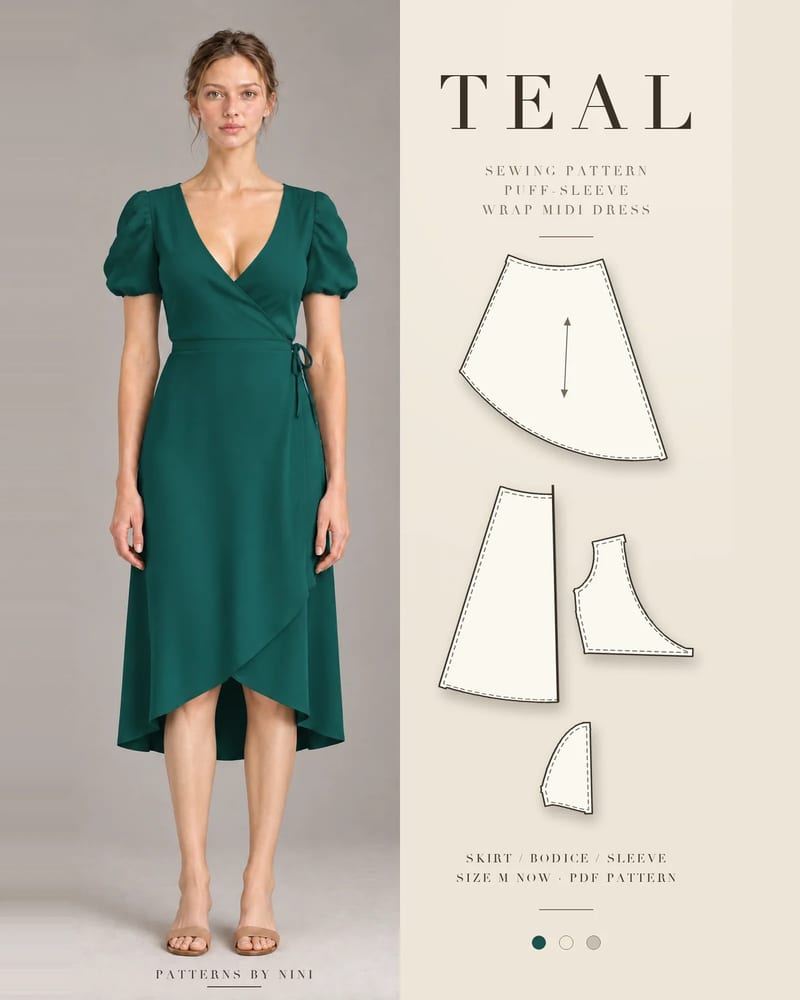
The Teal puff-sleeve wrap midi dress uses the third method: a two-piece puff sleeve with an elastic-ruched center seam. Teal is cut in drapey wovens such as crepe and rayon challis, so its puff is soft rather than stiff, and its neckline and wrap edges are finished with a bias facing (see how to make bias tape).
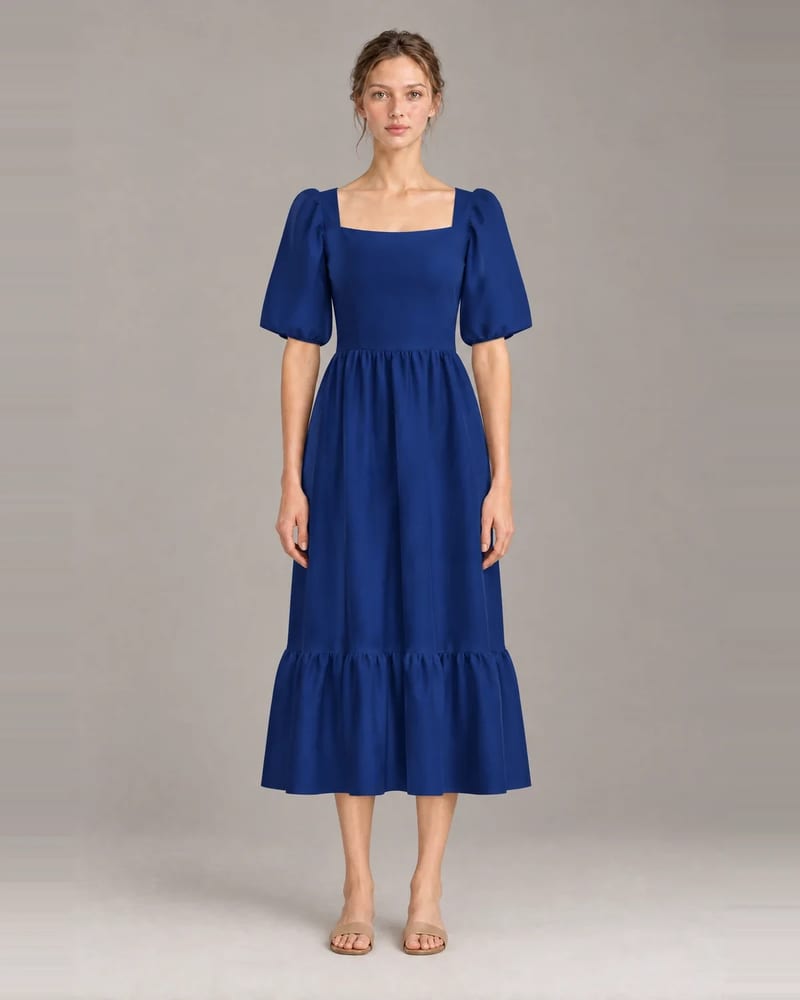
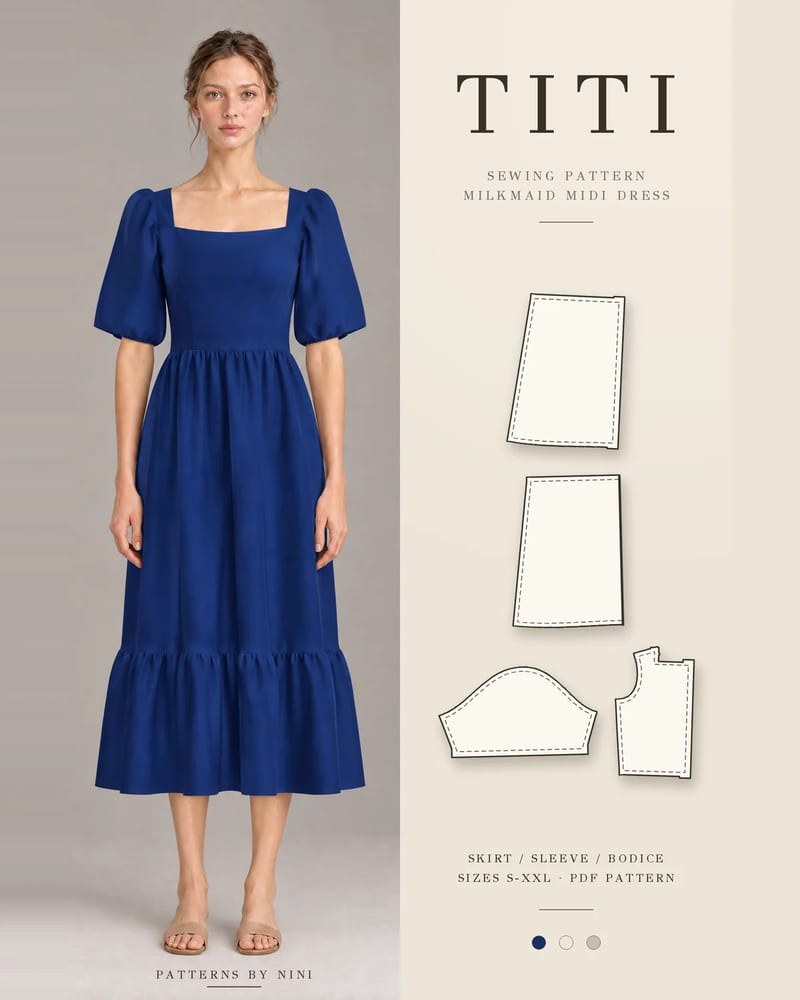
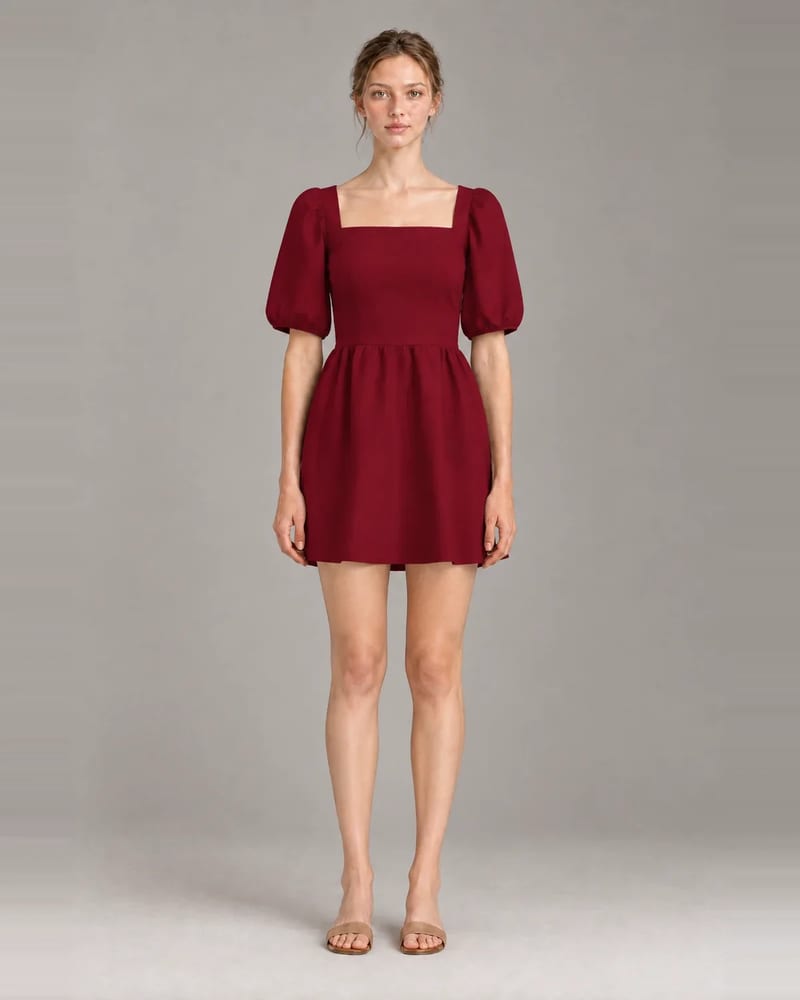
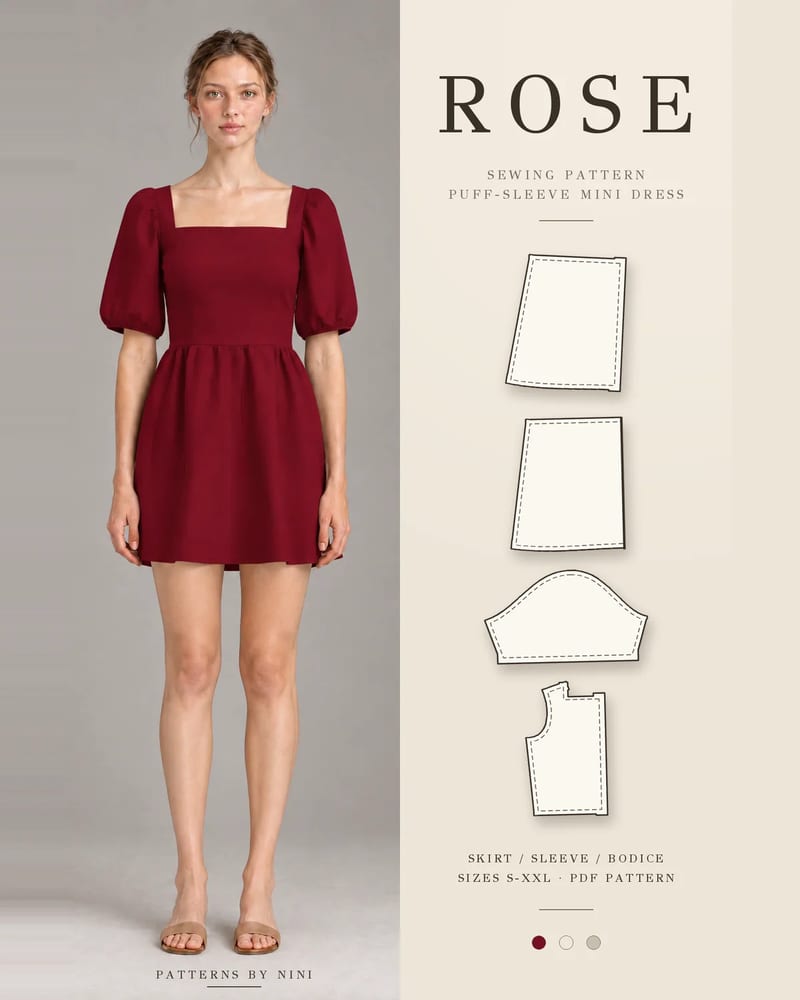
For the classic gathered cap with an elastic casing at the hem, the Titi milkmaid midi dress and the Rose puff-sleeve mini dress both have gathered puff sleeves with elastic casings, set into a darted bodice with a square neckline.
Common mistakes and how to fix them
Problem
Likely cause
Fix
Gathering thread snaps
Pulling one thread, or tension too tight
Pull both bobbin threads together; loosen the top tension
Tucks caught in the seam
Gathers shifted under the foot
Pin closer, stitch slowly with the sleeve on top, unpick and restitch the tuck
Gathers bunched in one spot
Fullness not spread before pinning
Unpick that section, redistribute and repin
Puff collapses
Soft fabric, or gathers pressed flat
Steam rather than press; add a gathered tulle or organza strip in the cap seam
Hem cuts into the arm
Elastic too short
Unpick the gap, let out the overlap or replace the elastic
Elastic twists in the casing
Not kept flat while threading
Pin the casing flat, then roll the elastic straight before closing
Basting shows on the right side
Rows sewn outside the seamline
Pull the threads out after stitching; sew rows inside the allowance next time
A gathered strip of tulle or organza, about 2 in (5 cm) wide and as long as the gathered part of the cap, can be basted to the wrong side of the cap and stitched into the armhole seam with it. It sits inside the sleeve and props the puff up without showing.
Frequently asked questions
How much elastic do you need for a puff sleeve?
Wrap the elastic around the part of your arm where the sleeve hem will sit, usually the upper arm, so it feels snug but comfortable. Add 1/2 in (1.3 cm) for the overlap and cut. Some patterns add up to 2 in (5 cm) over the bicep for a looser fit, so pin the loop and try it on before you stitch it closed.
Why does my puff sleeve go flat?
Usually the fabric is too soft or heavy to hold the shape, or the gathers were spread too wide and pressed flat. Keep the gathers on the top of the cap, press only the seam allowance, and choose a crisp cotton for a big puff. On soft fabric, a gathered strip of tulle or organza sewn into the cap seam gives extra lift.
Do you gather the top or the bottom of a puff sleeve?
Most puff sleeves are gathered at both: the cap is gathered into the armhole for height, and the hem is drawn in with elastic or a band for the rounded shape. A sleeve gathered only at the cap stands up at the shoulder and hangs loose, while one gathered only at the hem balloons at the arm.
Which fabric is best for puff sleeves?
Crisp, light wovens such as cotton poplin, lawn, seersucker and organza give the fullest, most structured puff. Drapey fabrics such as crepe, rayon challis and viscose give a softer, slouchier puff that falls closer to the arm. Heavy fabrics like denim or thick linen make bulky gathers and are harder to ease into the armhole.
Should you sew puff sleeves flat or in the round?
Either works. Sewing flat, before the side seams are closed, is easier for a beginner because you can see and adjust the gathers on a flat armhole. Setting the sleeve in the round, after the side seams, gives you more control on a fitted bodice. Follow your pattern, since the casing order changes with the method.
Fabric grain in sewing explained: find the lengthwise, crosswise and bias grain, check if fabric is off grain, straighten it and lay pattern grainlines right.
How to finish seams without a serger: zigzag, overcast, pinked, turned and stitched, French, flat-felled, bound and hand overcast, with settings for each.
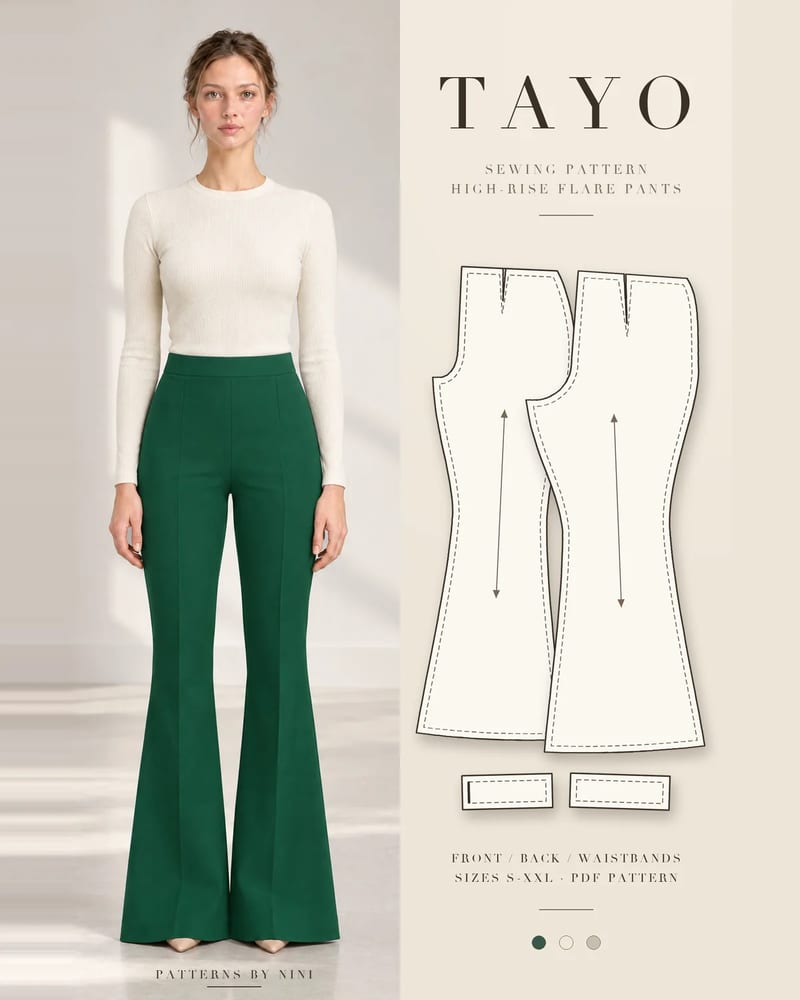
How to sew bell bottom pants step by step: pick a flare pattern or add flare to one you own, then fit the knee, sew the legs and hem the wide flare neatly.
Help us understand what inspires you
May we use Pinterest cookies to measure visits and purchases and improve our advertising? You can shop either way and change your choice in Cookie settings. Privacy policy
 Patterns