A note on measurements: this guide is written for US sewists, so it uses US units first: inches, yards
and US paper sizes (Letter, 36 × 48 in). Metric equivalents are in brackets where they matter. If you're not used to US
measurements, convert them before you cut: 1 in = 2.54 cm, 1 yd = 91.4 cm.
To sew an elastic waistband, you make a tube of fabric at the top of the garment, thread a loop of elastic through it, join the elastic ends and close the gap. That’s the casing method, and it works for pants, skirts and shorts. This guide shows how to sew an elastic waistband three ways: a fold-over casing, a separate band and elastic sewn straight onto the fabric, plus how to choose and measure the elastic so the waist stays up without digging in.
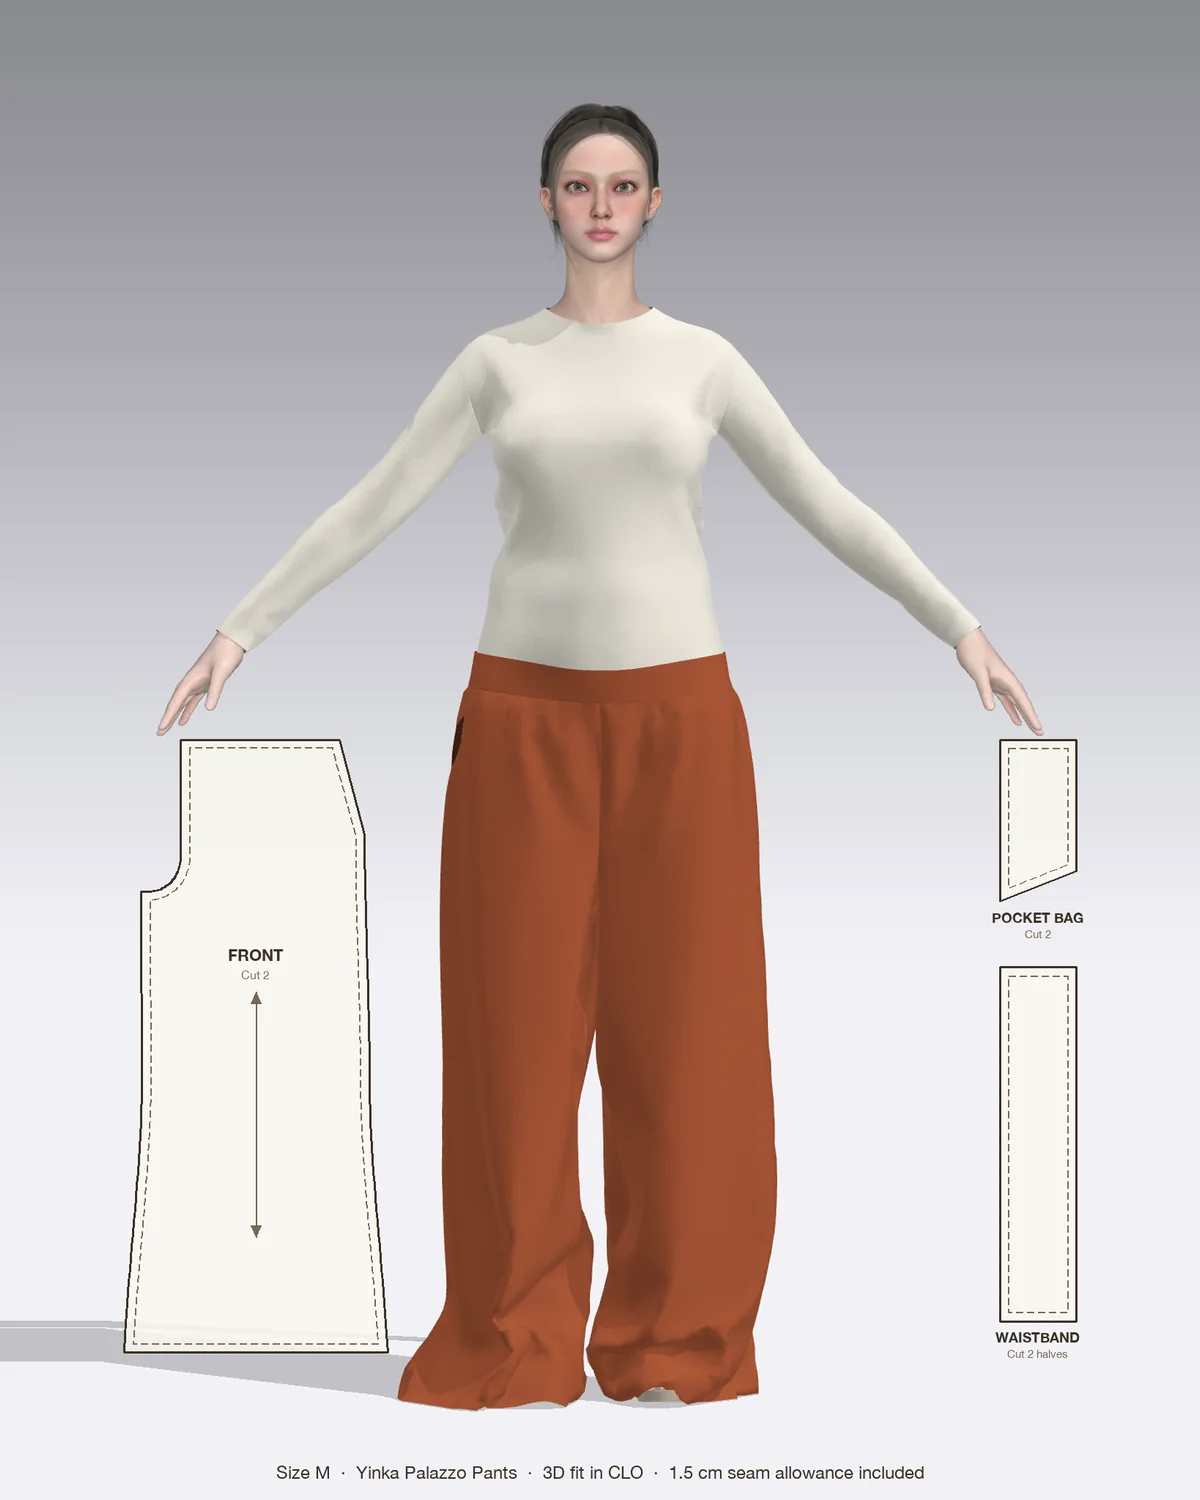
Draped in CLO 3D: the Yinka with its pattern pieces, drawn to scale.
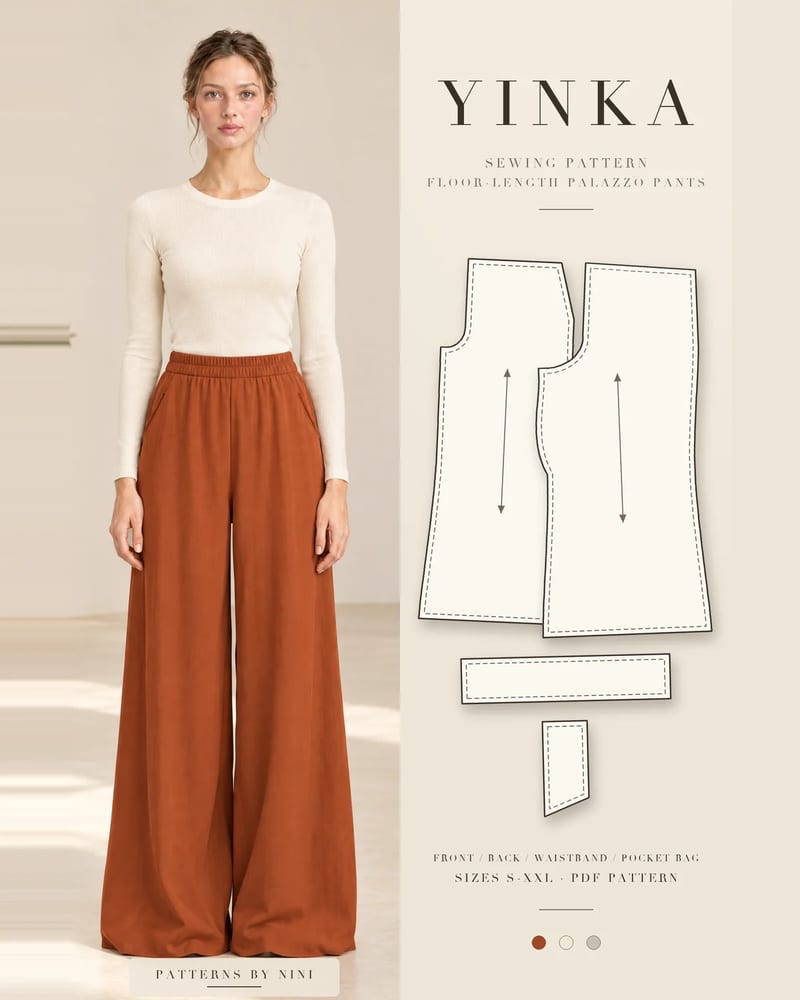
The steps follow pull-on pants like the Yinka palazzo pants, which have a wide gathered elastic waistband for 1 1/2 in (40 mm) elastic, slanted front pockets and no zipper, fly or darts. Follow your pattern’s seam allowances and band width where they differ from the numbers here.
Choose the right elastic
Elastic comes in three main constructions, and they behave differently in a waistband:
Braided elastic has ridges running along its length. It narrows when stretched and loses stretch when you stitch through it, so keep it for casings only, ideally narrow ones. Wide braided elastic tends to roll.
Knit elastic is soft and keeps its width when stretched. It stays stretchy when stitched through, so it suits elastic sewn straight on, in lighter fabrics.
Woven elastic, often sold as non-roll, is firm, keeps its width and resists rolling and twisting. It’s the best choice for wide waistbands and heavier fabrics, in a casing or sewn on.
Use the width your pattern names, since the band is drafted around it. Most waistbands use 3/4 to 1 1/2 in (2 to 4 cm) elastic; exposed waistbands often use 2 in (5 cm) or wider.
How long to cut the elastic
Check your pattern first. Many patterns give an elastic length for each size. Yinka’s chart runs from 27 1/2 in (70 cm) for size S to 37 in (94 cm) for XXL.
No chart? Start 2 to 4 in (5 to 10 cm) shorter than your waist. Firm wide elastic needs less reduction; soft or narrow elastic needs more.
Test-wrap it. Put the elastic around your waist where the band will sit, overlap the ends and pin. It should feel snug, stay up when you move and let you breathe. Then slide it down over your hips to check the garment will still pull on.
Add 1 in (2.5 cm) for the overlap and cut.
If you plan to topstitch through the elastic, pull it slightly tighter when you test-wrap, because topstitching stretches elastic a little.
Method 1: fold-over casing
This is the simplest method, with no separate band. It suits skirts, shorts, pajama pants and gathered waists.
Check the waist allowance. You need a top edge long enough to fold twice: the elastic width plus 1/4 in (6 mm) for the casing, plus 1/2 in (1.3 cm) to turn under. For 1 in (2.5 cm) elastic, that’s about 1 3/4 in (4.5 cm) above the waistline. Add it to the pattern if it isn’t drafted in.
Press under 1/2 in (1.3 cm) along the top edge, wrong sides together.
Fold again by the elastic width plus 1/4 in (6 mm) and press. Pin the casing down.
Stitch close to the lower fold, about 1/8 in (3 mm) from it, with a 2.5 to 3 mm straight stitch. Leave a 2 in (5 cm) gap near the center back.
Stitch around the top fold 1/8 in (3 mm) from the edge if your pattern shows it. It gives a crisper edge.
Thread the elastic through the gap with a large safety pin or bodkin. Pin the trailing end to the garment so it can’t slip inside.
Join and close. Follow the steps under “Join the elastic and finish” below.
Method 2: separate waistband with elastic inside
A separate band gives a cleaner, more even waist and is the usual method for pants with pockets, such as Yinka. It’s also the one walked through in our guide on how to sew pants.
Sew the band into a loop. Stitch the short ends right sides together and press the seam open.
Fold the band in half lengthwise, wrong sides together, and press a sharp fold.
Mark quarters on the band and the garment’s waist edge with pins: center back, center front and the two sides.
Pin the band to the outside of the garment, raw edges together, band seam at the center back, quarter pins matched. Ease the garment evenly between the pins.
Stitch around with a 2.5 mm straight stitch, leaving a 2 to 3 in (5 to 8 cm) gap just to one side of the center back. Backstitch at both ends of the gap.
Finish the seam allowance with a serger or zigzag, stopping at the gap, then press the seam down toward the garment and the band up.
Thread the elastic through the gap, keeping the tail pinned outside.
Join the elastic and finish
This is the same for both casing methods.
Check for twists. Run your fingers all the way around the casing before you sew. A twist found later means unpicking the join.
Overlap the ends by 1 in (2.5 cm) and stitch them with a wide zigzag, several passes back and forth, or a box with an X through it.
Let the elastic slide into the casing and stretch the waist a few times to spread the gathers.
Close the gap with a straight stitch close to the elastic, without catching it. A zipper foot helps. Finish the edge like the rest of the seam.
Stop it rolling. Stitch in the ditch through band and elastic at each side seam and the center back, so the elastic can’t twist in the wash.
Topstitch if you like. For wide elastic, sew two or three evenly spaced rows around the band with a 3 mm straight stitch, stretching the band flat in front of and behind the needle. Let the feed dogs move the fabric. Don’t push or drag it.
Method 3: elastic sewn straight on (no casing)
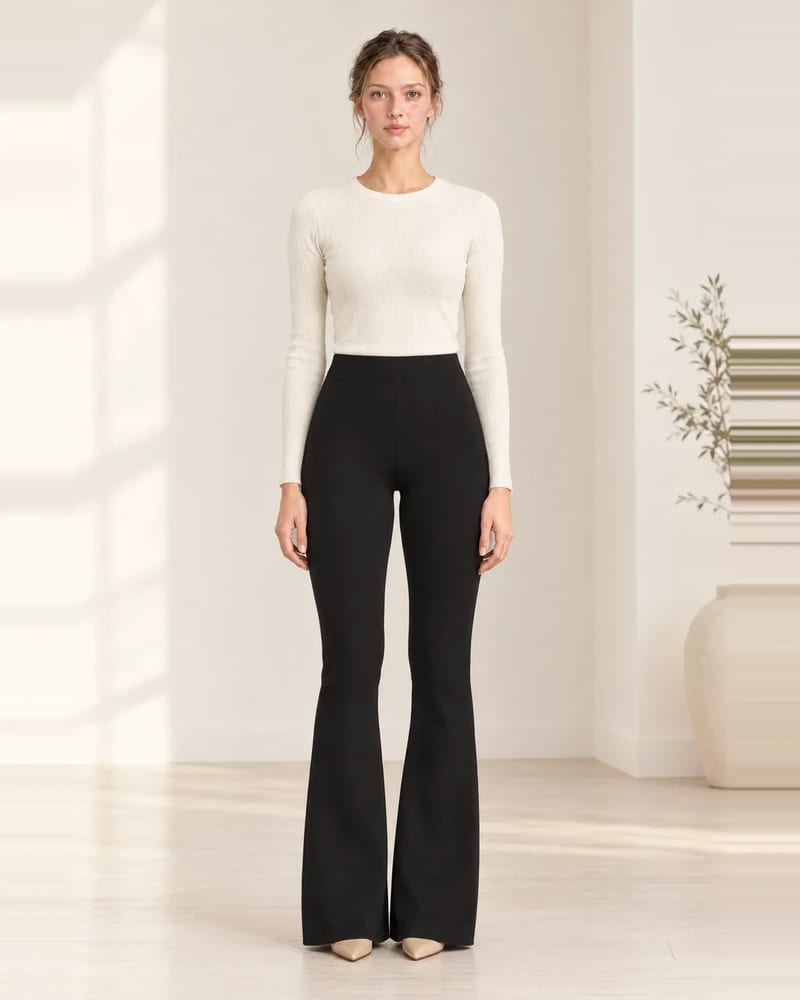
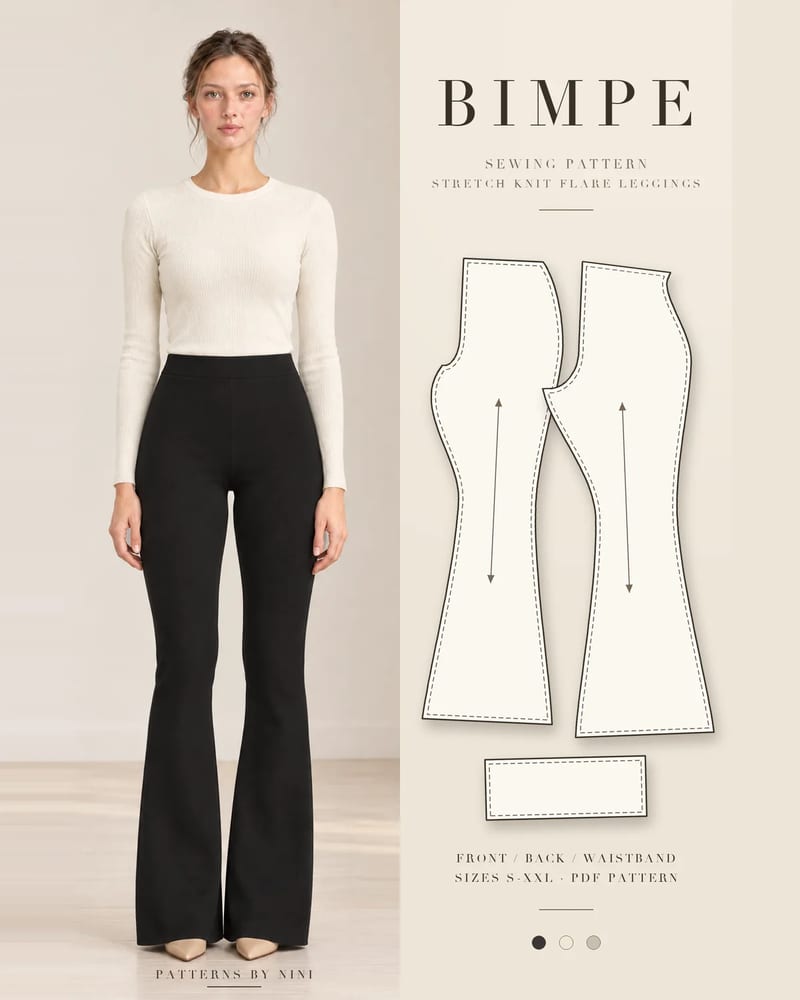
This method suits knit fabrics and leggings like the Bimpe flare leggings, which have a wide flat elastic waistband for 2 in (5 cm) elastic. Use knit or woven elastic, never braided.
Join the elastic into a loop with a 1/2 in (1.3 cm) overlap or a butted zigzag seam.
Mark quarters on the elastic loop and the waist edge.
Pin the elastic to the wrong side, edge to edge, matching the quarter marks. The elastic will be shorter than the fabric.
Zigzag or serge along the top edge, stretching the elastic between pins so it lies flat against the fabric. Keep the needle down when you stop to reposition.
Fold the elastic inside once, so the fabric wraps around it.
Topstitch through all layers with a zigzag (3 mm wide, 2.5 mm long) or a twin needle, stretching as you sew so the stitches stretch too.
For an exposed elastic waistband, stitch decorative elastic to the outside of the waist edge with a 1/2 in (1.3 cm) seam allowance instead, again stretching it to fit.
Troubleshooting
Problem
Likely cause
Fix
Elastic rolls or folds over
Braided elastic, or a casing much wider than the elastic
Use woven non-roll elastic, cut the casing 1/8 to 1/4 in (3 to 6 mm) wider than it, stitch in the ditch at the seams
Elastic twisted inside
Not checked before joining
Unpick the join, straighten, rejoin (you lose a little length, so cut it generously next time)
Waist too loose after topstitching
Topstitching stretched the elastic
Open the gap, overlap the ends more and rejoin; test-wrap a little tighter next time
Waist won’t stretch over hips
Elastic too short, or topstitched without stretching
Cut new elastic, or unpick the topstitching and sew again with the band stretched flat
Gathers bunched in one place
Quarters not matched
Mark quarters on both, then spread the gathers before stitching in the ditch
Wavy, rippled band on knits
Stitch with no stretch
Use a zigzag or twin needle, not a straight stitch
Patterns with elastic waistbands
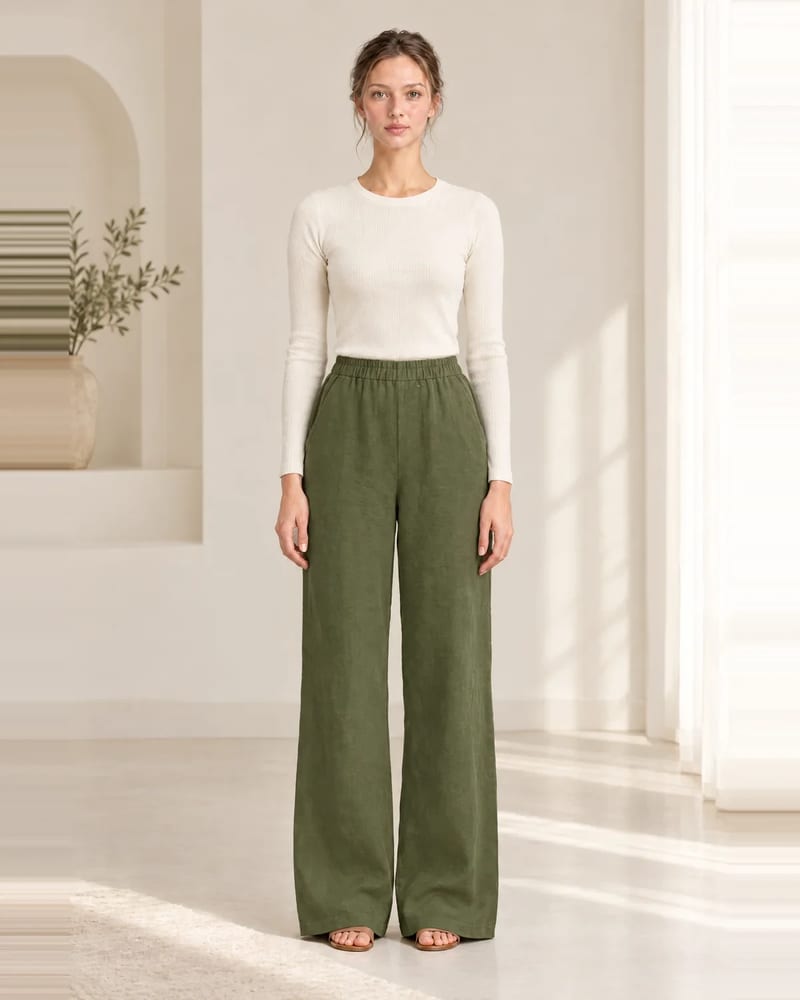
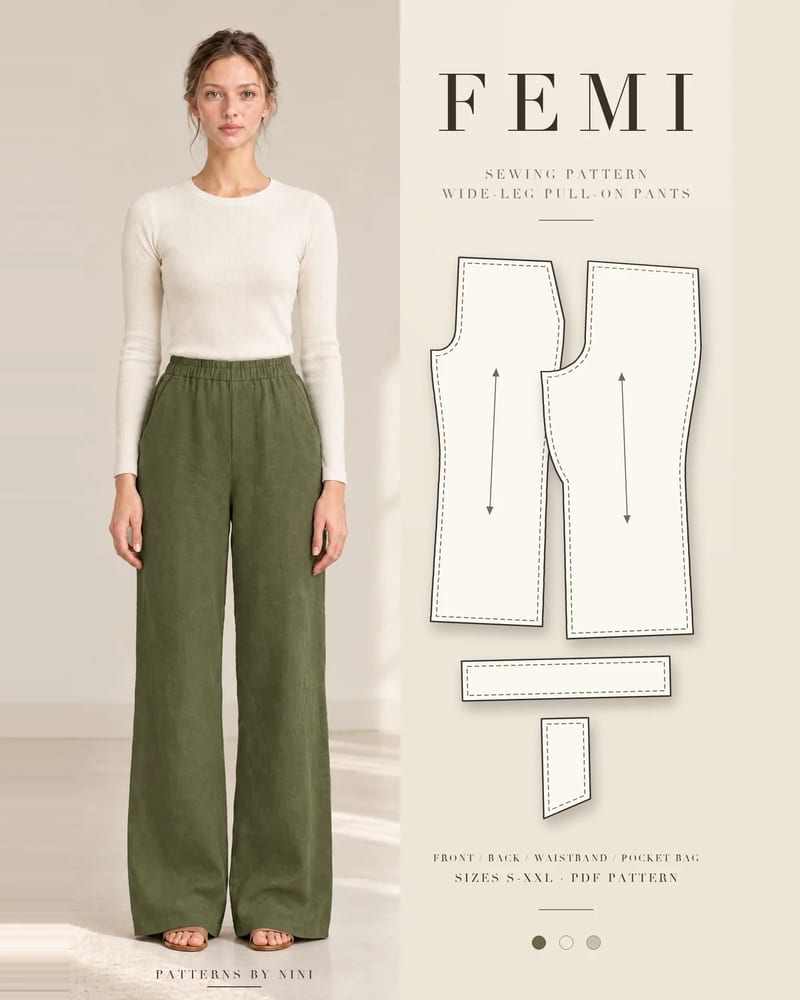
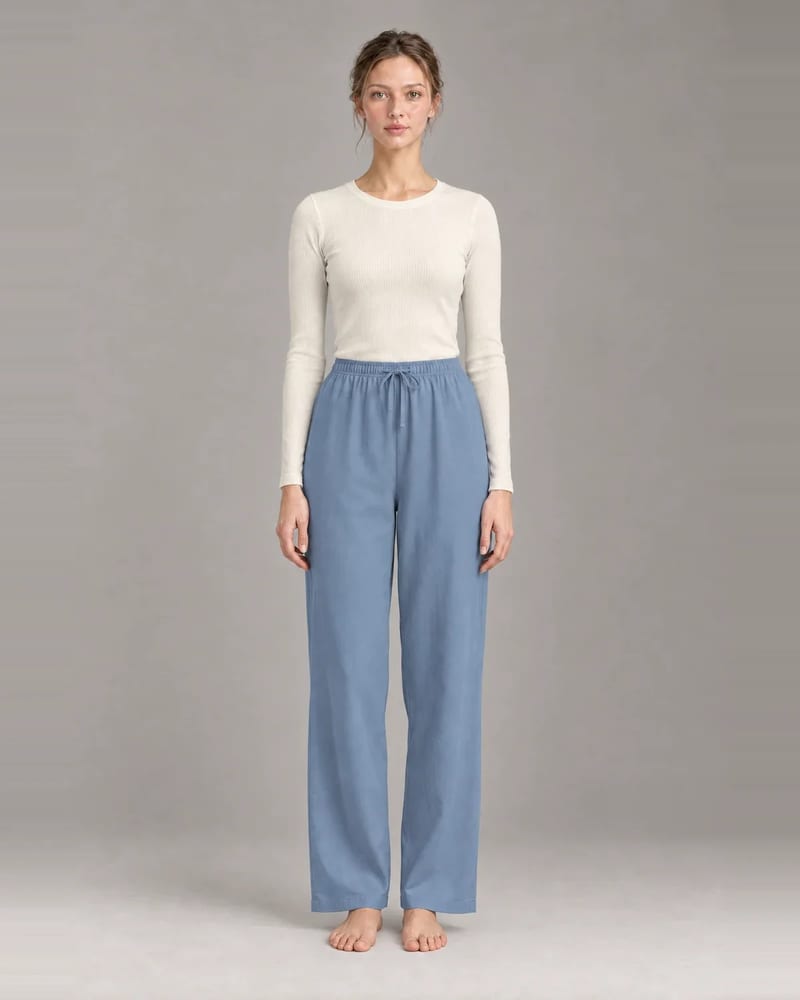
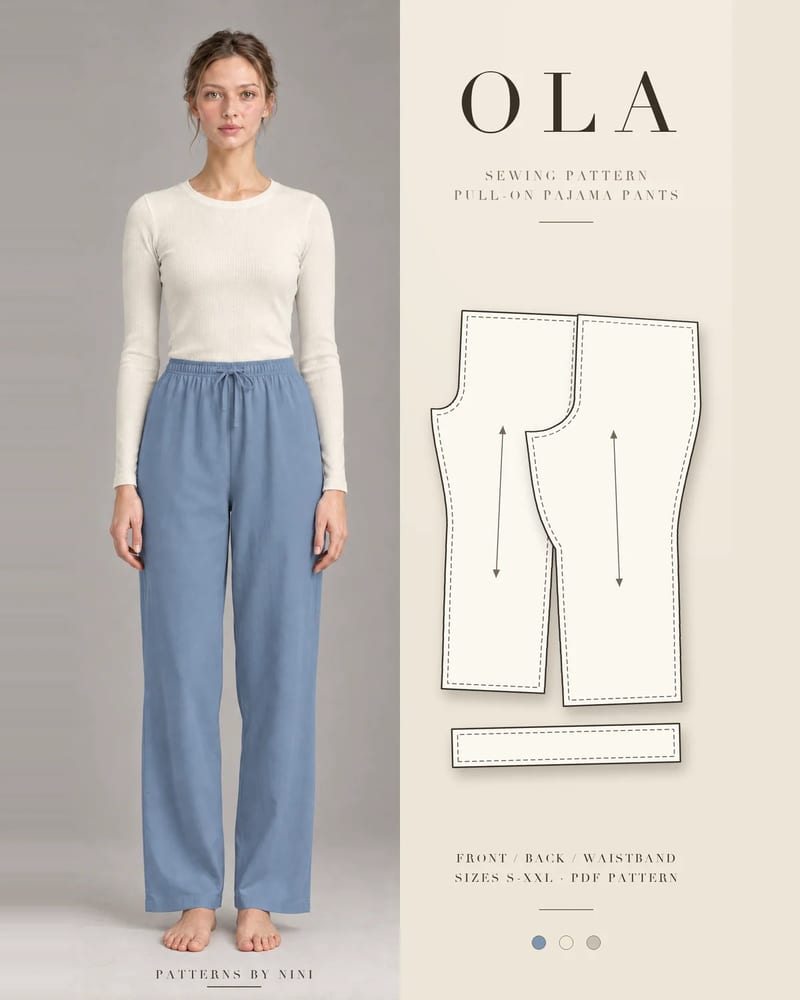
The Yinka palazzo pants put this technique to work on very wide, floor-length legs, in sizes S to XXL, with an elastic length for every size. The Femi wide-leg pants use a gathered elastic waistband at the natural waist with 1 1/4 in (30 mm) elastic, and the Ola pajama pants combine 1 in (25 mm) elastic with a drawstring through two front buttonholes.
The same casing idea works at the sleeve hem: the Teal wrap dress has elastic-ruched puff sleeves, covered in the guide on how to sew a puff sleeve. For a pull-on skirt with an elastic waist, see how to sew a skirt.
Frequently asked questions
How much shorter than my waist should the elastic be?
Start with your pattern's elastic chart, because the waistband is drafted for a set length. Without one, a common starting point is 2 to 4 in (5 to 10 cm) shorter than your waist, less for firm wide elastic and more for soft narrow elastic. Wrap it around your waist where the band will sit, check it's snug but comfortable, then add 1 in (2.5 cm) for the overlap.
Do you stretch elastic when sewing it in?
Only when you sew it straight onto the fabric. Then you stretch the elastic to match the fabric edge between quarter marks as you stitch, and it gathers the fabric when you let go. Elastic fed through a casing isn't stretched while sewing: you thread it in, join the ends and the fabric gathers along it.
How do I stop elastic from twisting or rolling in the waistband?
Use woven non-roll elastic and a casing only about 1/8 to 1/4 in (3 to 6 mm) wider than the elastic. After joining the ends, spread the gathers and stitch in the ditch through the band and elastic at the side seams and center back. Rows of topstitching through the whole band also lock the elastic in place.
Can you sew an elastic waistband without a casing?
Yes. Divide the elastic and the waist edge into quarters, pin them together and zigzag or serge the elastic to the wrong side, stretching it as you go. Fold it inside once and topstitch with a zigzag or twin needle, or leave it exposed on the outside. Use knit or woven elastic, because braided elastic loses stretch when you stitch through it.
How to finish seams without a serger: zigzag, overcast, pinked, turned and stitched, French, flat-felled, bound and hand overcast, with settings for each.
How to sew bell bottom pants step by step: pick a flare pattern or add flare to one you own, then fit the knee, sew the legs and hem the wide flare neatly.
How to sew a strap on a dress step by step: make spaghetti or wide straps, set them into a lined bodice, fit the length and reattach a strap that came loose.
Help us understand what inspires you
May we use Pinterest cookies to measure visits and purchases and improve our advertising? You can shop either way and change your choice in Cookie settings. Privacy policy
 Patterns