Patterns
How to sew a T-shirt: a step-by-step guide for beginners
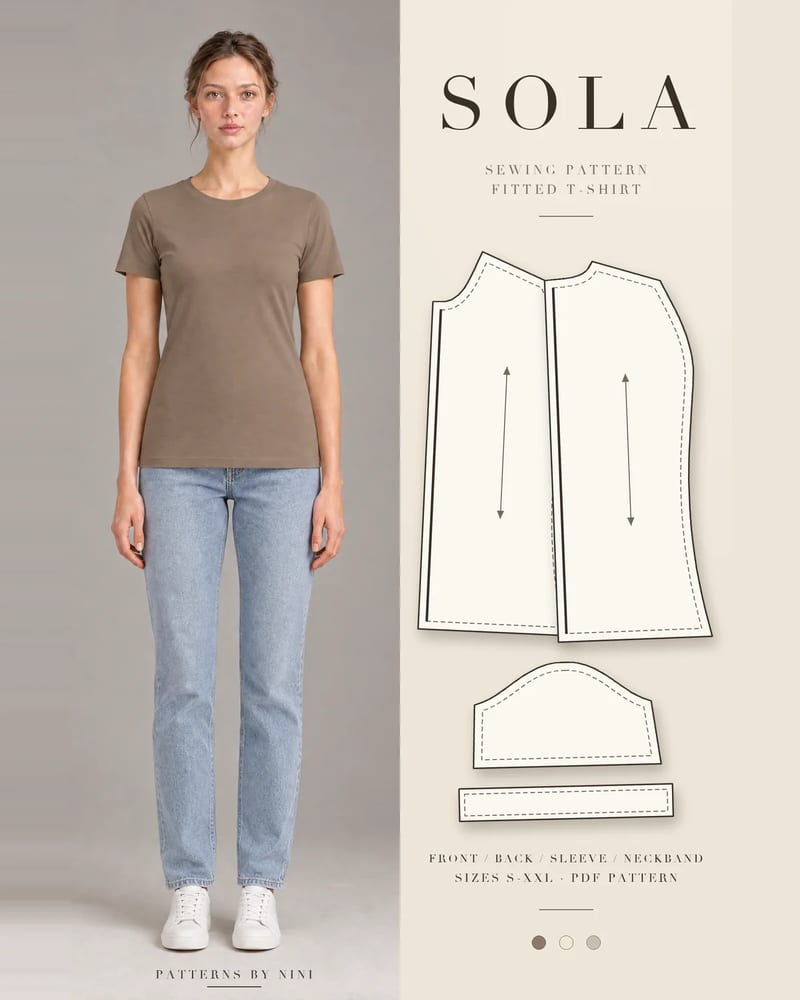
How to sew T-shirts on a regular sewing machine: choose a knit, cut it, sew the shoulders, neckband, sleeves, side seams and hems, and fix wavy seams.
A note on measurements: this guide is written for US sewists, so it uses US units first: inches, yards and US paper sizes (Letter, 36 × 48 in). Metric equivalents are in brackets where they matter. If you're not used to US measurements, convert them before you cut: 1 in = 2.54 cm, 1 yd = 91.4 cm.
A seam gauge for sewing is a short ruler, usually 6 in (15 cm) long, with a sliding marker that you lock at one measurement and repeat over and over. It is the tool you reach for when a measurement is small and has to be the same every time: a hem depth, a seam allowance, the spacing between buttonholes or the width of an elastic casing. It costs a few dollars and does jobs a tape measure does badly.
This guide explains what the markings mean, how to set and use a gauge step by step, and the mistakes that make a “measured” hem come out uneven anyway.
The classic sewing gauge is a flat strip of aluminum or steel marked in inches and fractions down to 1/8 in (3 mm), often with centimeters on the other edge. A plastic or metal slider runs along a slot in the middle. One end is usually notched or pointed, and on many gauges that end doubles as a point turner for corners. Some versions add a button gauge, a T-square or a hole for drawing circles like a compass.
It is easy to confuse with a seam guide, which sounds the same but does a different job:
The two work well together: set the gauge to your allowance, then use it to position the guide.
Metal gauges stay straight, lie flat and can sit under a fold while you press. Plastic gauges are lighter and sometimes clear, but they bend and can warp near an iron. Whichever you buy, check that the slider moves when pushed and doesn’t drift when you lift the gauge. A loose slider is the most common reason a gauge gives uneven results.
The basic method is the same for every job.
Set the slider to the hem depth. Hold the end of the gauge on the raw edge, fold the fabric up until the fold meets the slider and pin. Work all the way around, then press. For a double-fold hem, press the first turn with the gauge set to the turn-under (often 1/4 in or 6 mm), then reset it for the full depth. The guide on how to hem a dress takes it from there.
On a curved seam, a seam you’re sewing by hand, or one where a ruffle covers the guide on the machine, stop and measure from the stitching to the raw edge. If it has drifted from 5/8 in to 1/2 in, unpick that stretch before it changes the fit.
When a pattern piece is printed without seam allowance, or you’ve altered a seam line, set the gauge to the allowance and mark dots out from the seam line every inch or so, then join them with a ruler or curve.
Use the gauge to check that both dart legs are the same length and that the dart point sits the distance from the bust point your pattern gives. It’s quicker than a long ruler on a small piece. See how to sew darts for the stitching.
A casing should be a little wider than the elastic. For 1/4 in (6 mm) elastic, a casing about 3/8 in (1 cm) wide gives room to thread it. Set the gauge, press the fold and use it again to check the stitching line stays parallel.
Mark the first and last buttonhole from the pattern, then set the gauge to the spacing between them and mark the rest. Use the slider to measure the button’s diameter plus its thickness for the buttonhole length. The guide to how to sew a buttonhole covers the stitching.
Set the gauge to the pleat or tuck depth and mark each fold line the same distance apart. For knife pleats, mark the fold line and the placement line from the same edge so every pleat matches.
Check the width of cut strips, pressed bias tape and turned straps along their length before you sew them on. A strap that’s 1/8 in narrower at one end looks crooked on the shoulder.
Measure from the edge to the topstitching line every few inches as you sew, or mark a chalk line first at a set distance, such as 1/4 in (6 mm) from a neckline.
Put the gauge under the presser foot, lower the needle into the slot or hole at the allowance you need, square the gauge to the front of the machine and place your seam guide or a strip of tape against its end.
| Problem | Likely cause | Fix |
|---|---|---|
| Hem is uneven even though you measured | Gauge held at an angle, or measured from an uneven raw edge | Keep the gauge square; trim the raw edge level first |
| Measurements creep larger | Slider has slipped | Tighten or replace the slider; recheck it every few marks |
| Fold won’t stay at the mark | Fabric springs back before pressing | Pin first, then press with the gauge removed |
| Plastic slider warped | Ironed over it | Keep the iron on the fabric only; lift the gauge out before pressing |
| Curved hem ripples | Same depth used on a tight curve | Use a narrower hem depth on curves and ease in the fullness |
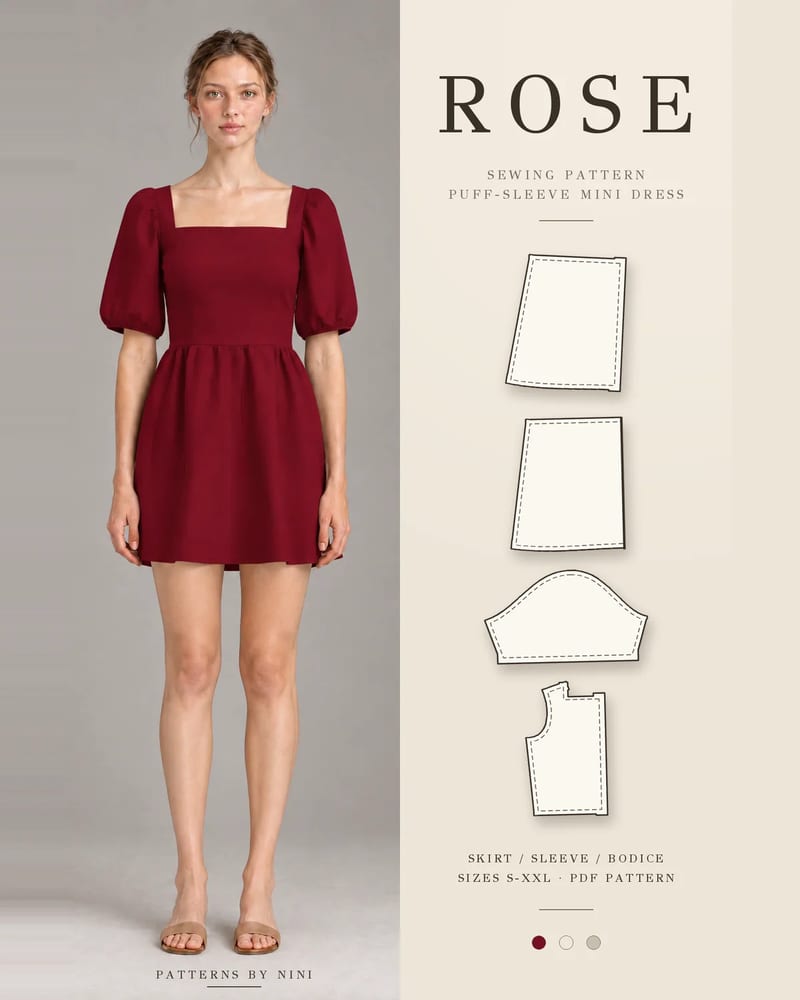
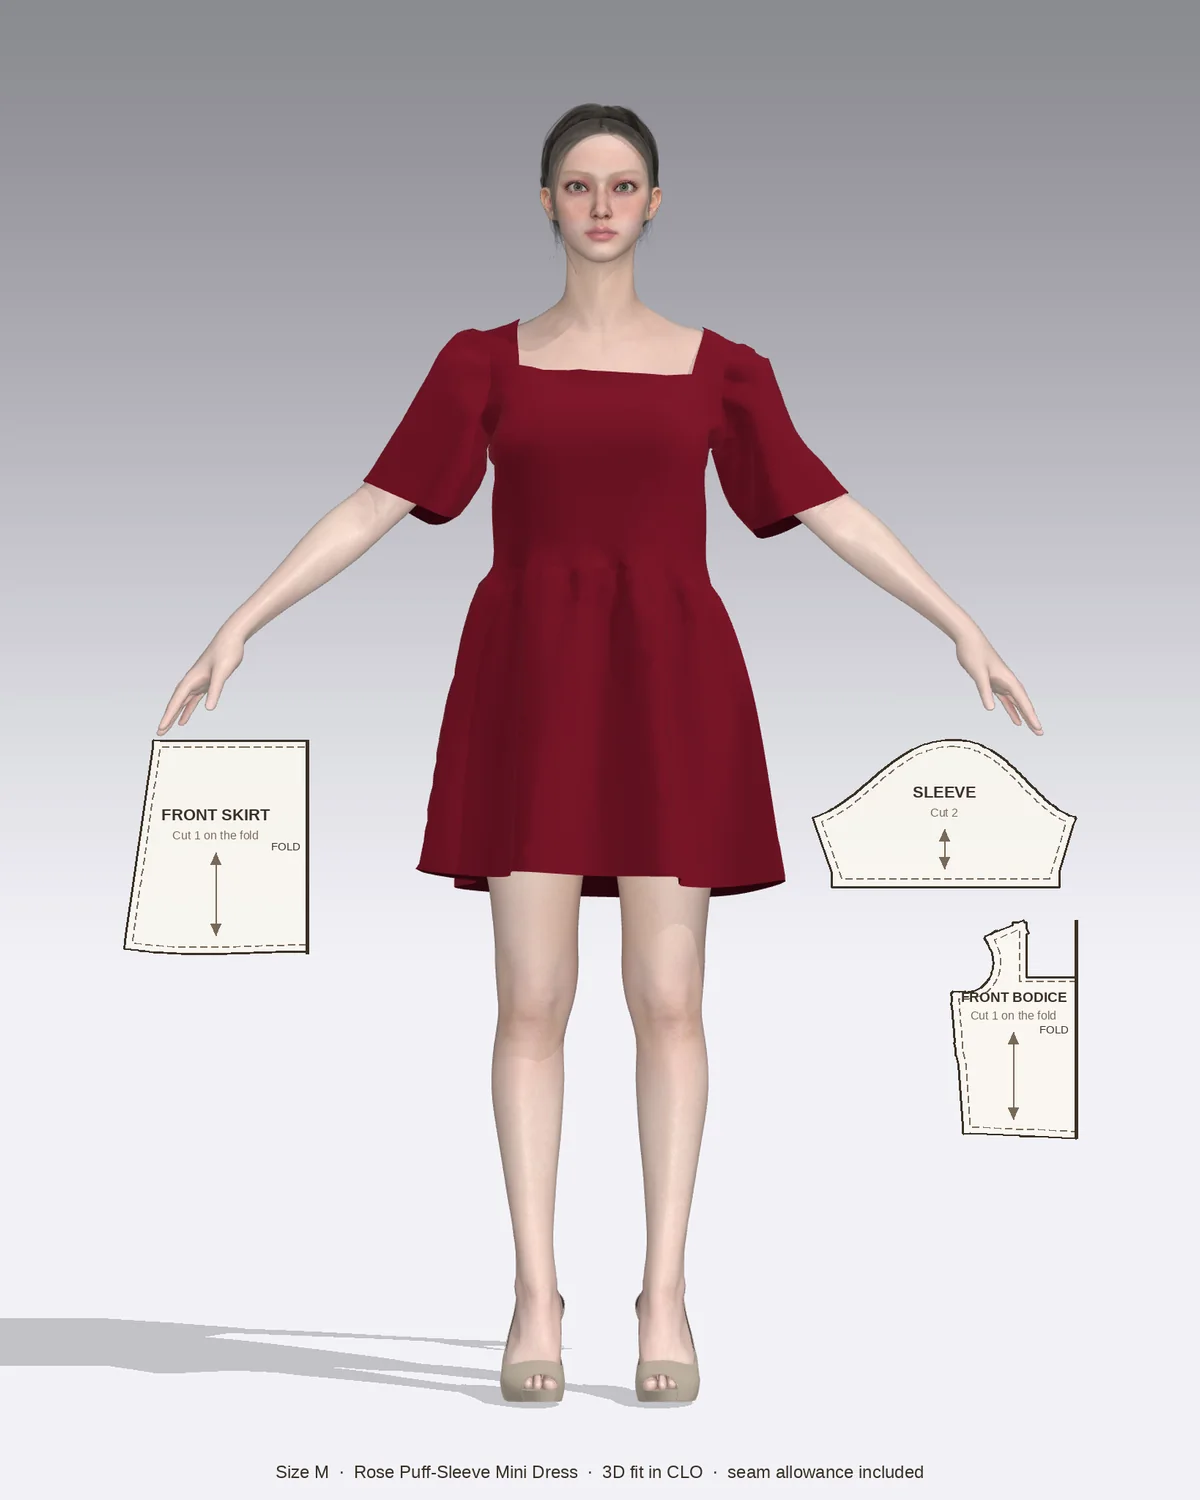
The Rose puff-sleeve mini dress is full of small repeated measurements, which makes it a good project to put a gauge to work. Its gathered puff sleeves finish with elastic casings for 1/4 in (6 mm) elastic, so the gauge keeps the casing an even width all around the sleeve hem. The bodice has bust and waist darts, the square neckline is finished with bias binding, and the gathered mini skirt needs a level hem. Rose closes with an invisible zipper at the center back, where the gauge helps you check the seam allowance on both sides matches before you insert it.
The same habit helps elsewhere in the range. The Teal puff-sleeve wrap midi dress has a two-piece puff sleeve with an elastic-ruched center seam and bias-faced edges, the Nina shift dress has bust darts and a faced boat neck, and the Tolu pleated pants have one soft pleat each side of the front, where the gauge helps both pleats come out the same depth. If you’re building a first toolkit, the guide to sewing patterns for beginners suggests which designs to try first.
How to sew T-shirts on a regular sewing machine: choose a knit, cut it, sew the shoulders, neckband, sleeves, side seams and hems, and fix wavy seams.
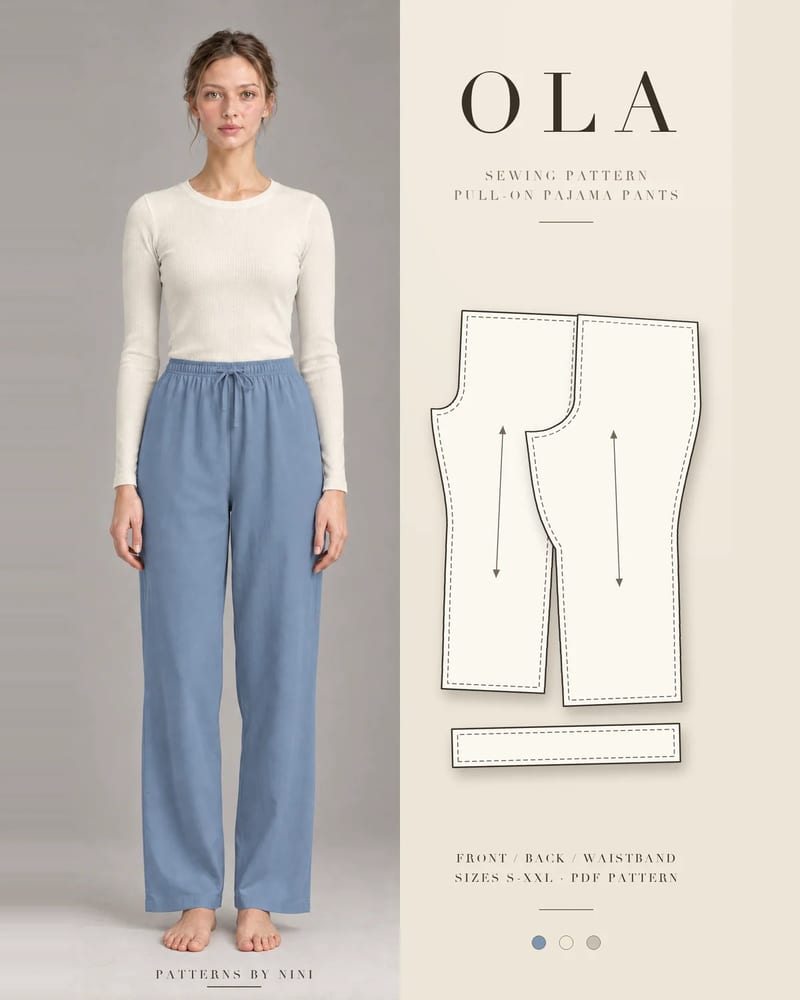
How to sew pajama pants step by step: pick and prewash fabric, cut, sew the legs and crotch, add an elastic and drawstring waistband, then hem.
How to use a magnetic sewing seam guide: set it to any seam allowance, sew straight seams and curves, and keep it clear of a computerized machine's electronics.
May we use Pinterest cookies to measure visits and purchases and improve our advertising? You can shop either way and change your choice in Cookie settings. Privacy policy