 Patterns
How to hem jacket sleeves: unlined, lined and suit jackets
How to hem jacket sleeves step by step: set the length, turn and stitch an unlined hem, reattach a lining with ease, and deal with vents and cuff buttons.
A note on measurements: this guide is written for US sewists, so it uses US units first: inches, yards and US paper sizes (Letter, 36 × 48 in). Metric equivalents are in brackets where they matter. If you're not used to US measurements, convert them before you cut: 1 in = 2.54 cm, 1 yd = 91.4 cm.
To sew a jacket, cut and interface the pieces, sew the pockets while the panels are still flat, join the shoulders, sleeves and side seams, then add the collar and zipper before hemming and finishing the inside. Knowing how to sew a jacket is mostly a matter of working in the right order and controlling bulk where layers meet. The steps below suit an unlined or simply lined casual jacket. Tailored blazers add canvas and hand shaping, which are beyond this guide.
Decide first whether the jacket will be lined, because that changes how the seams are finished.
| Fabric | Needle | Stitch length | Pressing |
|---|---|---|---|
| Cotton twill or denim | 90/14 | 2.5 to 3 mm | Hot, with steam |
| Wool coating | 90/14 or 100/16 | 3 mm | Wool setting, steam, press cloth |
| Light wool | 80/12 | 2.5 mm | Wool setting, steam, press cloth |
| Sherpa or fleece | 90/14 ballpoint | 3.5 to 4 mm | Fingers, or low heat with a cloth |
Use a strong polyester thread and fit a new needle before you start. A walking foot helps thick layers feed evenly, and it matters most on pile fabrics. Sew a test seam on scraps, through the same number of layers you will meet at the collar.
Buy the zipper before you cut. A separating zipper opens fully at the hem, and it can’t be shortened from the bottom, so match the length to your front edge. A #5 is a typical jacket weight.
This order works for most casual jackets. Where your pattern differs, follow the pattern, since its pieces were drafted for its own sequence.
The collar and zipper share the front edge, so they are planned together. The guide on how to sew a collar covers trimming, points and stands in more detail.
Cut the zipper tape ends only after they are secured, and bar tack the ends if your pattern doesn’t enclose them.
Bound seams look clean and stop pile from shedding. Wrap each seam allowance in bias binding or twill tape, a Hong Kong finish, before the seam is crossed. On sherpa and other fabrics that shed, finish every raw edge, because unfinished seams keep dropping fibers long after the jacket is made. An overlocker works too, and pinking shears are a fallback on stable fabrics.
Bagging is the machine method for a full lining: you sew the lining as a separate jacket, join it to the shell and turn the whole thing through a gap.
Choose a lining that slides, and use a sturdy cotton twill or broadcloth for pocket bags, which wear fastest.
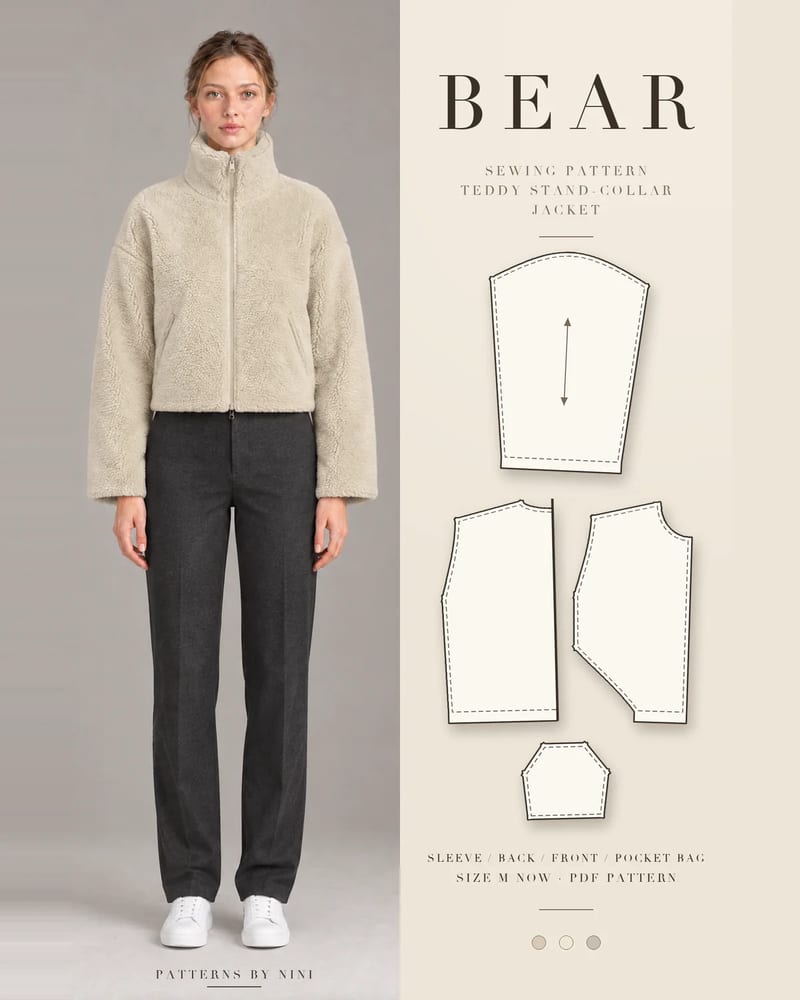
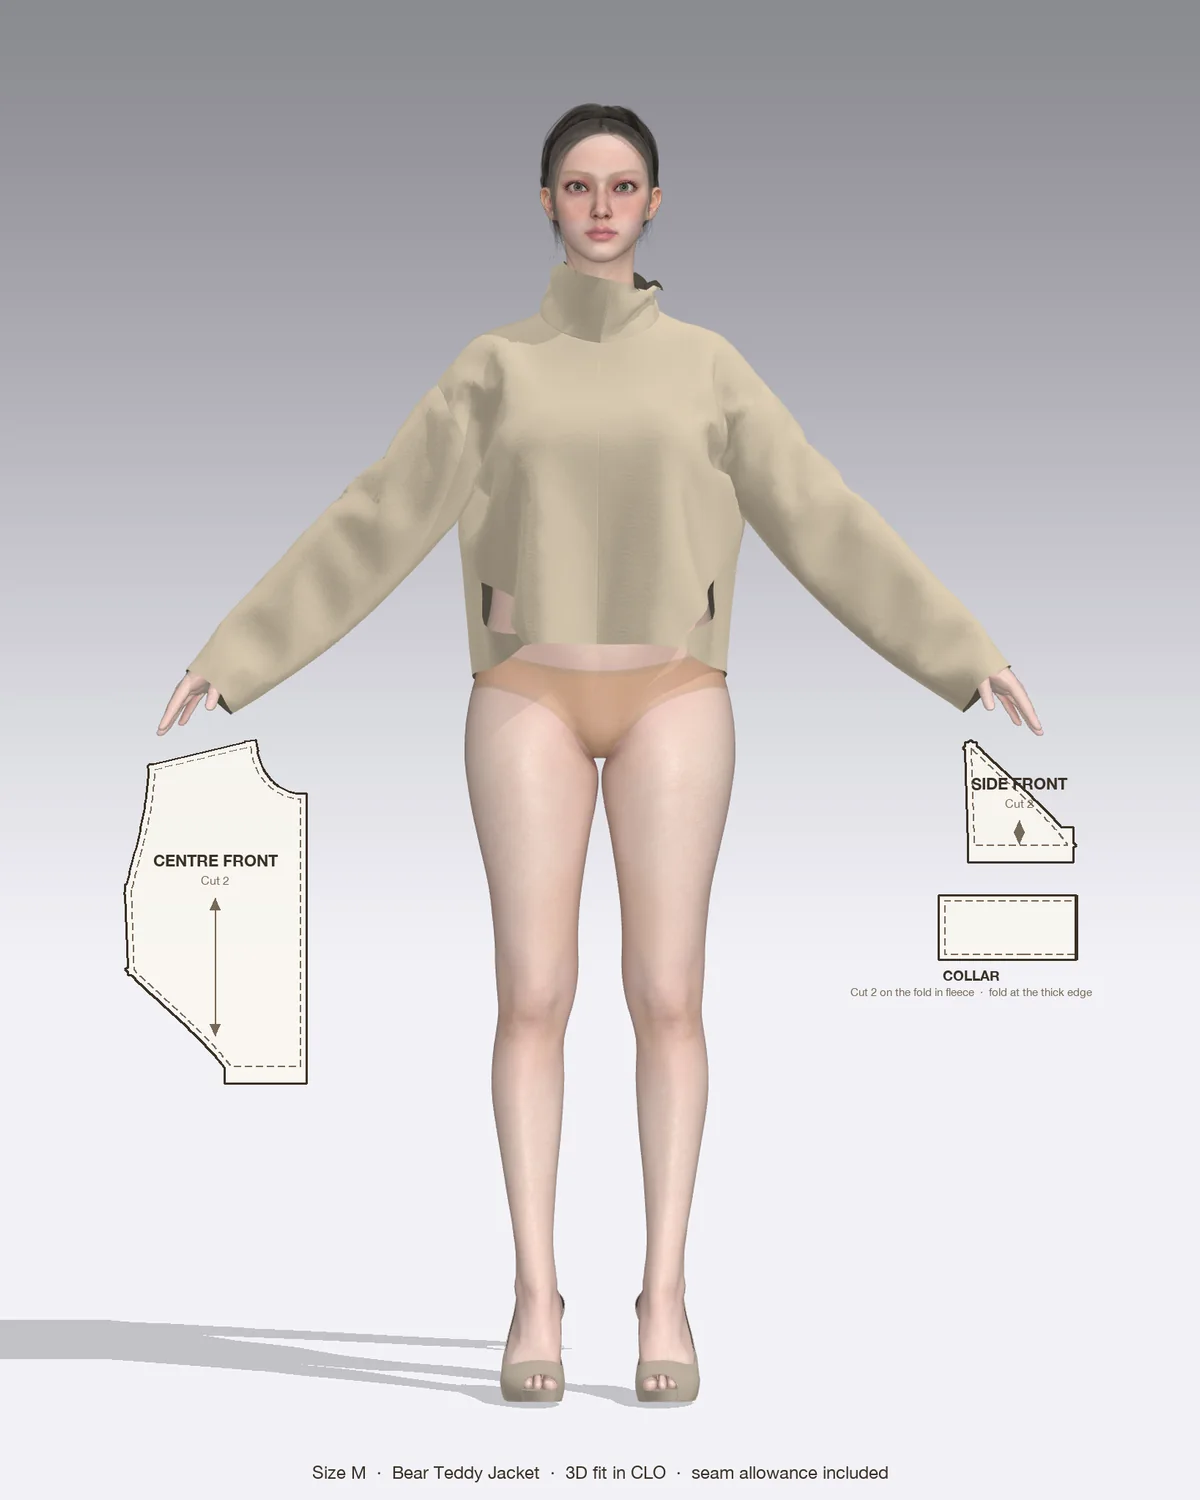
The Bear teddy jacket is the one to try these steps on. It’s a cropped, unlined sherpa jacket with dropped shoulders, a tall two-layer stand collar, slanted in-seam pockets with lining bags and bound inside seams. The exposed separating zipper runs from the hem to the collar top, with a 22 in (55 cm) #5 zipper and 2¼ yd (2 m) of 3/4 in (2 cm) twill tape or bias binding on the notions list, and a walking foot is recommended. It’s rated for confident beginners and sold in size M only, so check that size suits you before you buy.
| Problem | Likely cause | Fix |
|---|---|---|
| Layers creep at the collar | Thick fabric feeding unevenly | Use a walking foot, clip the layers and stitch slowly |
| Wavy zipper edges | Stretch or loose weave | Stabilize the edges with woven fusible strips and baste first |
| Hem or chest seams don’t line up across the zipper | Second side not matched | Zip it up, mark the seams on the tape and pin |
| Bulky corners and collar points | Allowances left full width | Grade the allowances and trim the corners |
| Shiny patches on wool | Pressing on the right side | Press from the wrong side with a cloth, then use a clapper |
| Crushed or melted pile | Iron too hot | Finger press, or use low heat with a press cloth |
| Lining pulls or drags | No ease in the lining | Add the center-back pleat and let the hems sit loose |
How to hem jacket sleeves step by step: set the length, turn and stitch an unlined hem, reattach a lining with ease, and deal with vents and cuff buttons.
How to sew a collar that sits crisp: interface the upper collar, trim the under collar, turn sharp points and attach it with a stand, facing or binding.
How to sew a zipper in a skirt, dress or jacket: choose the right type and length, then sew a centered, lapped or exposed separating zipper step by step.
May we use Pinterest cookies to measure visits and purchases and improve our advertising? You can shop either way and change your choice in Cookie settings. Privacy policy