Patterns
How to sew darts: mark, stitch and press a smooth point
How to sew darts step by step: mark the legs, stitch from the wide end, taper off at the point without backstitching, then press over a ham for a smooth shape.
A note on measurements: this guide is written for US sewists, so it uses US units first: inches, yards and US paper sizes (Letter, 36 × 48 in). Metric equivalents are in brackets where they matter. If you're not used to US measurements, convert them before you cut: 1 in = 2.54 cm, 1 yd = 91.4 cm.
To sew a dress, you choose a pattern and size, prewash and cut your fabric, then sew it in a set order: staystitching, darts, the bodice, the skirt, the waist seam, the zipper, the facings and finally the hem. Pressing every seam as you go is what makes a home-sewn dress look finished. This guide explains how to sew a dress from a pattern, step by step, using a sleeveless woven dress as the example because it teaches the core skills you’ll use on almost every dress afterward.
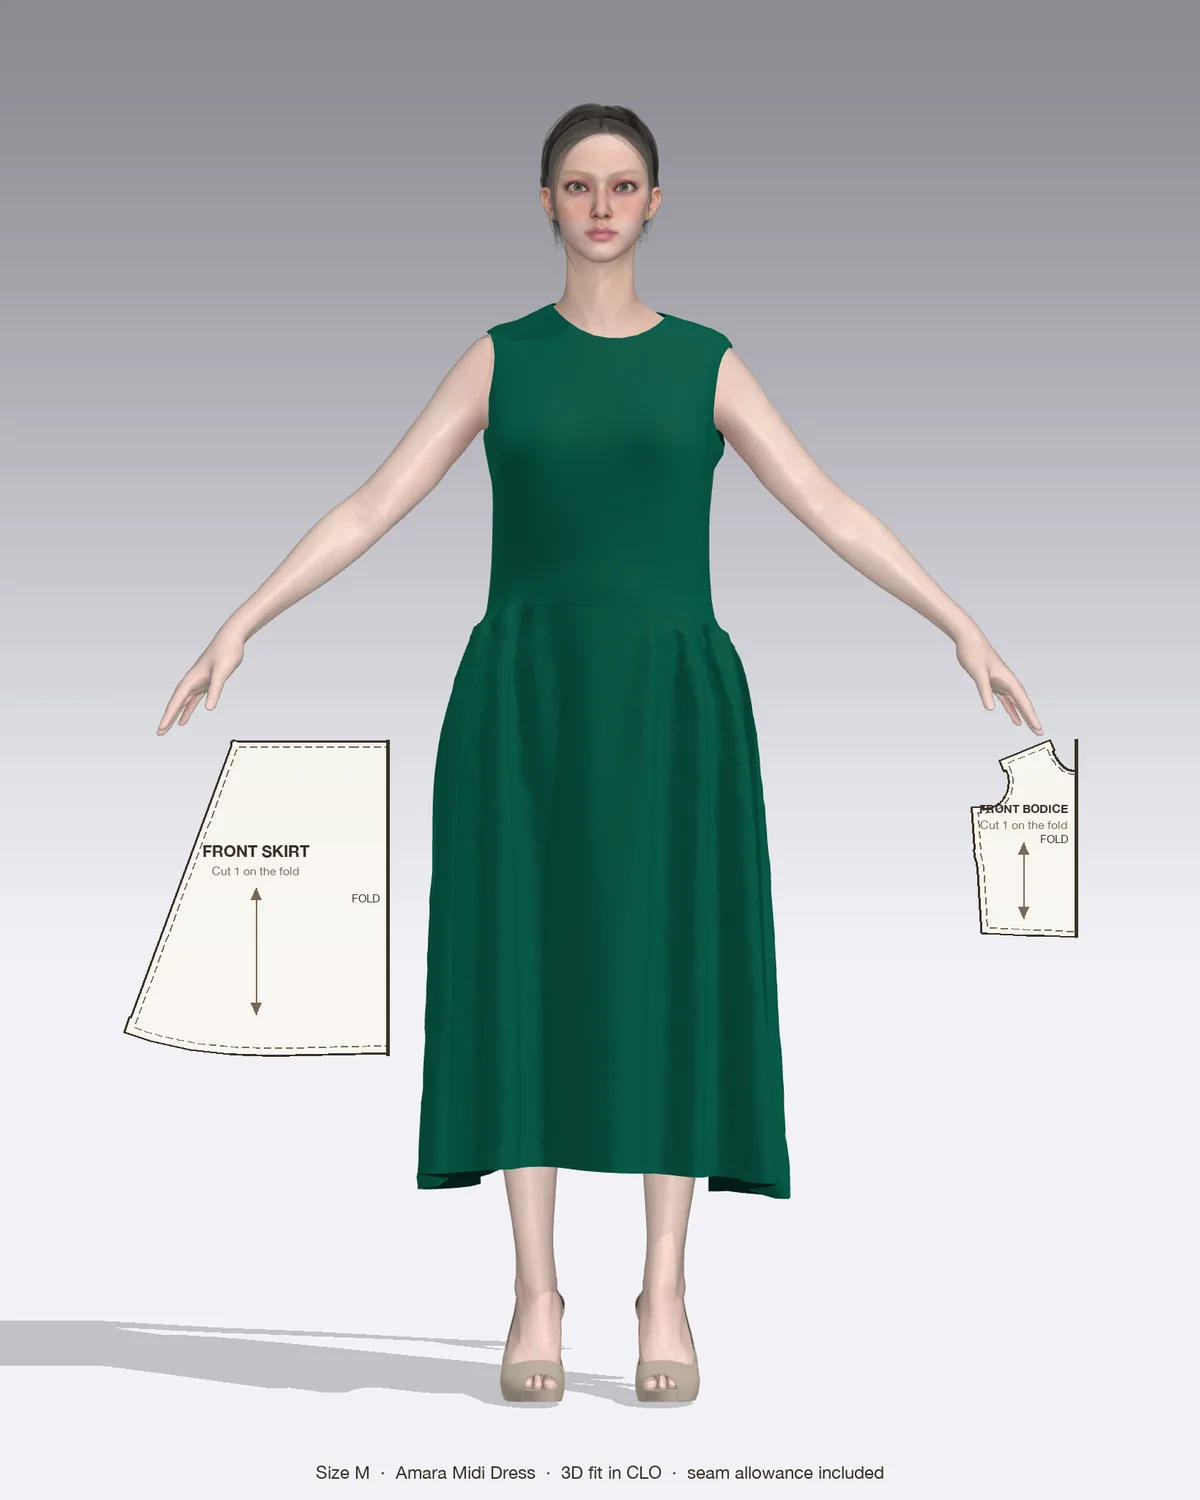
The example follows the construction of a dress like the Amara high-neck gathered midi dress: a darted bodice, a skirt gathered over the hips, all-in-one neck and armhole facings and an invisible zipper at the center back. Your own pattern may order things slightly differently. When it does, follow the instructions that came with it.
Set your machine to a straight stitch of 2.5 mm and sew at the seam allowance your pattern gives, often 3/8 in (1 cm) or 5/8 in (1.5 cm). Press every seam before you cross it with another one.
Stitch about 1/8 in (3 mm) inside the seam line around the neckline and armholes, on a single layer, with a 2.0 mm stitch. Sew from the shoulder toward the center on the neckline and from the shoulder down on the armholes. This stops the bias-cut curves from stretching while you handle them.
Stitch each bust and waist dart from the wide end to the point, sewing the last 1/2 in (1.3 cm) right along the fold so the point is smooth. Tie the threads instead of backstitching at the tip. Press bust darts down and waist darts toward the center. The full method is in the guide to sewing darts.
Sew the bodice front to the backs at the shoulders, right sides together. Join the facing pieces at their shoulders too. Press the seams open. If your pattern has all-in-one facings, the side seams usually stay open for now so the facing can be turned through the shoulders.
Pin the facing to the bodice around the neckline and armholes, right sides together, and stitch. Trim and clip the curves, understitch where you can reach, then turn the bodice right side out through the shoulders. The burrito method and the guide to sewing a facing show both stages in detail. Press the edges so the facing rolls slightly to the inside.
Open out the facing and sew the side seam in one long line, from the facing end, across the armhole seam and down the bodice side. Press it open and fold the facing back inside.
If you’ve already made a gathered skirt on a waistband, as in how to sew a skirt, this step works the same way, with the bodice in place of the waistband.
Press the invisible zipper coils flat, then sew each tape to the center-back edges with the invisible zipper foot, starting at the neckline. Close the center-back seam below the zipper, then fold the facing ends around the zipper tape and stitch them down. The guide to sewing an invisible zipper walks through each pass.
Finish any raw seam allowances with a zigzag stitch or a serger. Try the dress on, mark the hem level all the way around, then press up and stitch it. A double-fold hem of 1/2 in (1.3 cm) then 1 in (2.5 cm) suits most midi skirts. See how to hem a dress for blind-hem and narrow-hem options. Give the whole dress a final press.
A simple pull-on dress can take a day. A pattern with darts, a zipper and facings usually takes a beginner a few sessions, roughly two or three days once you count prewashing, tracing and cutting. Split the work into stages: prepare and cut in one session, sew the bodice in the next, then the skirt, zipper and hem.
| Mistake | What happens | How to avoid it |
|---|---|---|
| Skipping the prewash | The dress shrinks after the first wash | Wash and dry the fabric as you’ll wash the dress |
| Pieces cut off grain | Side seams twist and the hem drops unevenly | Measure the grainline to the selvage at both ends |
| No staystitching | Neckline gapes and armholes stretch | Staystitch curves straight after cutting |
| Not pressing as you go | Seams look bumpy and darts look pointed | Press each seam before crossing it |
| Gathers bunched in one place | The skirt pulls to one side | Pin at every notch and spread gathers evenly before stitching |
| Choosing size by dress size | The dress is too tight or too loose | Use your body measurements and the pattern’s chart |
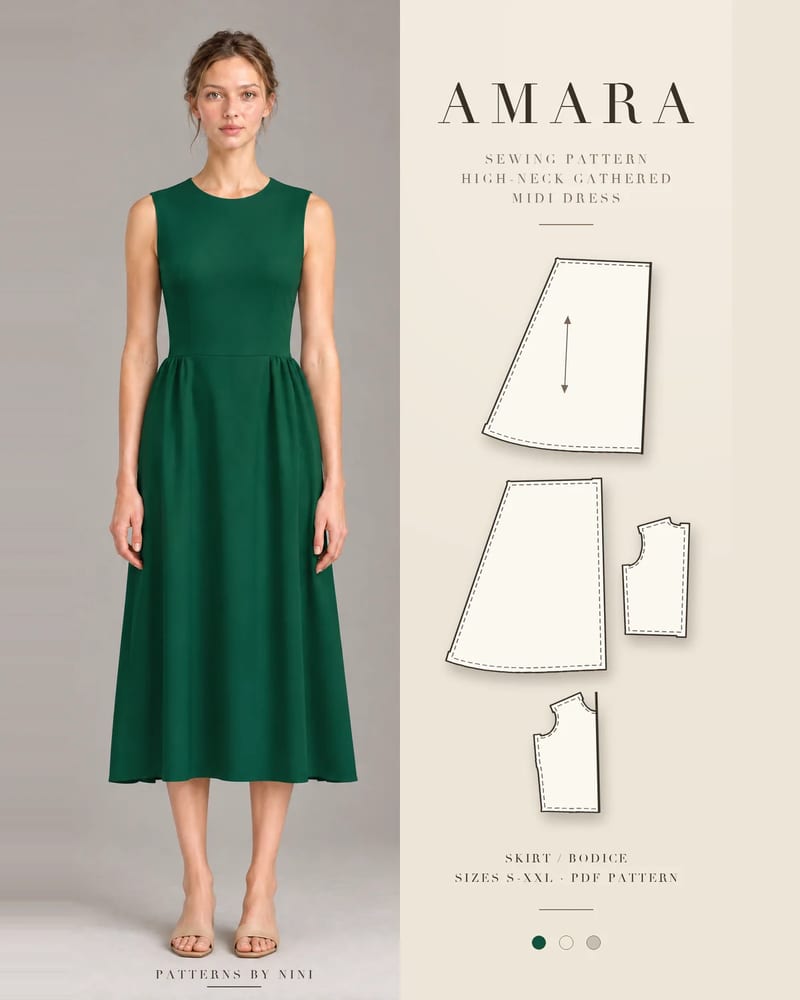
The Amara high-neck gathered midi dress uses every step above: bust and waist darts, a skirt that is flat at center front and back and gathered over the hips, all-in-one neck and armhole facings and a center-back invisible zipper. It comes in sizes S to XXL and is rated confident beginner.
If you’d rather start with fewer steps, the Dupe T-shirt midi dress is a pull-on knit dress with no zipper or darts. The Nina shift dress is rated beginner and has a faced boat neck and a center-back invisible zipper. For a dress with pockets, the Kemi scoop-neck midi dress adds in-seam pockets and a side-gathered skirt.
How to sew darts step by step: mark the legs, stitch from the wide end, taper off at the point without backstitching, then press over a ham for a smooth shape.
A seam gauge for sewing is a 6 in ruler with a sliding marker. Learn to use it for even hems, seam allowances, buttonholes, pleats, darts and elastic casings.
How to sew T-shirts on a regular sewing machine: choose a knit, cut it, sew the shoulders, neckband, sleeves, side seams and hems, and fix wavy seams.
May we use Pinterest cookies to measure visits and purchases and improve our advertising? You can shop either way and change your choice in Cookie settings. Privacy policy